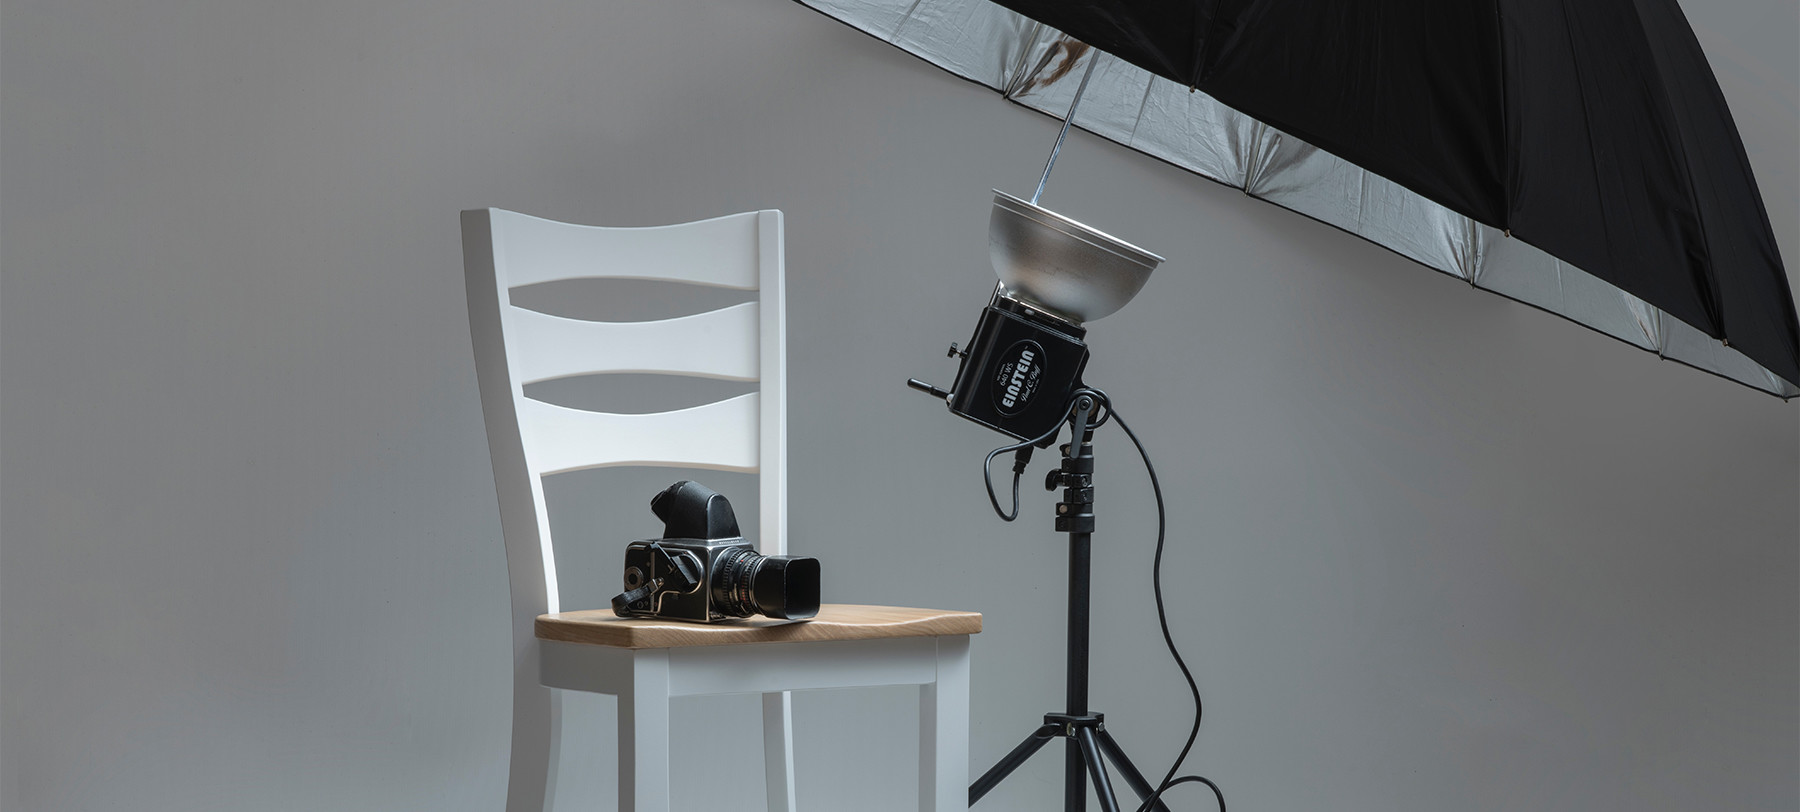
Create a budget home photography studio
Posted on Nov 8, 2019
It’s a photographer’s dream to have a dedicated shooting space at home, but issues arise due to cost and space. Luckily, there are a few easy ways to make it doable.
Read time: 5 minutes
For many people out there, a home studio conjures images of a space-consuming and expensive endeavour that may never earn its worth and possibly turns out to give you more grief than reward. But we’re here to tell you that doesn’t have to be the case!
By being savvy, you can make just a little bit of money, space and effort go a long way. But why even make a home studio?
For a start, it makes shooting amazingly convenient. Secondly, you’ll have no excuse not to shoot, even in poor weather. Thirdly, you could start to make your money back and take steps towards a professional career if you’re serious. And if you need any more convincing, consider the costs of renting a studio space, how ideal it will be to develop your skills in, how much control you’ll have – the list goes on.
It’s not just for portrait photographers, either. You can set up a great space for product photography and honing macro skills, or even just a space to take photos of the family, by following just a few of the simpler tips below.
Before we jump into tips, though, perhaps the most important thing to remember is this: make the most of what you have. Often in photography, being limited by kit, space, time or any other factor forces us to find that creative solution. Building and using a home studio is certainly no exception.
DIY photography backgrounds
The background is an essential part of any studio set-up. Of course, there are many backgrounds of all varieties for sale, many of which fold away to a fairly compact size and don’t break the bank, like the ones we reviewed recently. With that said, taking a DIY approach to your backgrounds can produce some great results, and for a very low cost, too.
If you’re looking to keep things as basic as possible – and are okay with compromising the interior of your home – then paint a wall, or better yet, paint sections of a wall in different colours for different shoots. A plus is that it doesn’t need packing away, but as such, it’s a pretty big commitment. A workable compromise may be painting one wall in your home white and leaving it free from hanging pictures. An easy alternative is hanging a sheet, but be aware that a regular bedsheet can let still light through.
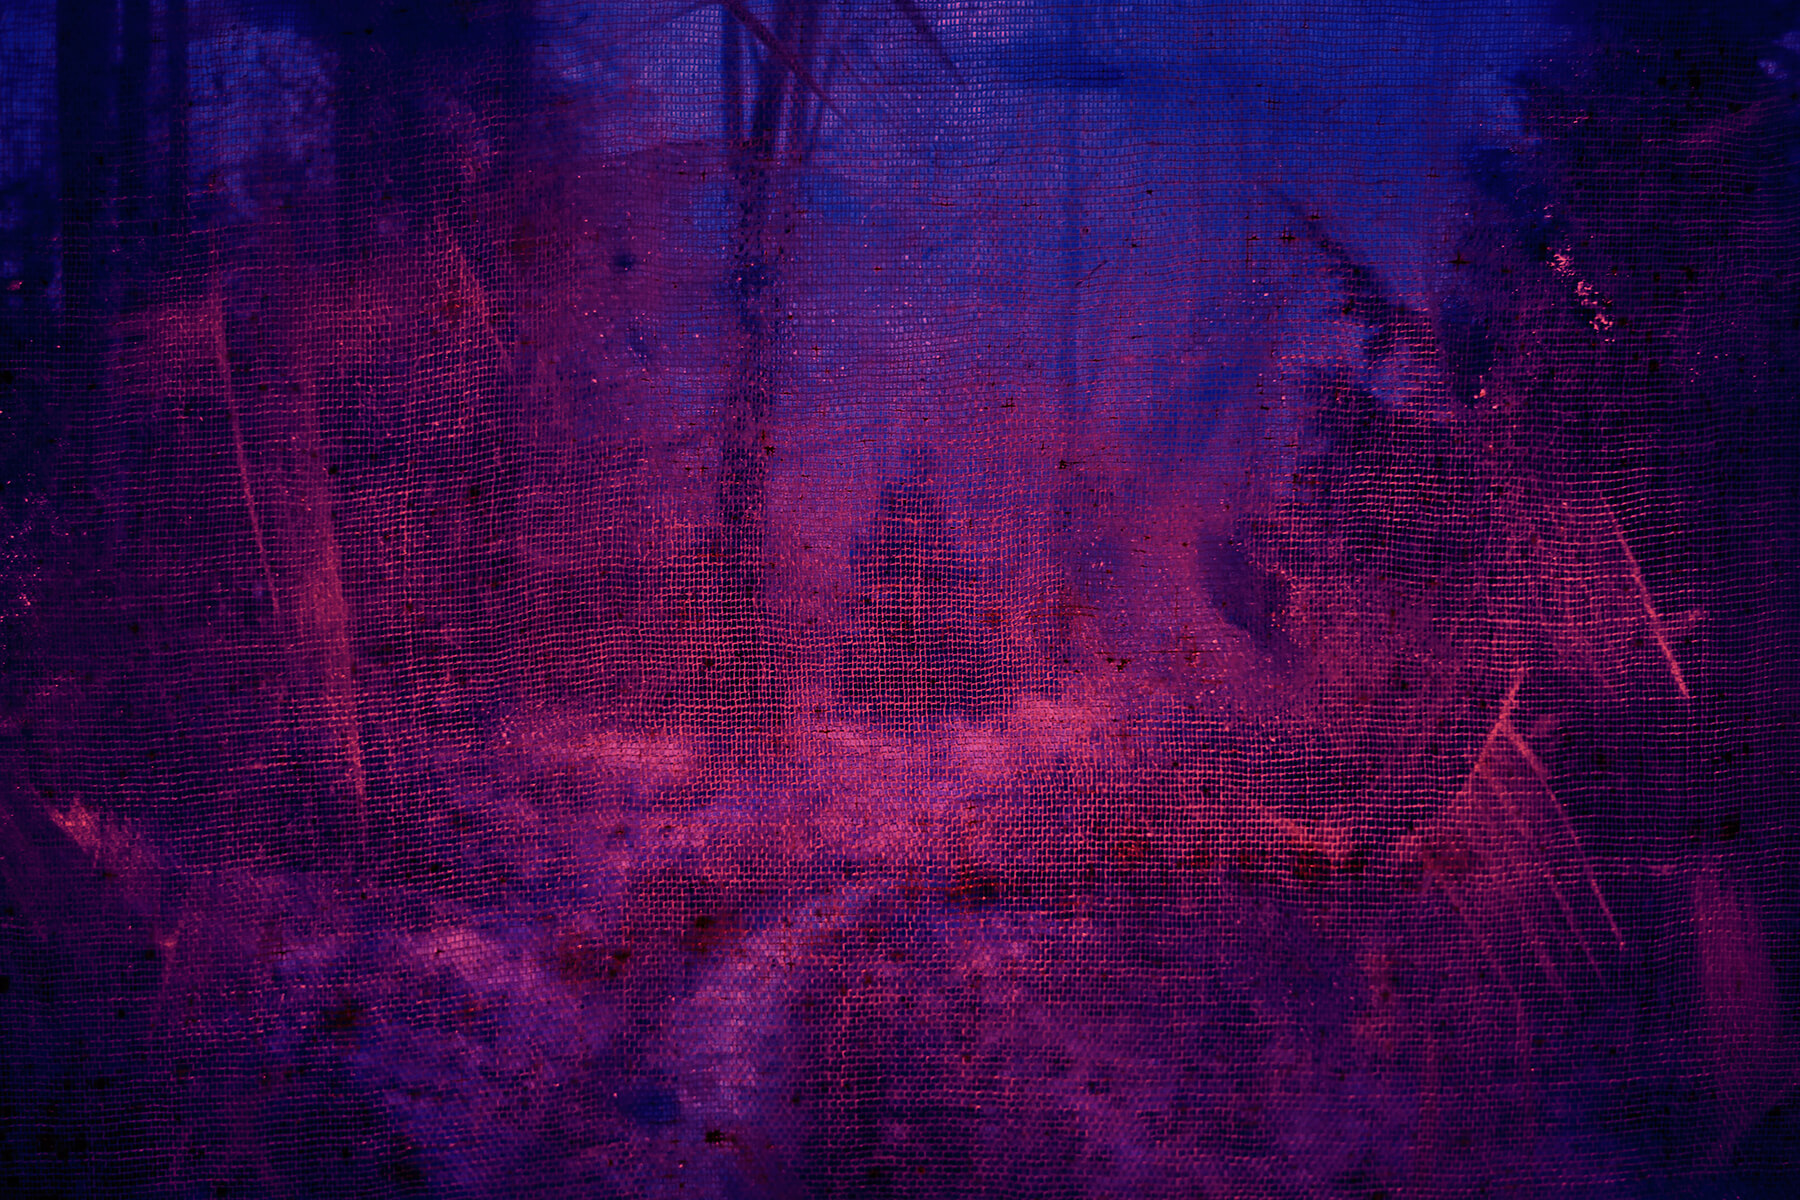
For a better background that can be packed away easily, try using muslin. It’s more expensive than a bedsheet, but it won’t reflect light as much, it’s a little denser and has a great texture, particularly when painted. Which brings us to our next step…
Get creative and paint or dye your background! Before doing this, you’ll need to make a few decisions. Colour, naturally, will have to be considered. Do you want your backdrop to have a solid colour or a patchy, more rustic look? Do you want any additional detail in it? If you’re opting for the latter, try painting your backdrop unevenly with no consistent direction of brush strokes, then splattering it lightly with a different coloured paint.
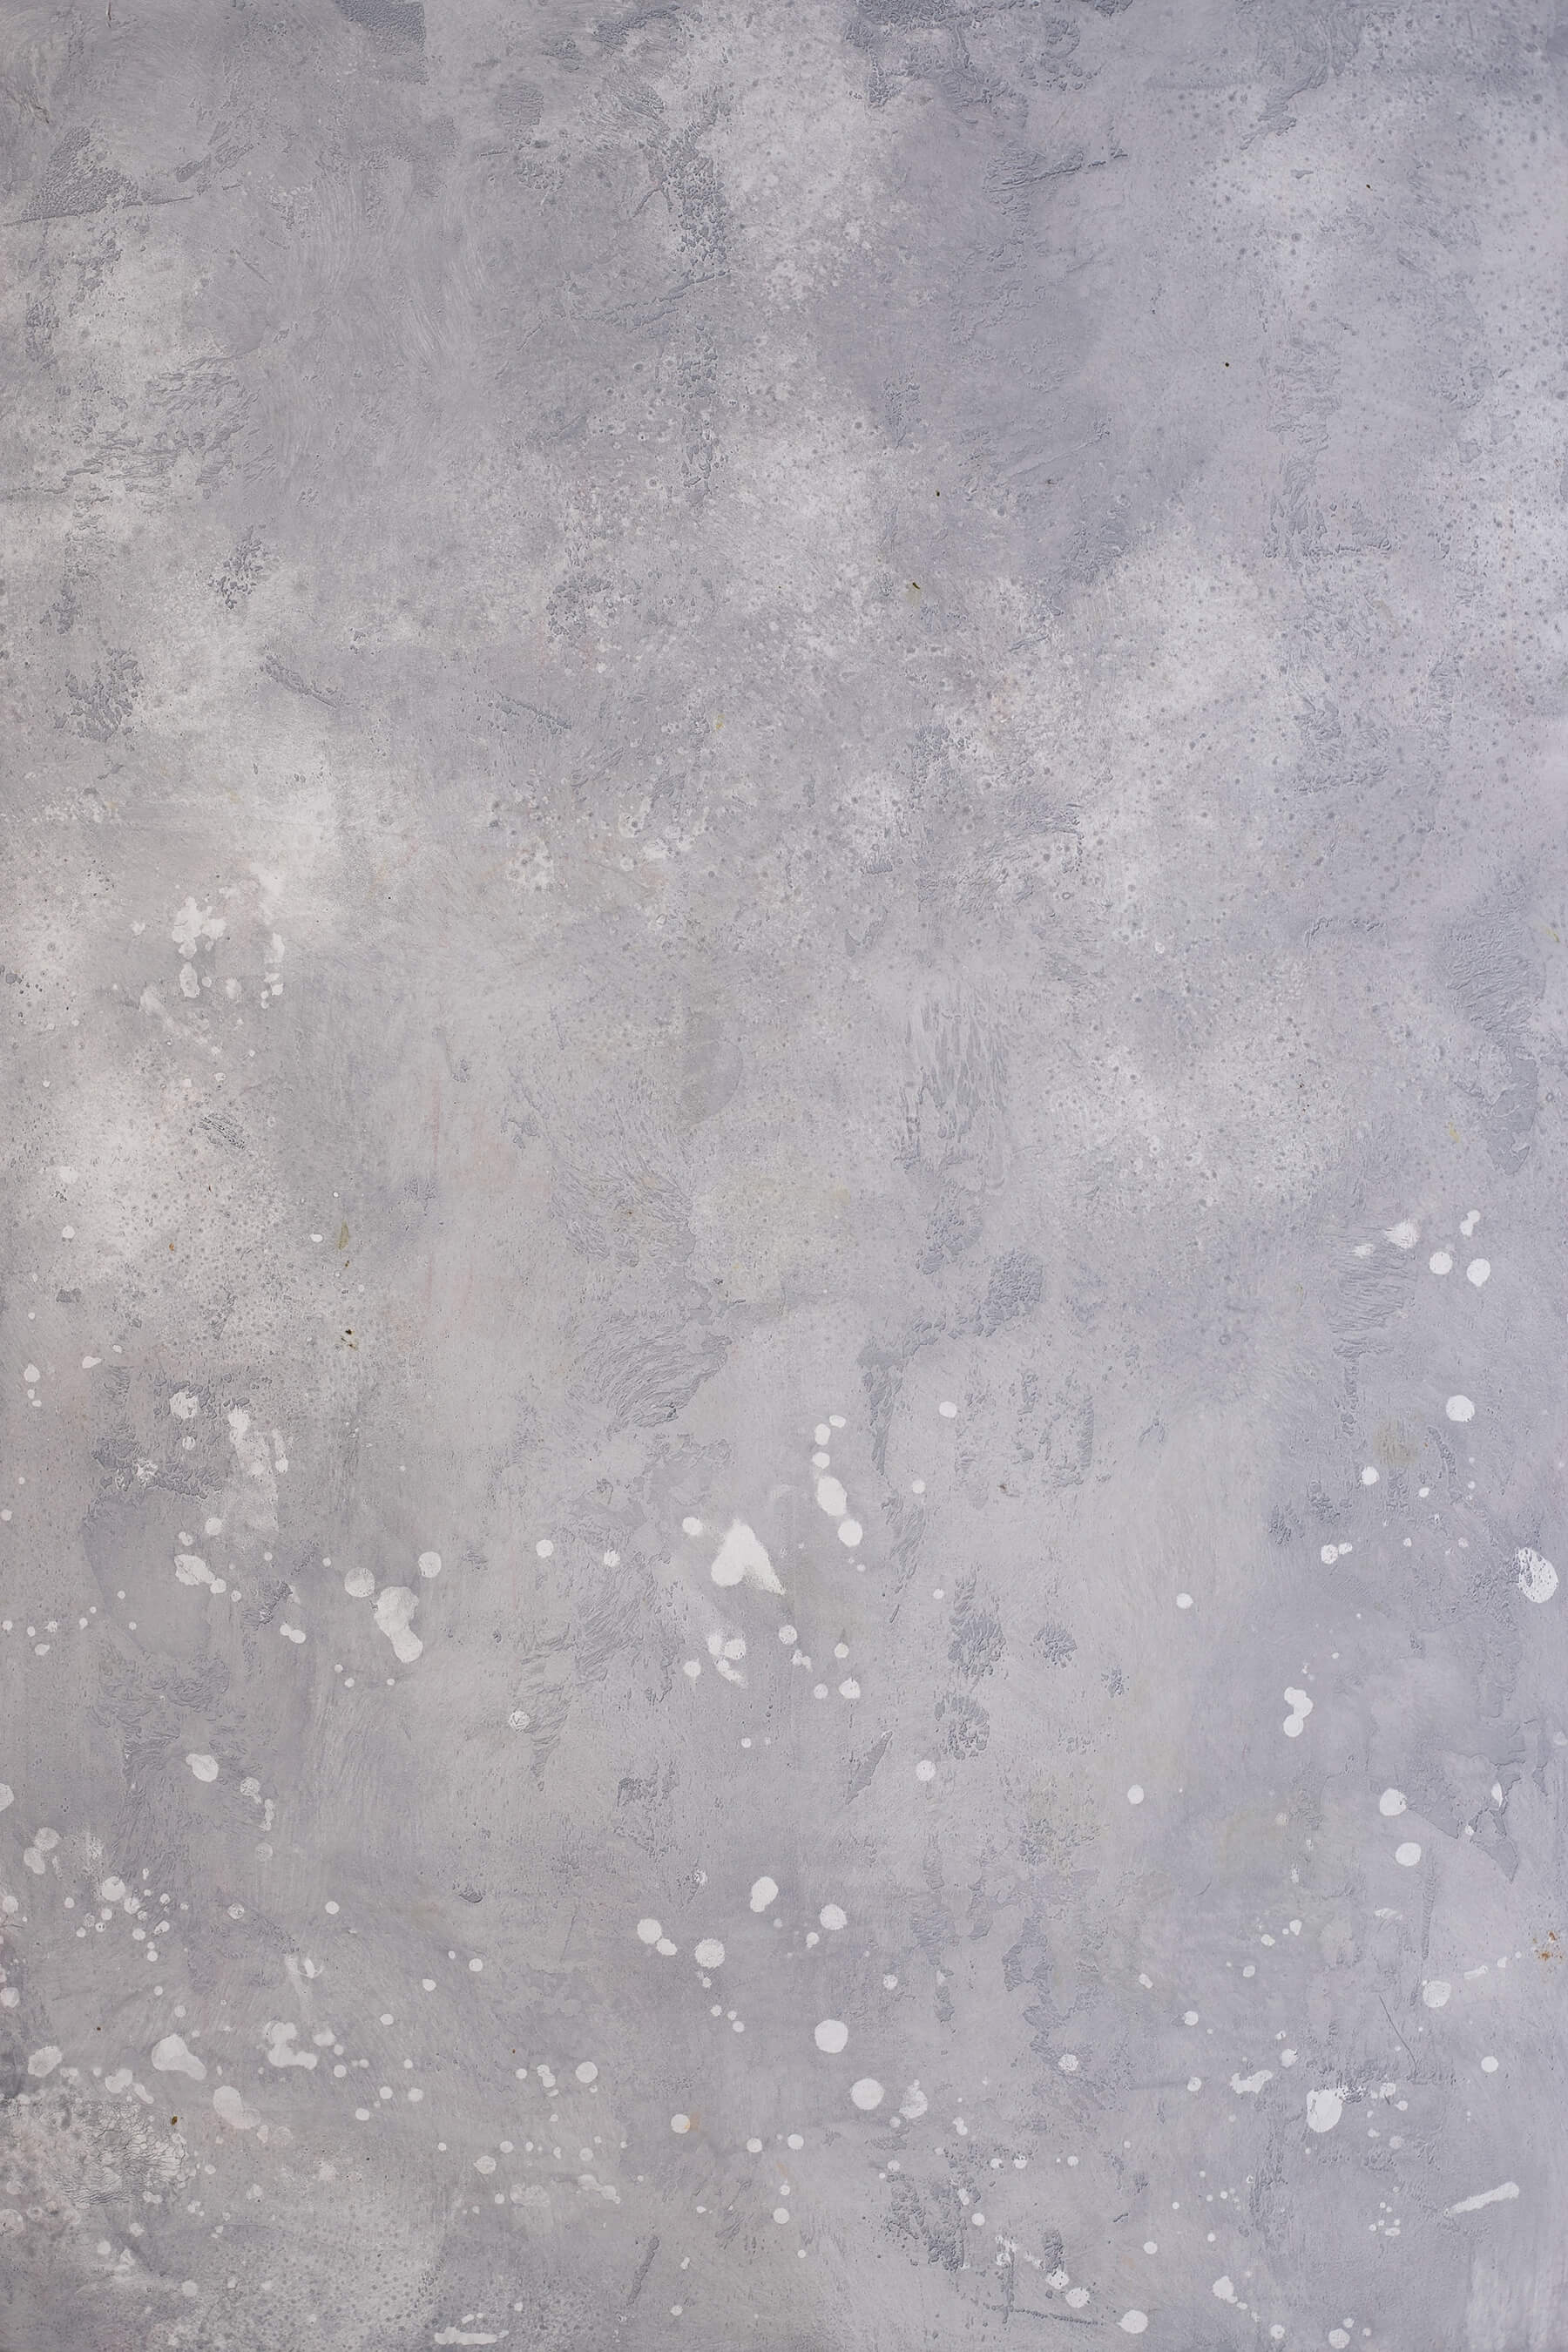
When you’ve made your backdrop, it can be hung over an existing curtain rail, on a wall with adhesive hooks, or on a photography backdrop stand – many of which fold down to the size of a tripod.
Remember, your camera settings – and how you position your subject – play a significant part in how the background of your portrait appears. You can easily make your subject’s surroundings appear darker or lighter, so even if your set-up isn’t perfect in person, it can look perfect in-camera.
Lighting for a home studio
The second key to the home studio is lighting. Like backgrounds, there are a host of options depending on how much you want to invest and how much space you have available. At the cheapest end, you have natural lighting. This can be a great option with beautifully natural results, but it’s not without its challenges. It changes often, there’s little you can do to control it, and you’re limited to shooting during daylight hours.
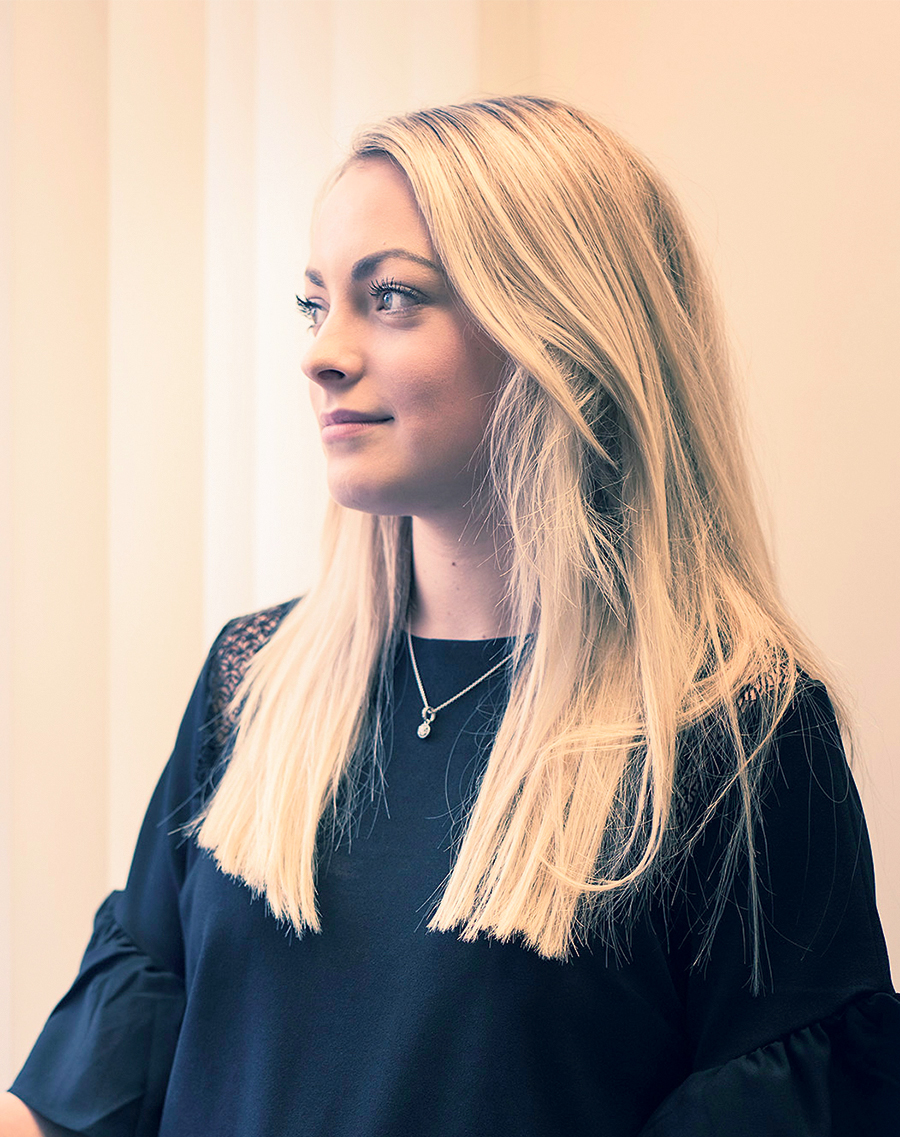
Image A portrait lit with natural window light
If you’re going down the path of lighting artificially, it’s best to eliminate natural light. For professional results, you’ll have blackout blinds, but really anything will do it – a few blankets or a duvet over the window, for example.
You can achieve a lot with a speedlight or even your camera’s in-built flash if it has one – more with a single additional light to supplement it. If you’re at the stage of considering a home studio, it’s likely you already have at least one light for your camera.
If you don’t have a light and want to opt for the DIY approach using only things you already own, the bare bulb of a lamp or a torch can be used as an adequate light source, and you can create rudimentary light modifiers with little more than cardboard and some thin white material. Just be aware that a bulb will become very hot.
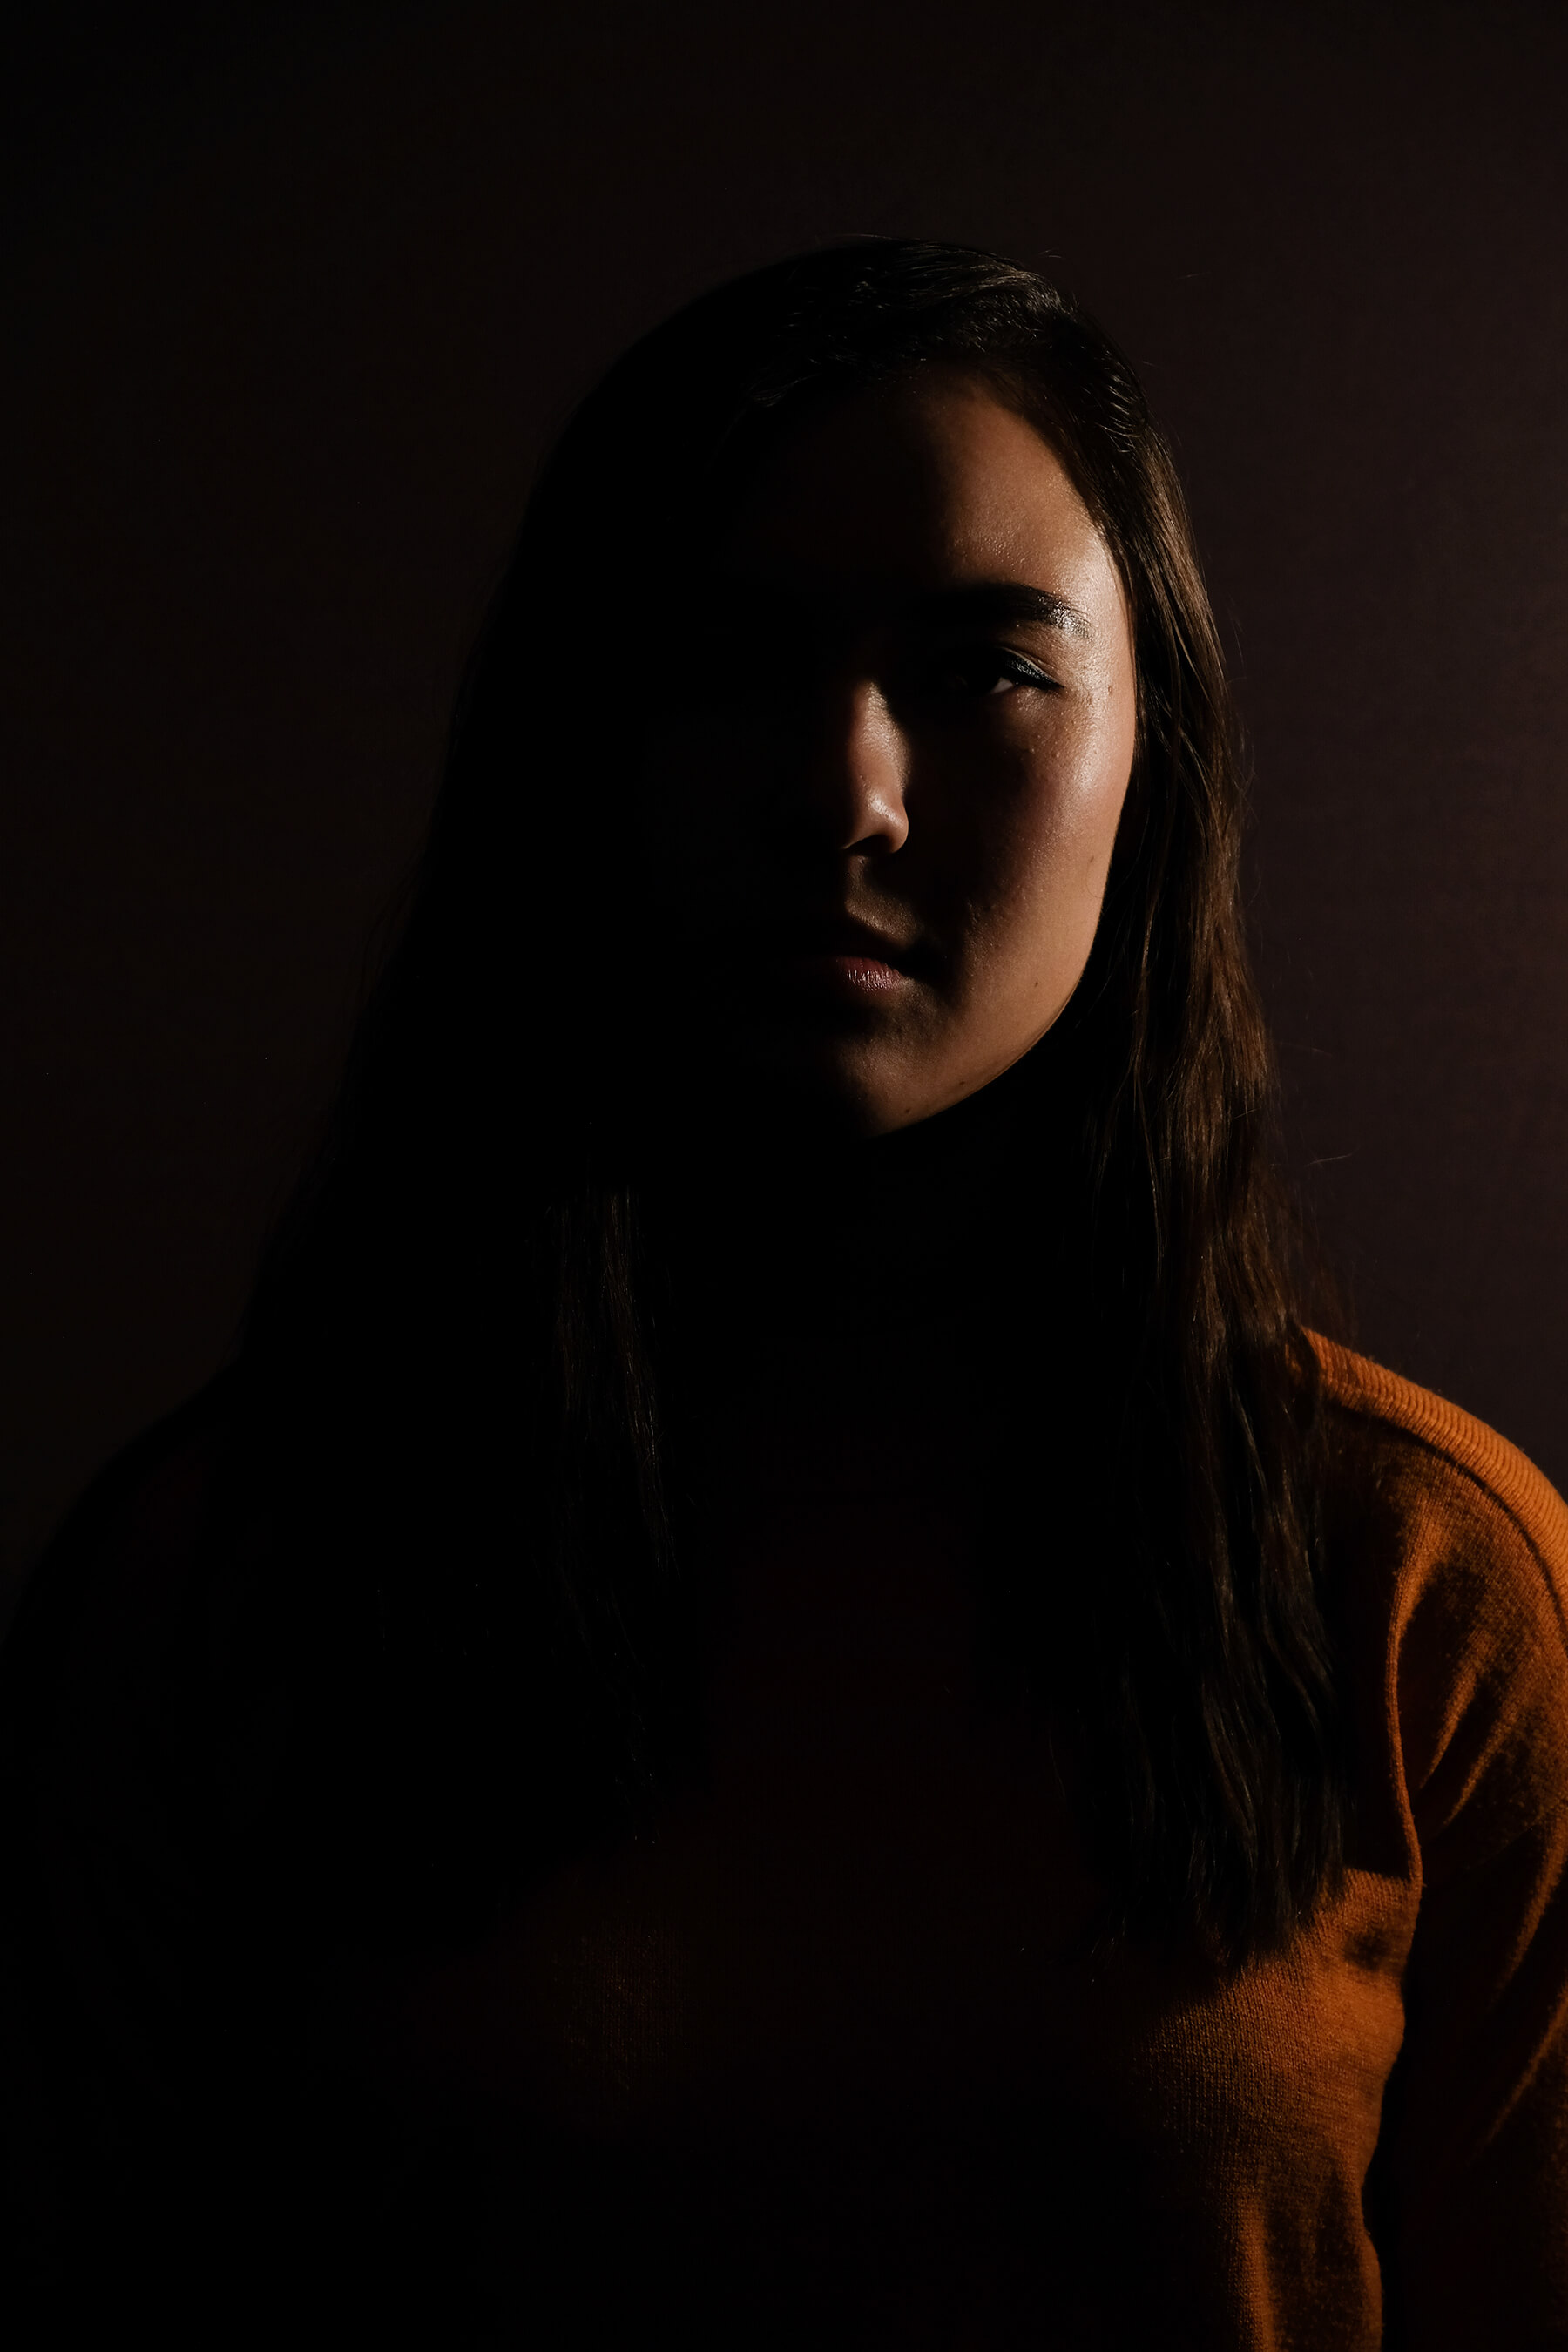
Image The portraits for our recent portrait lighting guide feature were taken in our office using a pop-up background and a single light
In our opinion, if you’re going to invest money in any aspect of your home studio it should go towards a good lighting set-up. There are a number of fairly decent lighting kits on the market for £100 or less that include two or more lights with stands; some kits even include accessories.
For more control and greater creative potential, lighting modifiers such as soft boxes, gels, grids or snoots are fantastic. A reflector is also a priceless tool that shouldn’t be overlooked.
Putting it all together
When deciding where to set up your studio and what to make or buy, consider what type of photos you take. Do you take product shots? If so, you could probably make do with just the corner of a room. Do you shoot portraits? If so, are they headshots or do you like to include a full body or some action?
These are factors only you can consider, and they should shape the way you go about setting up your home studio. Just remember what we told you about creative solutions!
A few props are also a good idea. We’re not talking about fancy dress here – unless that’s what you like to shoot – but a chair and perhaps a foot stool may help your subject find that pose that leads to the perfect picture.
Do you have plans to create your own home studio? Will you give a few of the DIY tips a try? Do you already shoot at home and have your own great home studio tip? Let us know and show us your home set-ups on social media using the handle @PhotonewsPN!


