Improve your natural light photography
Posted on Dec 4, 2019
Natural light photography is beautiful and it’s simple, but to get the most out of it, there are a few essentials to consider.
Read time: 7 minutes
There are endless reasons to shoot in natural light. It’s free, it’s almost always around, it can be done very simply and it offers more creative options than many photographers would give it credit for. Best of all though, it’s very, very beautiful.
We’re not saying artificial lighting can’t be used to great effect, but natural light has inspired some of the greatest artworks in history. If that doesn’t convince you to take your natural light photography more seriously, nothing will.
As the second feature in our lighting series, we’re presuming you understand the basics of light in photography. If you don’t, it really is essential stuff, so go back and give our first feature a read, then come back for this one.
What you’ll need
You really don’t need anything to capture great shots in natural light, but there are certainly a few bits of kit that will help – particularly in the more challenging conditions.
The first is a polarising filter. A polarising filter helps to suppress glare and cut through reflections, which is incredibly helpful practically speaking, as it can allow for more saturated photos with greater dynamic range. This is particularly useful in landscape photography.
There’s a second filter on our list – the ND filter. An ND filter blocks some of the light coming into your lens, allowing you a greater range of options when it comes to your exposure settings. Another very handy tool when it comes to natural light photography where the overall intensity of the light can’t be controlled.
Reflectors and diffusors can also open up new possibilities when shooting in natural light – namely, because they’re some of the only tools that can actually control the way natural light interacts with a subject. As such, they’re primarily used in portrait photography, but they can be used for any kind of still life with a suitably sized subject.
Natural light photography tips
Generally speaking, good technique is more important in photography than any amount of kit, and photographing in natural light is no exception. There are some simple guidelines to follow – at least most of the time – that can improve your photos and make your life easier.
Avoid hard light
First, whether you’re shooting landscapes, portraits, street photographs or anything in between, it’s usually a good idea to avoid completely hard light. We explained hard and soft light in our previous feature. It’s difficult for your camera to deal with and, as we mentioned above while discussing polarising filters, it washes subjects out and creates unwanted glare.
More often than not, your photo will benefit from softer light. If it’s a small fairly small subject, you can use a diffuser as we mentioned; for a whole scene like a landscape, some light cloud cover works nicely.
Click the images to see a larger view
Images These portraits perfectly demonstrate the effect of hard and soft light (credit: Tyler Nix, left, and Philipe Cavalcante, right)
Use hard light
No, we aren’t trying to confuse you – just stick with us. In the tip above, we said it’s usually best to avoid completely hard light, but there are many situations in which some hard light makes for fantastic photos. What we’re saying is, use it to your advantage.
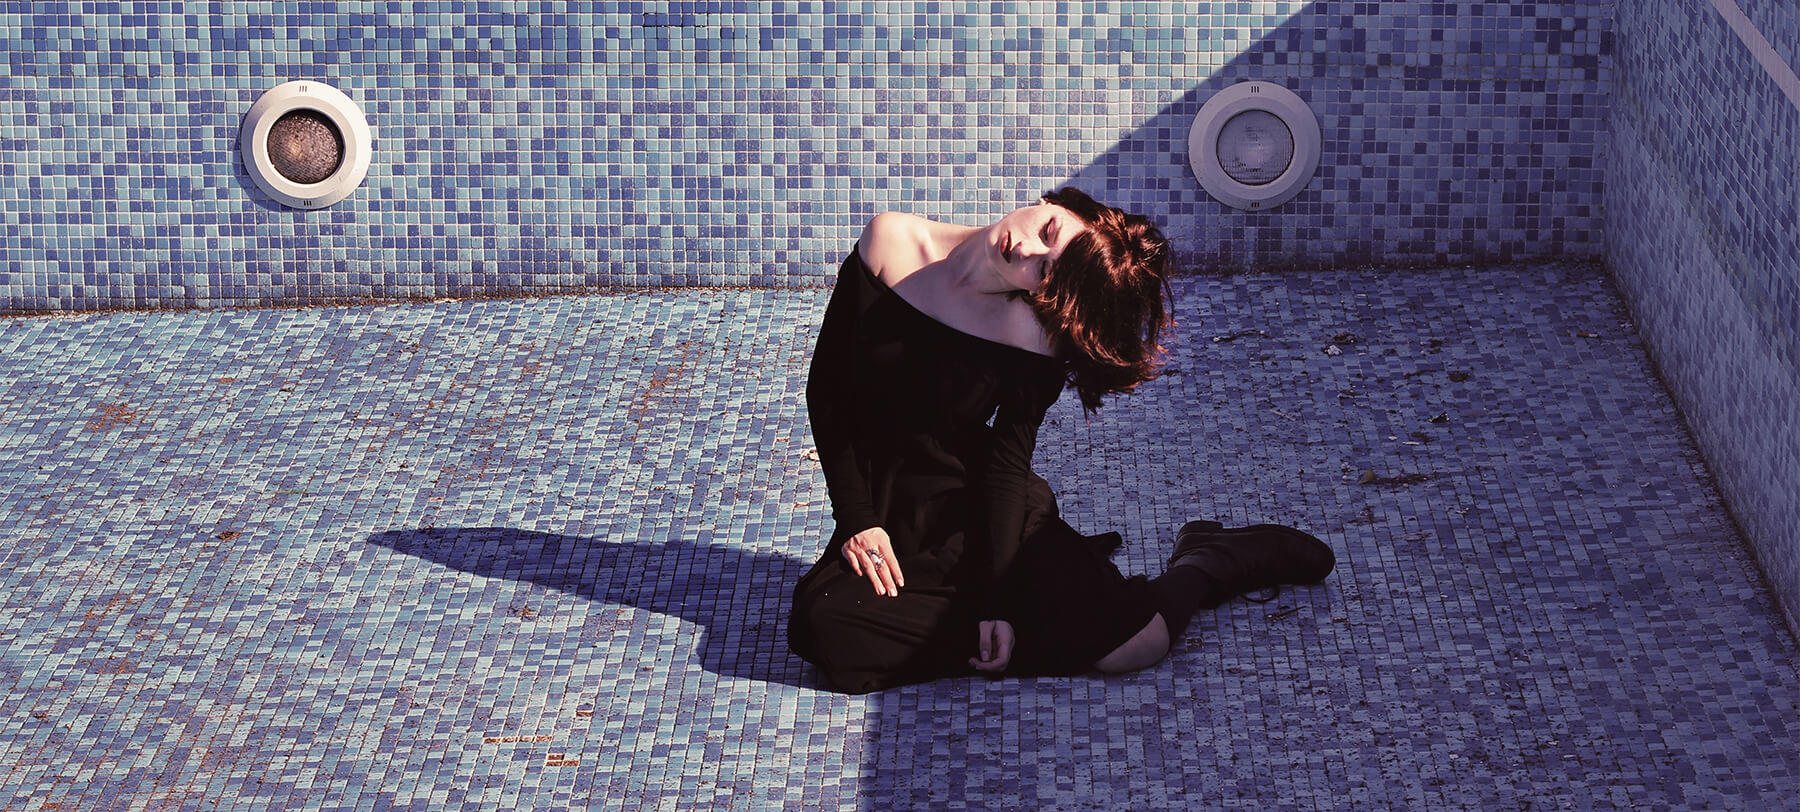
As discussed in our lighting overview, one of the key factors of light in photography isn’t just the light itself, it’s the shadows it creates. And as you’ll know having read the feature, hard light creates harsh shadows. In this, there are great photographic opportunities.
Just a little bit of hard light and some interesting shadows can add a great dimension to an otherwise lacklustre shot. Add interest to a subject’s face, capture great shape and depth in your street shots or make your landscapes look like a Renaissance painting.
Click the images to see a larger view
Images A combination of hard light and shadows can produce dramatic results (credit: Caroline Veronez, left, and Wolfgang Lutz, right)
Plan your shoot
Perhaps the biggest downside to natural light photography is that you’re completely at its mercy. The golden hour only comes twice a day (if at all!), and if it’s clear weather, you’ve got a good few hours of hard light to deal with.
Now, we’re not suggesting you plan every single photograph meticulously – that’s a sure-fire way to sap the joy out of things – but some general awareness is a must. Planning a landscape shoot for the middle of a sunny day is probably best avoided. If you’re looking for dramatic shadowy street shots, however, make the most of those midday hours.
One of the key things to consider about timing is direction of light. You can’t change where natural light comes from, so you’ll have to plan your shoot according to your needs as far as that’s concerned. For example, if you want nice directional light, shoot closer to sunrise or sunset.
You can’t change where natural light comes from, but what you can change is your position and the position of your subject. You can frame up so you’re shooting directly into the sunlight, shooting with the sunlight behind you or shooting with the sunlight at one side of camera.
Photographing directly into light with your subject between you and the sun is known as backlighting – backlighting can be very challenging, but it can produce some nice results such as lens flare and silhouetting. Shooting with the lights behind you, or front lighting, is generally easier to capture, but can make for less interesting images, as the even lighting can look flat. Side lighting could be seen as the best of both worlds; it’s usually not too difficult to capture, and more often than not, looks great on camera.
As we mentioned, if you have a moveable subject such as a person, adjusting their position is well worth experimenting with. With some good, not too hard sunlight, and maybe the use of a reflector, you can light your portrait with a wide range of different lighting styles.
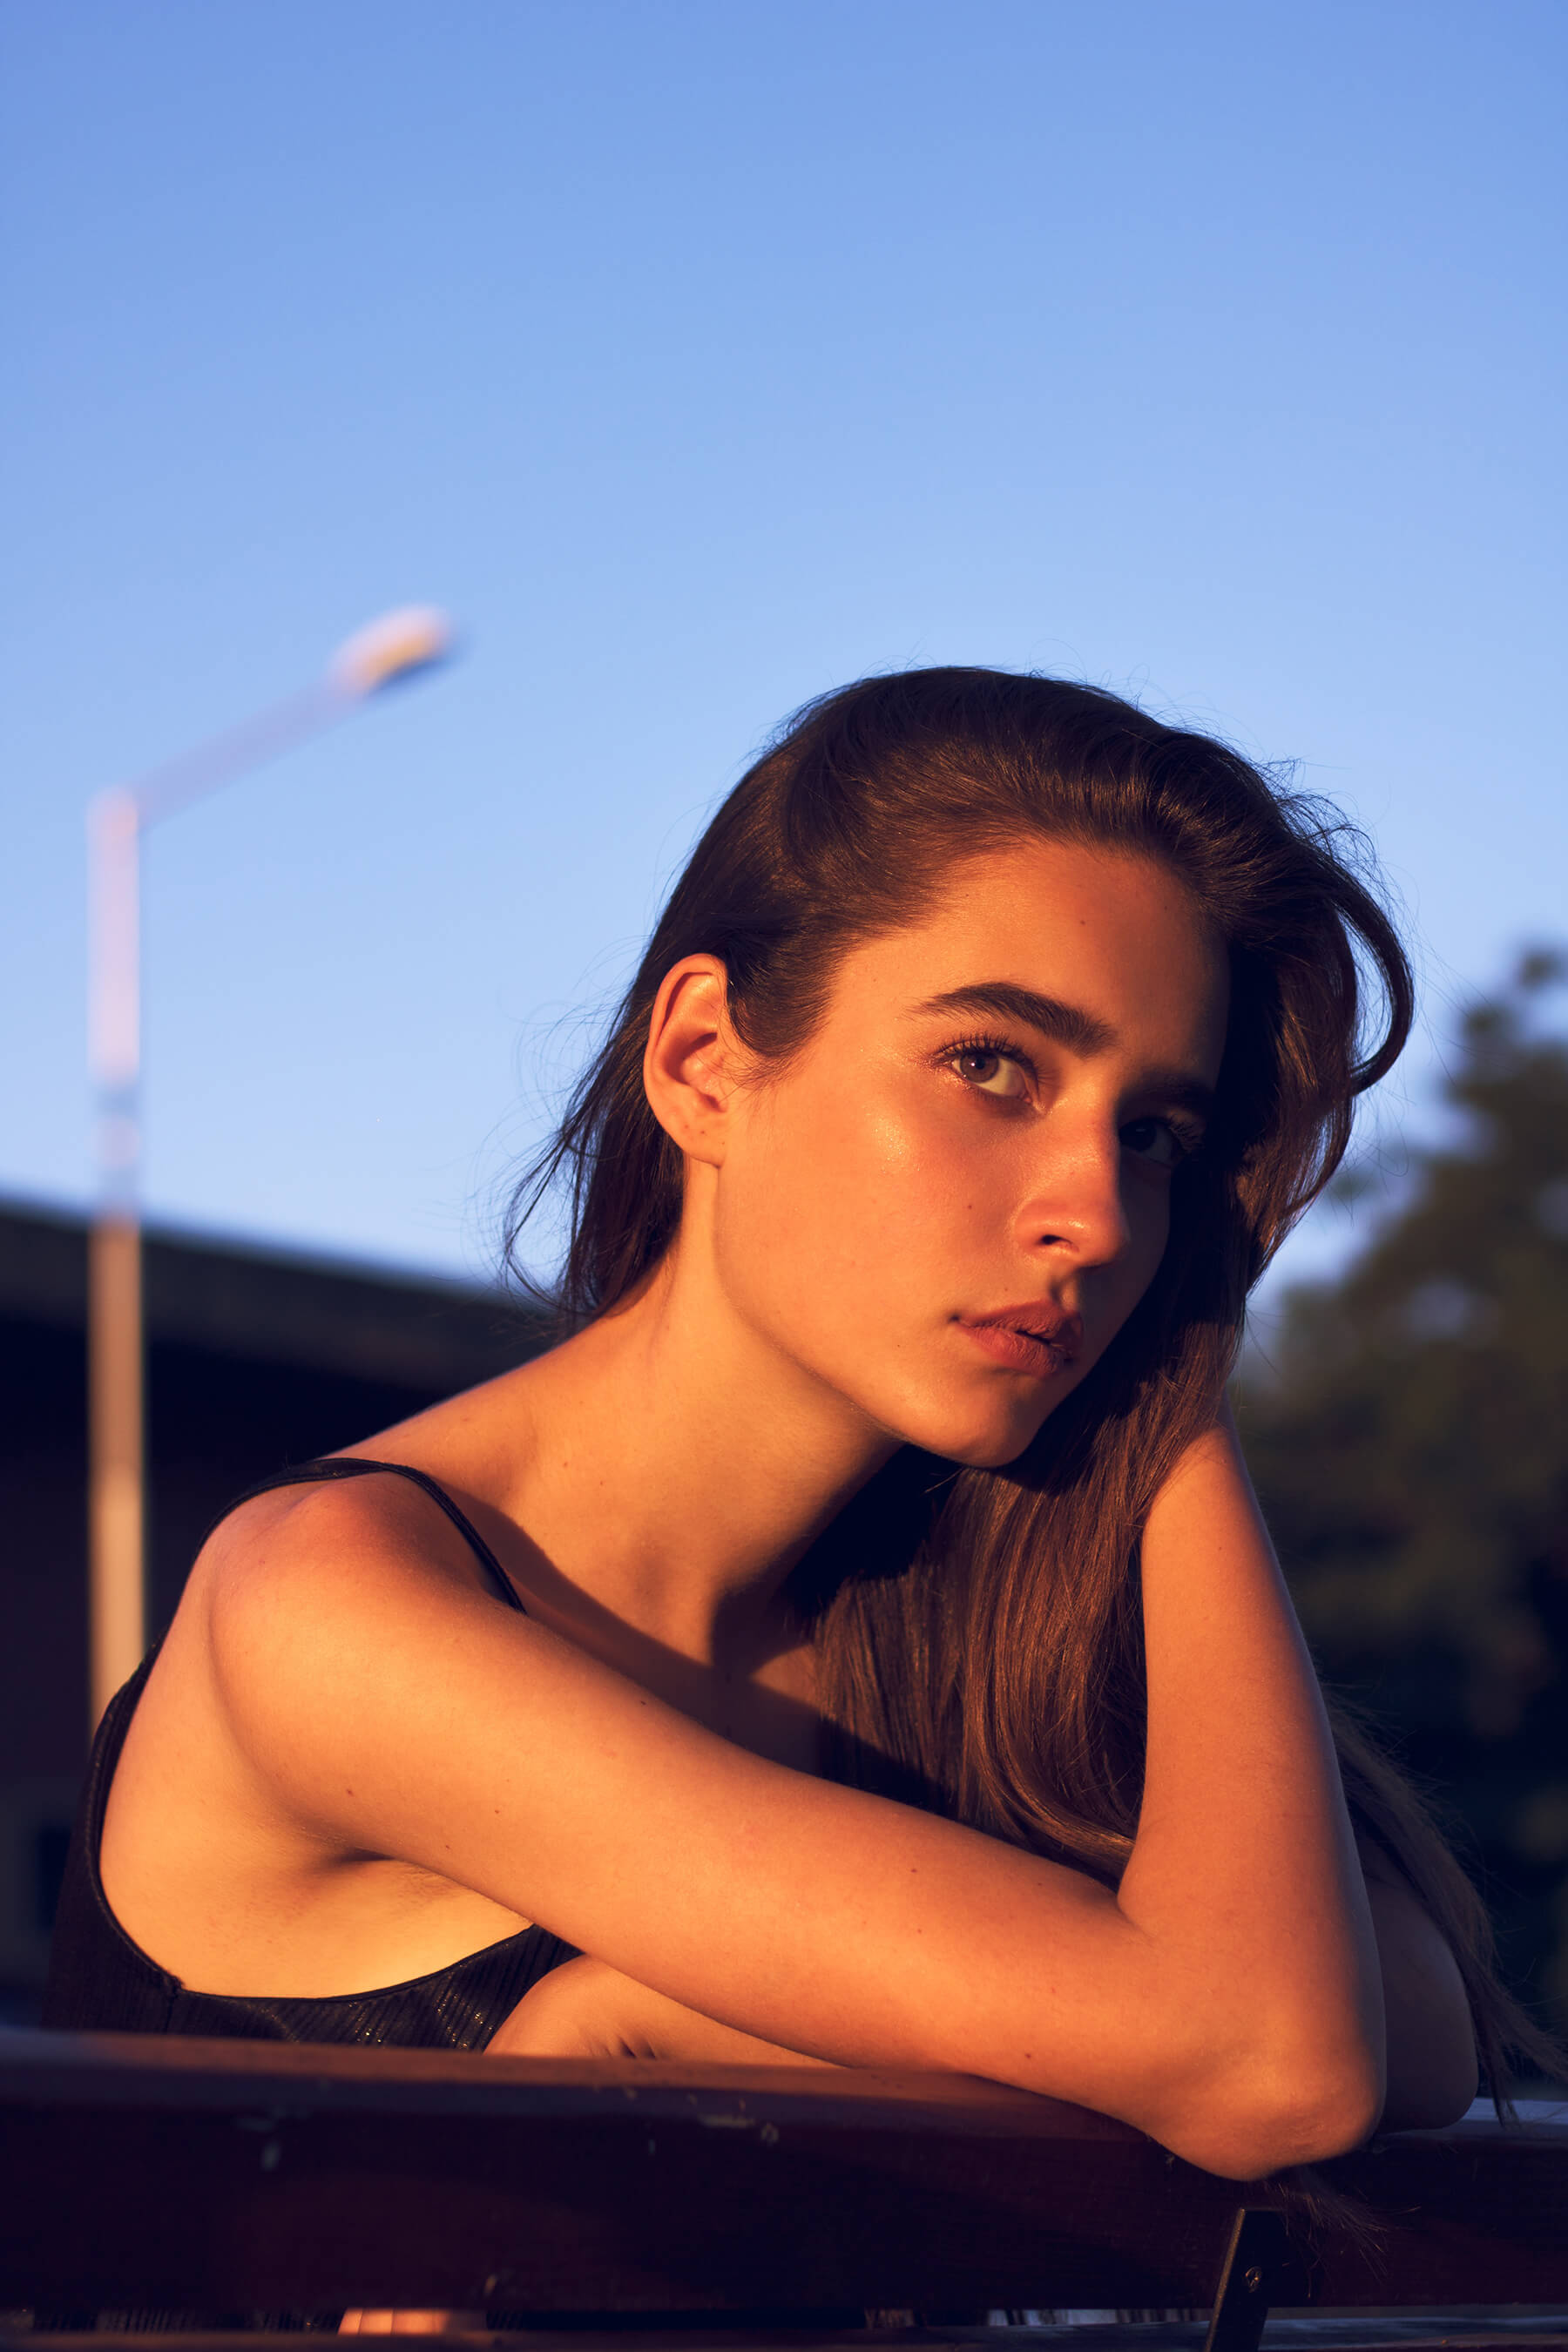
Image Here, some evening sunlight has been used to create split lighting. It also beautifully illustrates using the softer light found at sunrise or sunset (credit: Stefan Nikolovski)
Use your settings
We’ve covered a number of ways to manipulate otherwise uncontrollable light in your natural light photography, but there’s one more to come. This time, it’s all done in-camera.
By using your camera’s exposure settings well, you can dramatically affect the way light appears on camera, and natural light is no exception. This is of particular importance when shooting scenes with high dynamic range, such as those with hard light and shadows. If you want to retain detail in the lighter areas, expose for those and leave the shadows dark. If your subject is in soft light, expose for that and leave brighter, hard light areas overexposed. By sitting on the fence, you’ll miss the benefit of either.
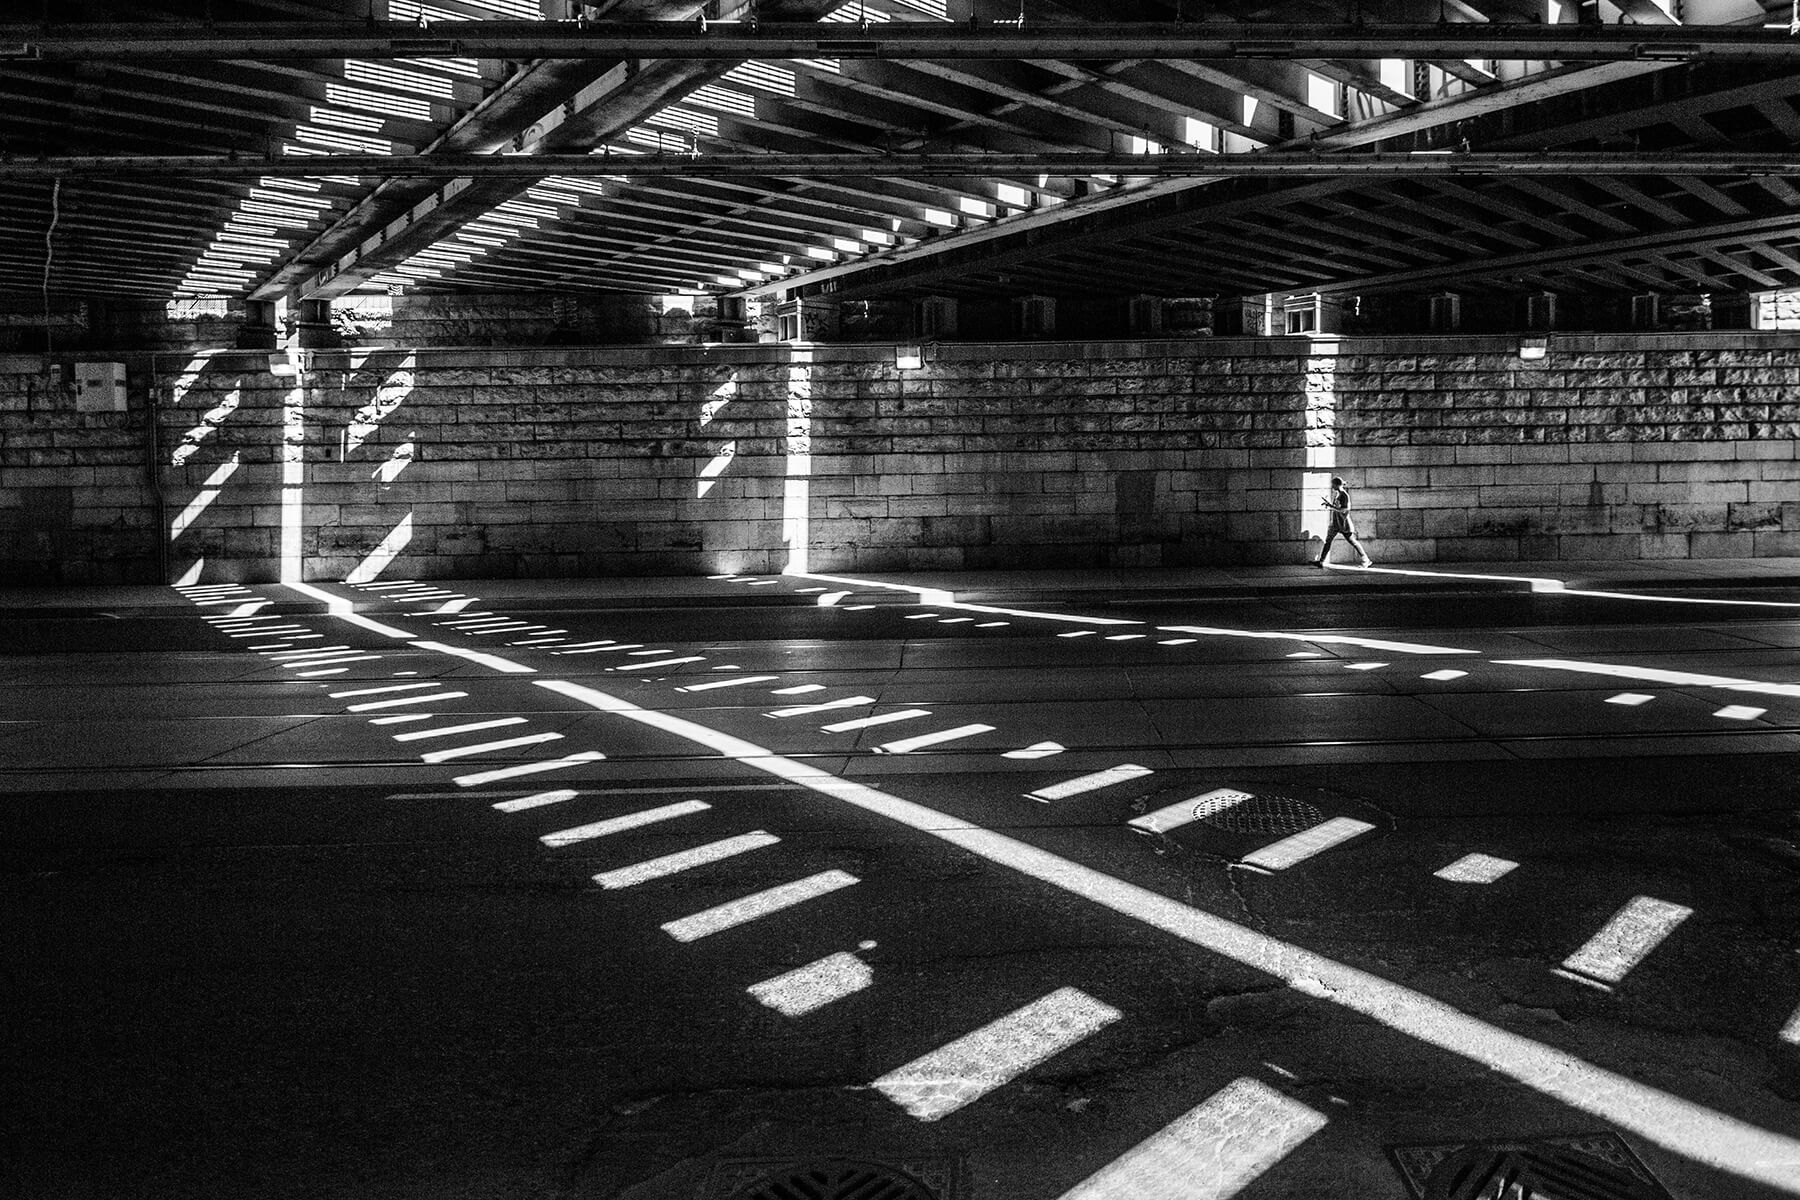
Image As most of this scene is in shadow, Matthew set his exposure accordingly, leaving the bright areas slightly overexposed (credit: Matthew Henry)
Do you have a natural light photography tip that has changed your photos for the better? Share it with us on social media! Be sure to tag us in your best naturally lit shots, too.
Have you become a Photography News member yet? Sign up and read the online issue for free every month. Don’t forget to tick to receive our newsletter to get notified of the new issue, exclusive offers and competitions.


