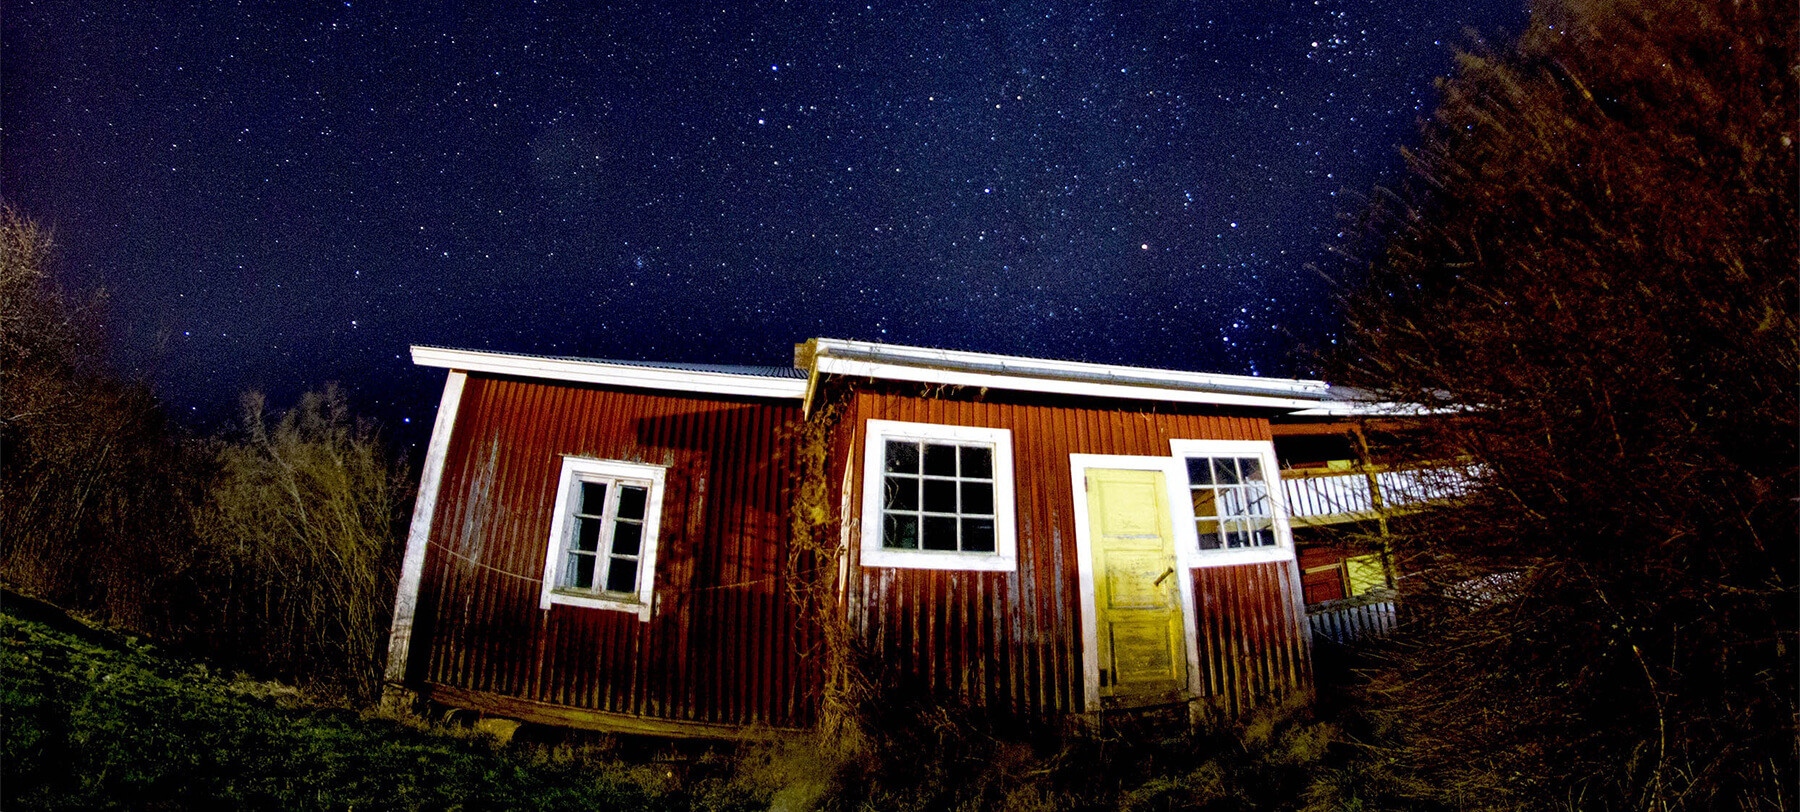
Three outdoor lighting techniques every photographer needs
If you’re limiting yourself to only using lights inside the studio, your photography could be suffering for it. Here are three great ways to improve your portraits, landscapes and street photos with outdoor lighting.
Read time: 5 minutes
One of the greatest joys of shooting in natural light is the simplicity. All you have to do is wait until conditions are perfect, position yourself and your subject well and shoot away. But what happens when the conditions aren’t perfect? Or when you want a little more control? Or when there isn’t even any natural light at all?
In those cases, introducing some artificial outdoor lighting can improve a photo significantly. It’s easily done, too. The minimum you’ll need for the following techniques is a single light.
High-key portraits
Undoubtedly, the most common use of artificial lighting is portrait photography, so for our first tip, we’ll start there.
High-key photos are flooded with light and have a dreamy look which flatters the subject. They’re more common in the studio, but if you take this technique outdoors, you can achieve some great results. You can capture an interesting outdoor background and controlled studio-style lighting at the same time – what’s not to love?
To use this technique with just one flash, you’ll need a bright day. Position your subject with their back to the sun, then use your flash as a fill light to light their face. It’s also very likely you’ll have to use exposure compensation to fully achieve the look you’re going for. Depending on the available light, a setting as low as +1EV can work.
You can get even better results by modifying your fill light, and by adding additional lights such as a backlight to assist the sun, though these certainly aren’t essential.
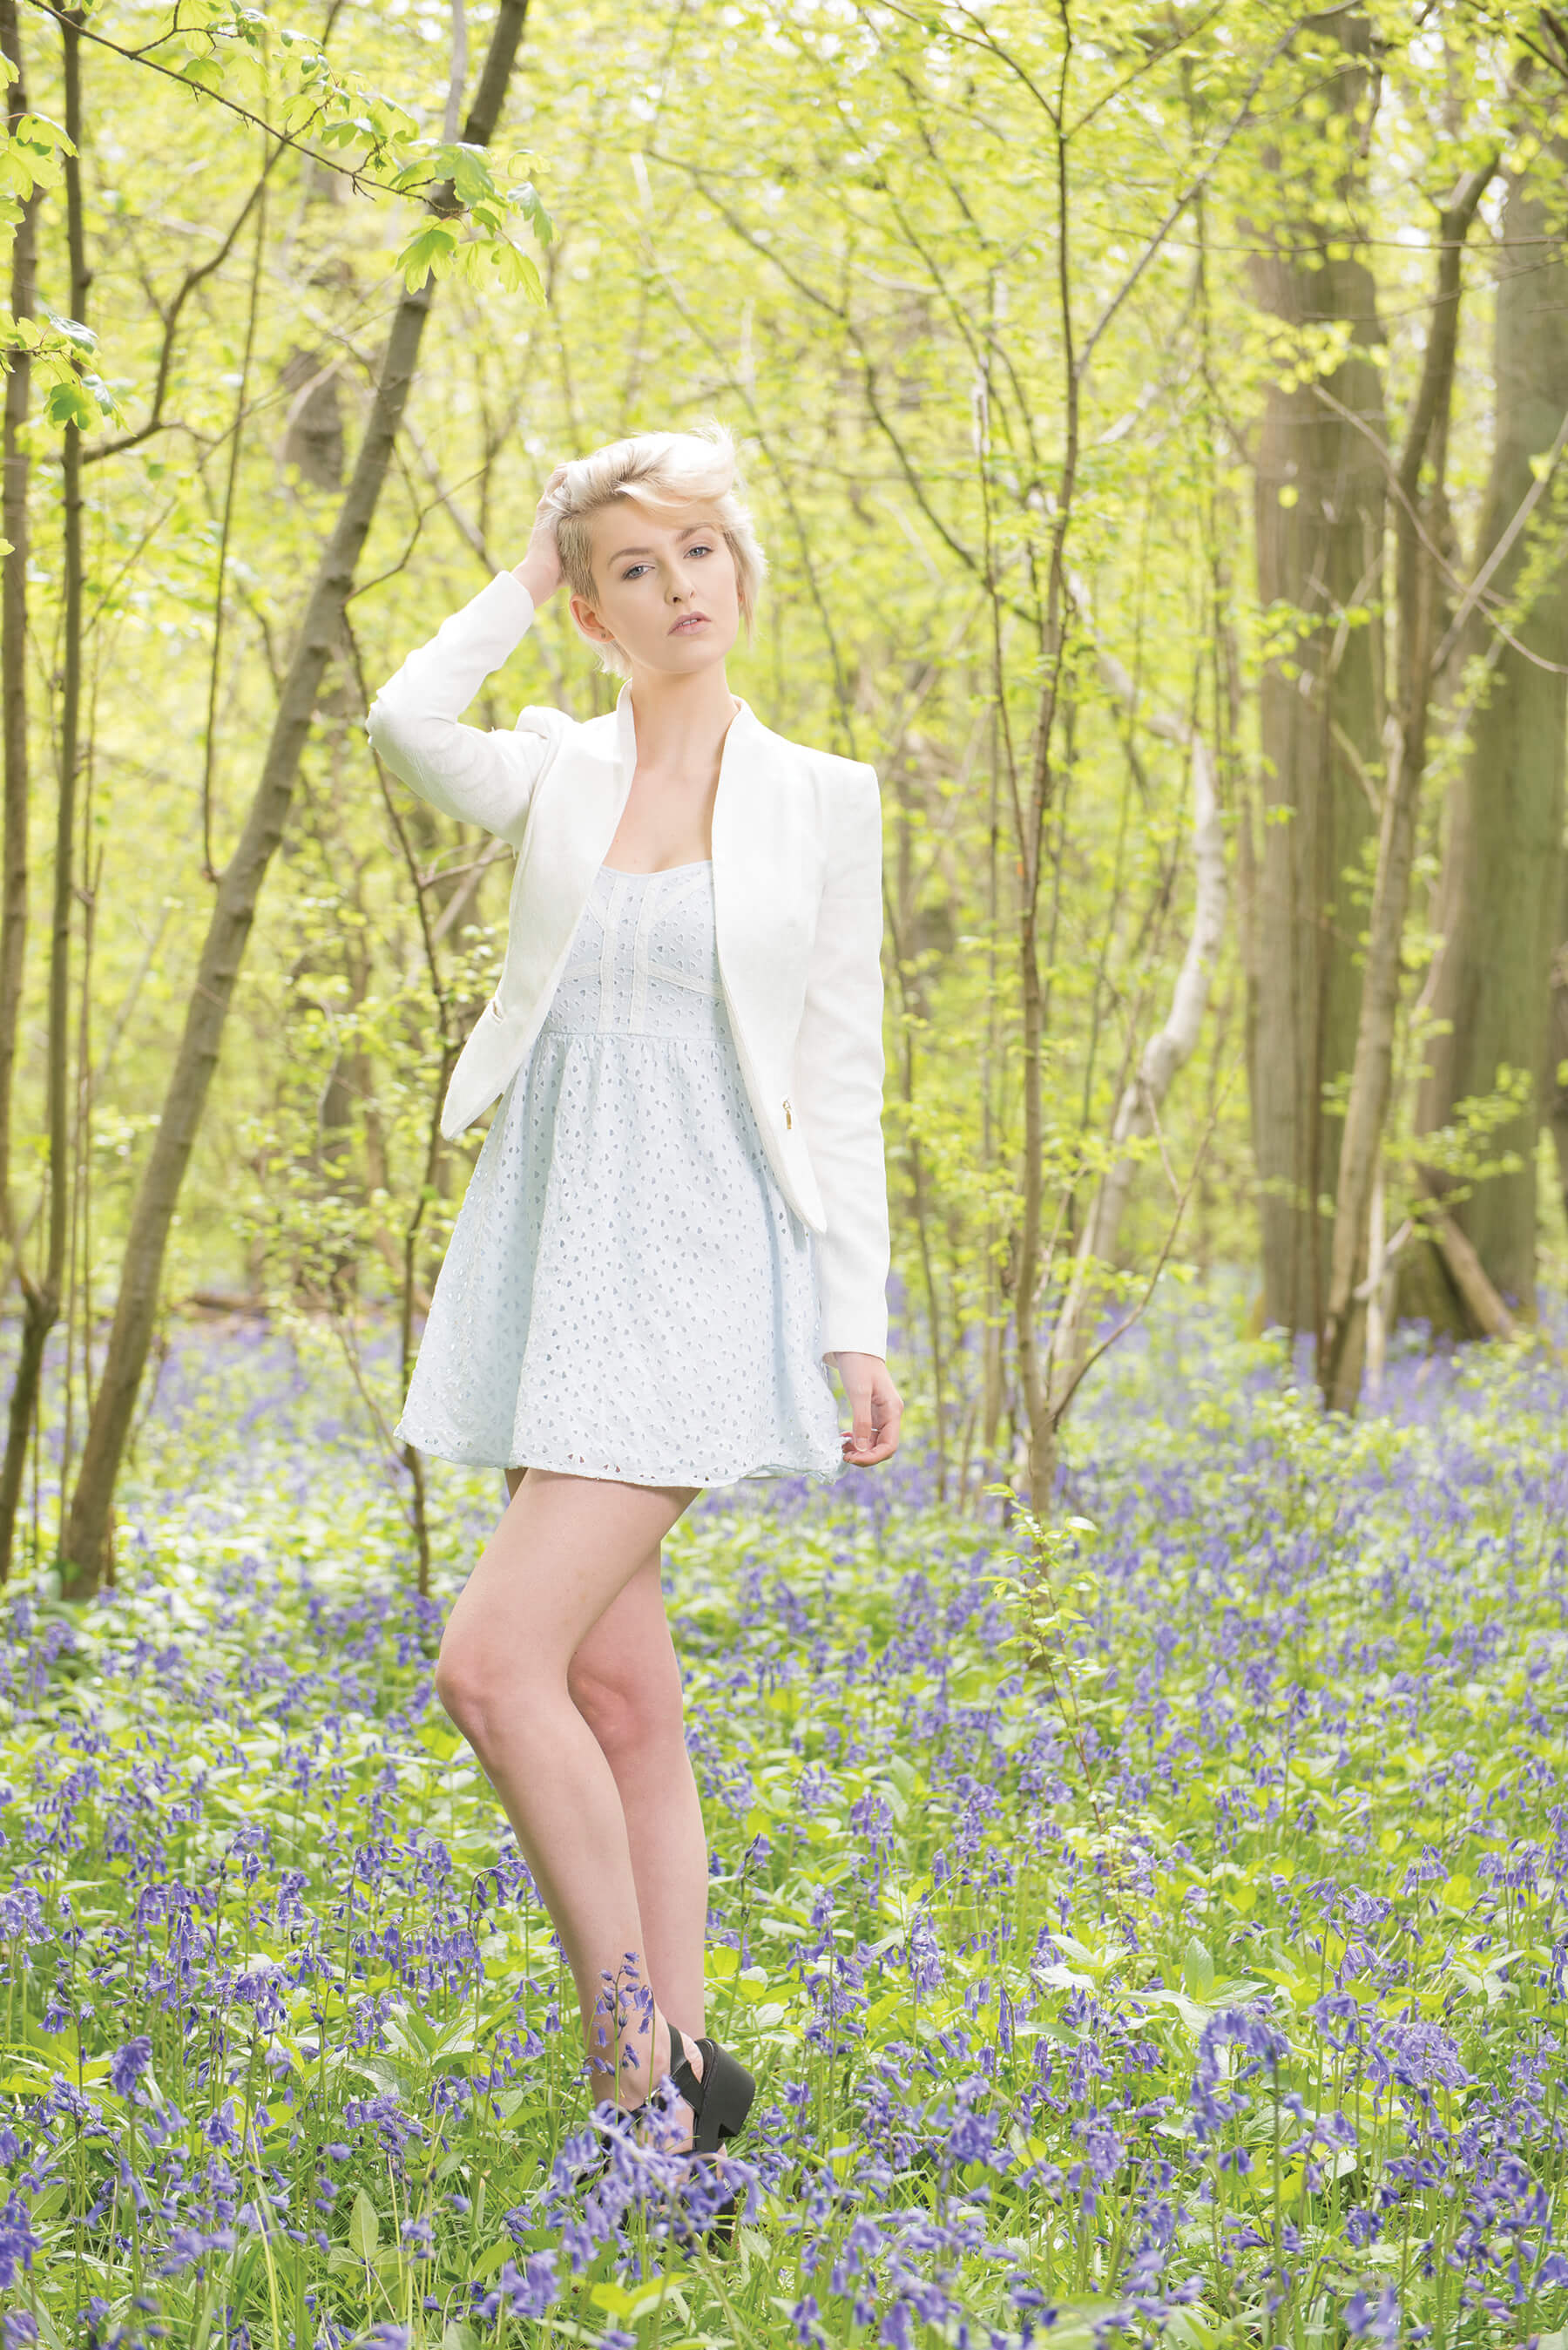 Image The high-key effect can be used to extremes, or subtly as seen above (credit: Kingsley Singleton)
Night-time landscapes and astrophotography
Needless to say, you can’t artificially light an entire landscape, but that doesn’t mean outdoor lighting can’t be of use to the landscape photographer. When the sun goes down, there are still some great opportunities.
Admittedly, the main focus of your night-time landscapes is going to be the sky, so really, we’re talking about a mix of landscape and astrophotography here, but some foreground detail can create a fantastic mix of the two. That much needed detail can be achieved through lighting. This technique is very simple, and all you’ll need is a continuous light – even a torch can work, depending on what foreground element you’re trying to light.
As we explained in our astrophotography guide, to pick up detail in the night sky, you’ll need to use a long exposure. By lighting your foreground for just a short section of that exposure time, you can capture both foreground and sky together without one being over or underexposed.
It’s likely you’ll need to take a few test shots to determine the exact length of both your exposure and your lighting, but the results will be worth it. Of course, this technique can be used with any foreground element – it doesn’t have to be a section of landscape.
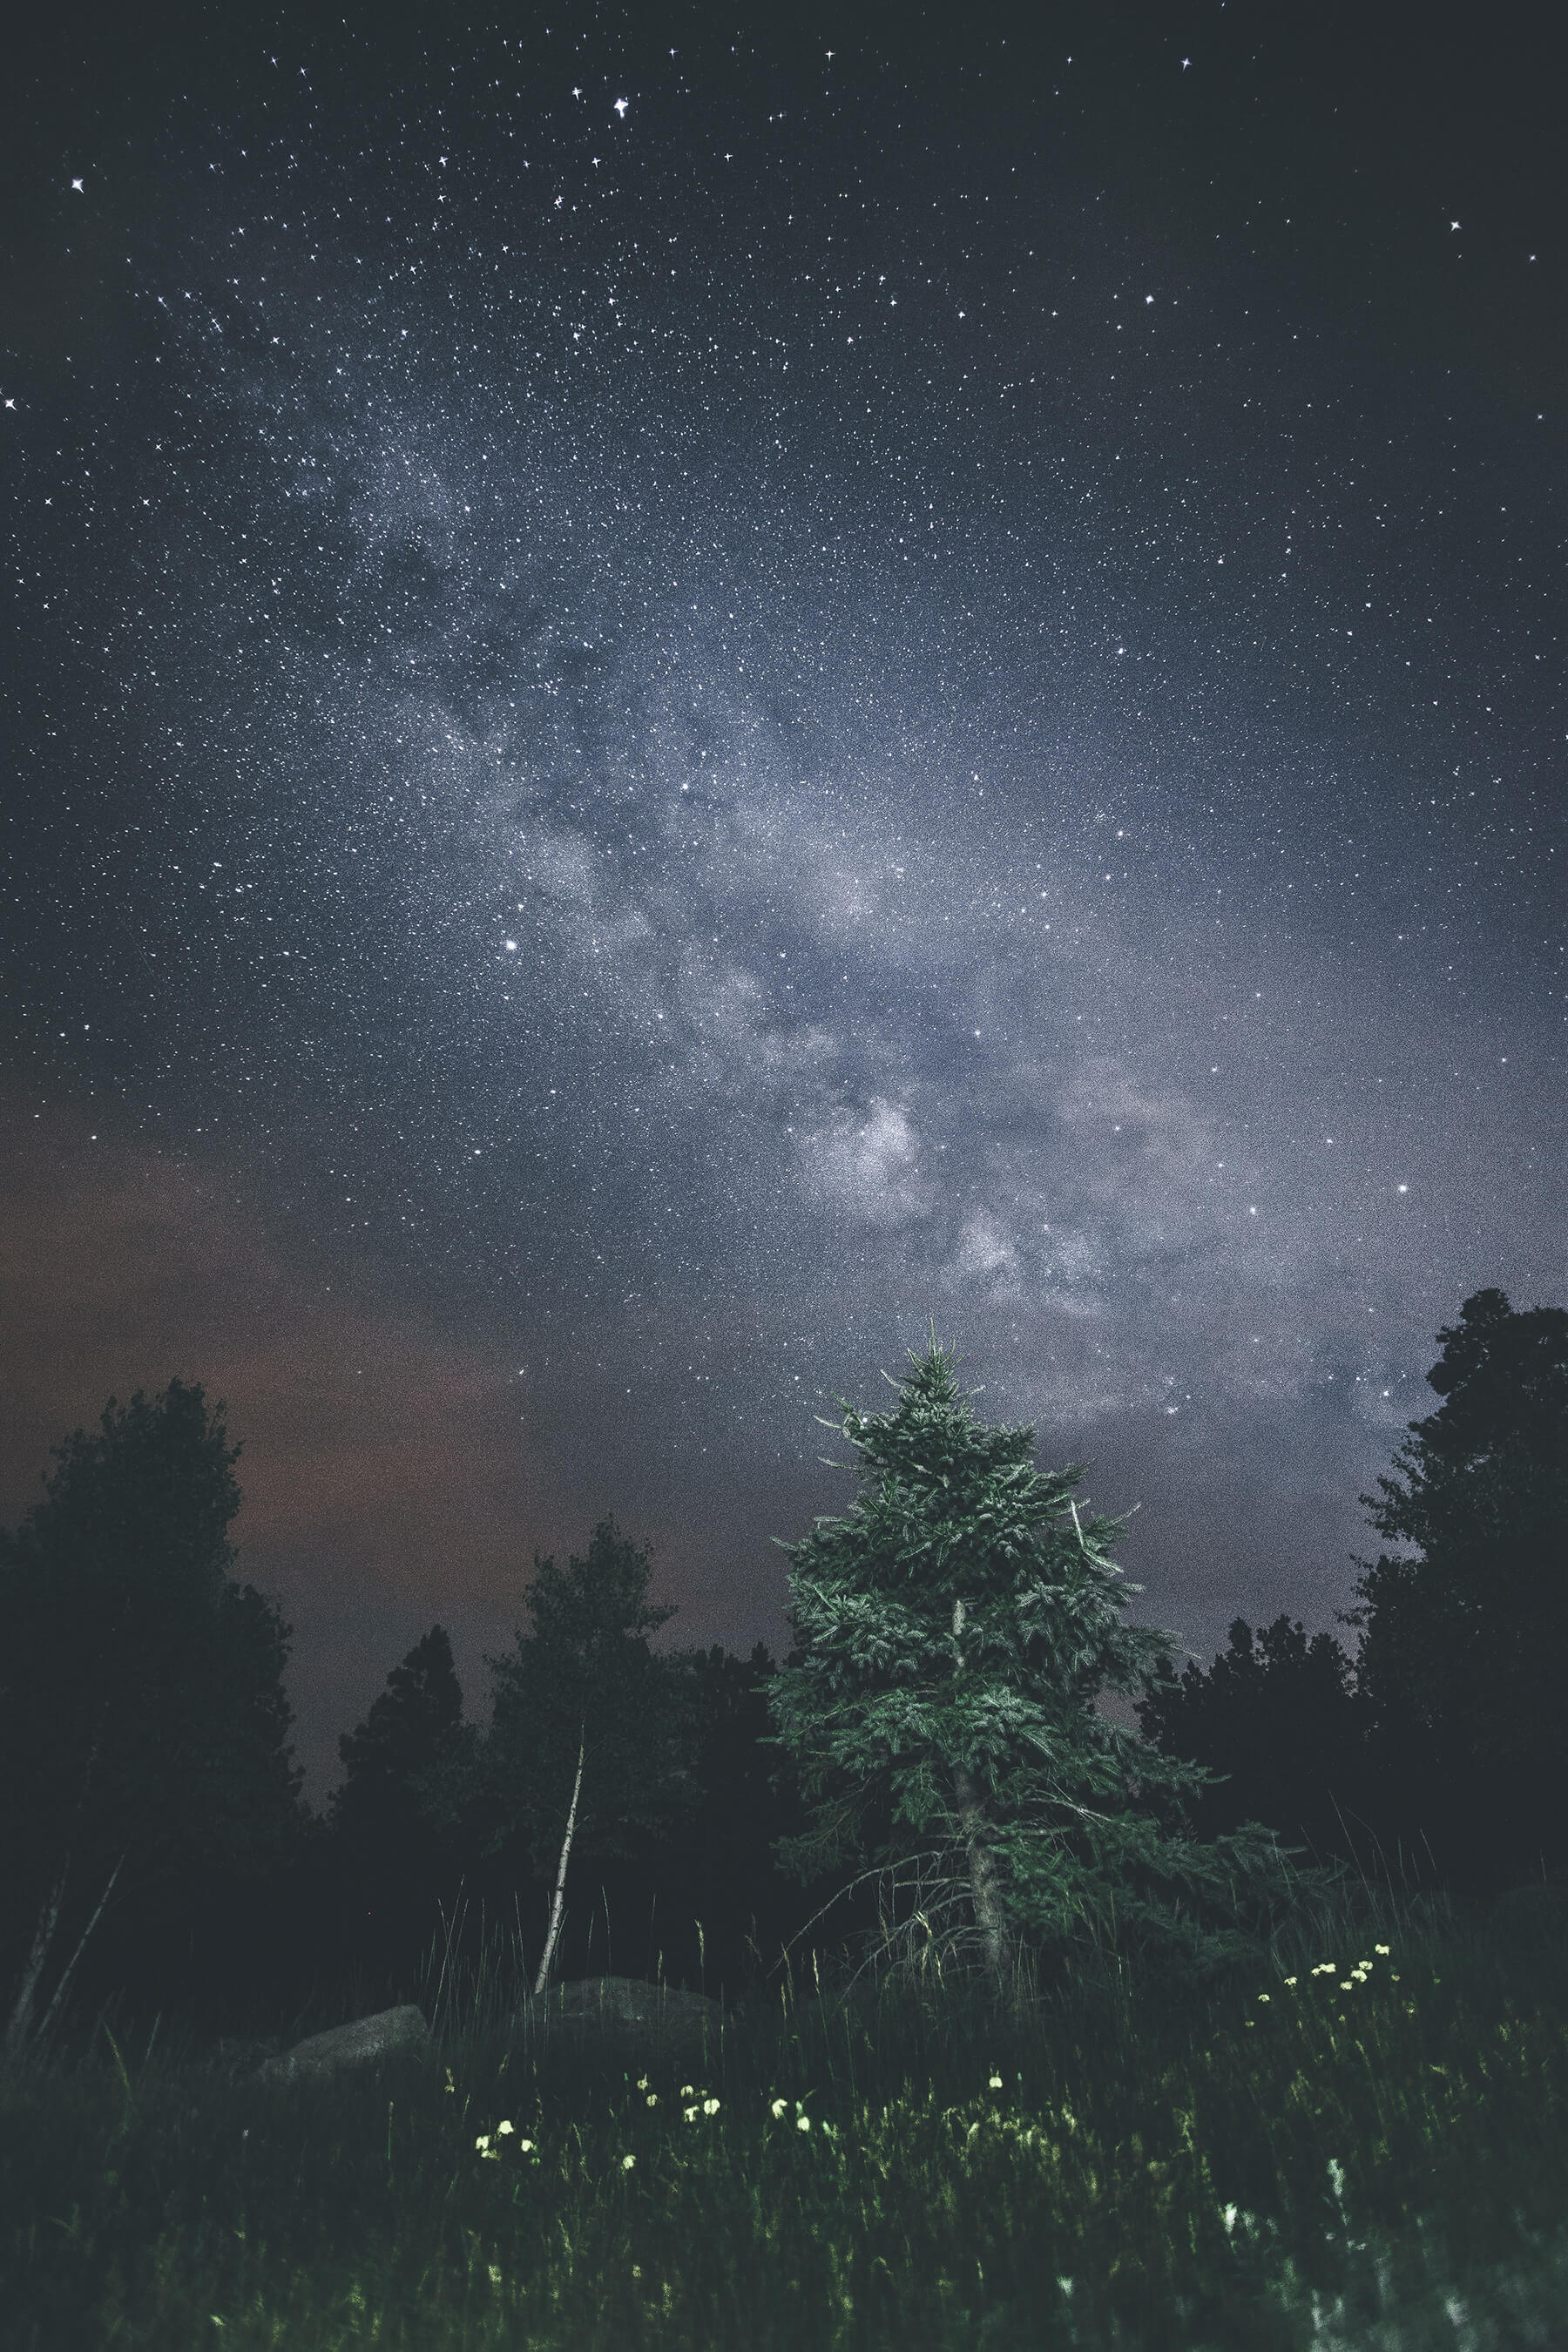
Image Depending on the lights available, an entire foreground or a solitary object can be lit to add interest to your astrophotography (credit: Kimon Maritz)
Light your street scenes
For many photographers, street photography is a raw, untouched and unaffected depiction of life. But if it makes for a better photo, is adding some of your own artificial lighting such a crime? After all, Bruce Gilden’s street portraits were iconic for their use of flash. But we’re not talking portraits here, we’re talking street scenes – namely, dark ones.
By hiding lights in your street scene, you can alter your photo altogether. Reveal areas that otherwise would remain unseen, add depth, create your own focal point, all with as little as a single speedlight. Coloured gels can also be a great choice, as they offer you the option of dictating the mood of the scene to an even greater degree.
You could light subtly and make your light seem as though it’s part of the scene, or you can make your lighting obvious and turn it into a creative element of the photo – the choice is yours.
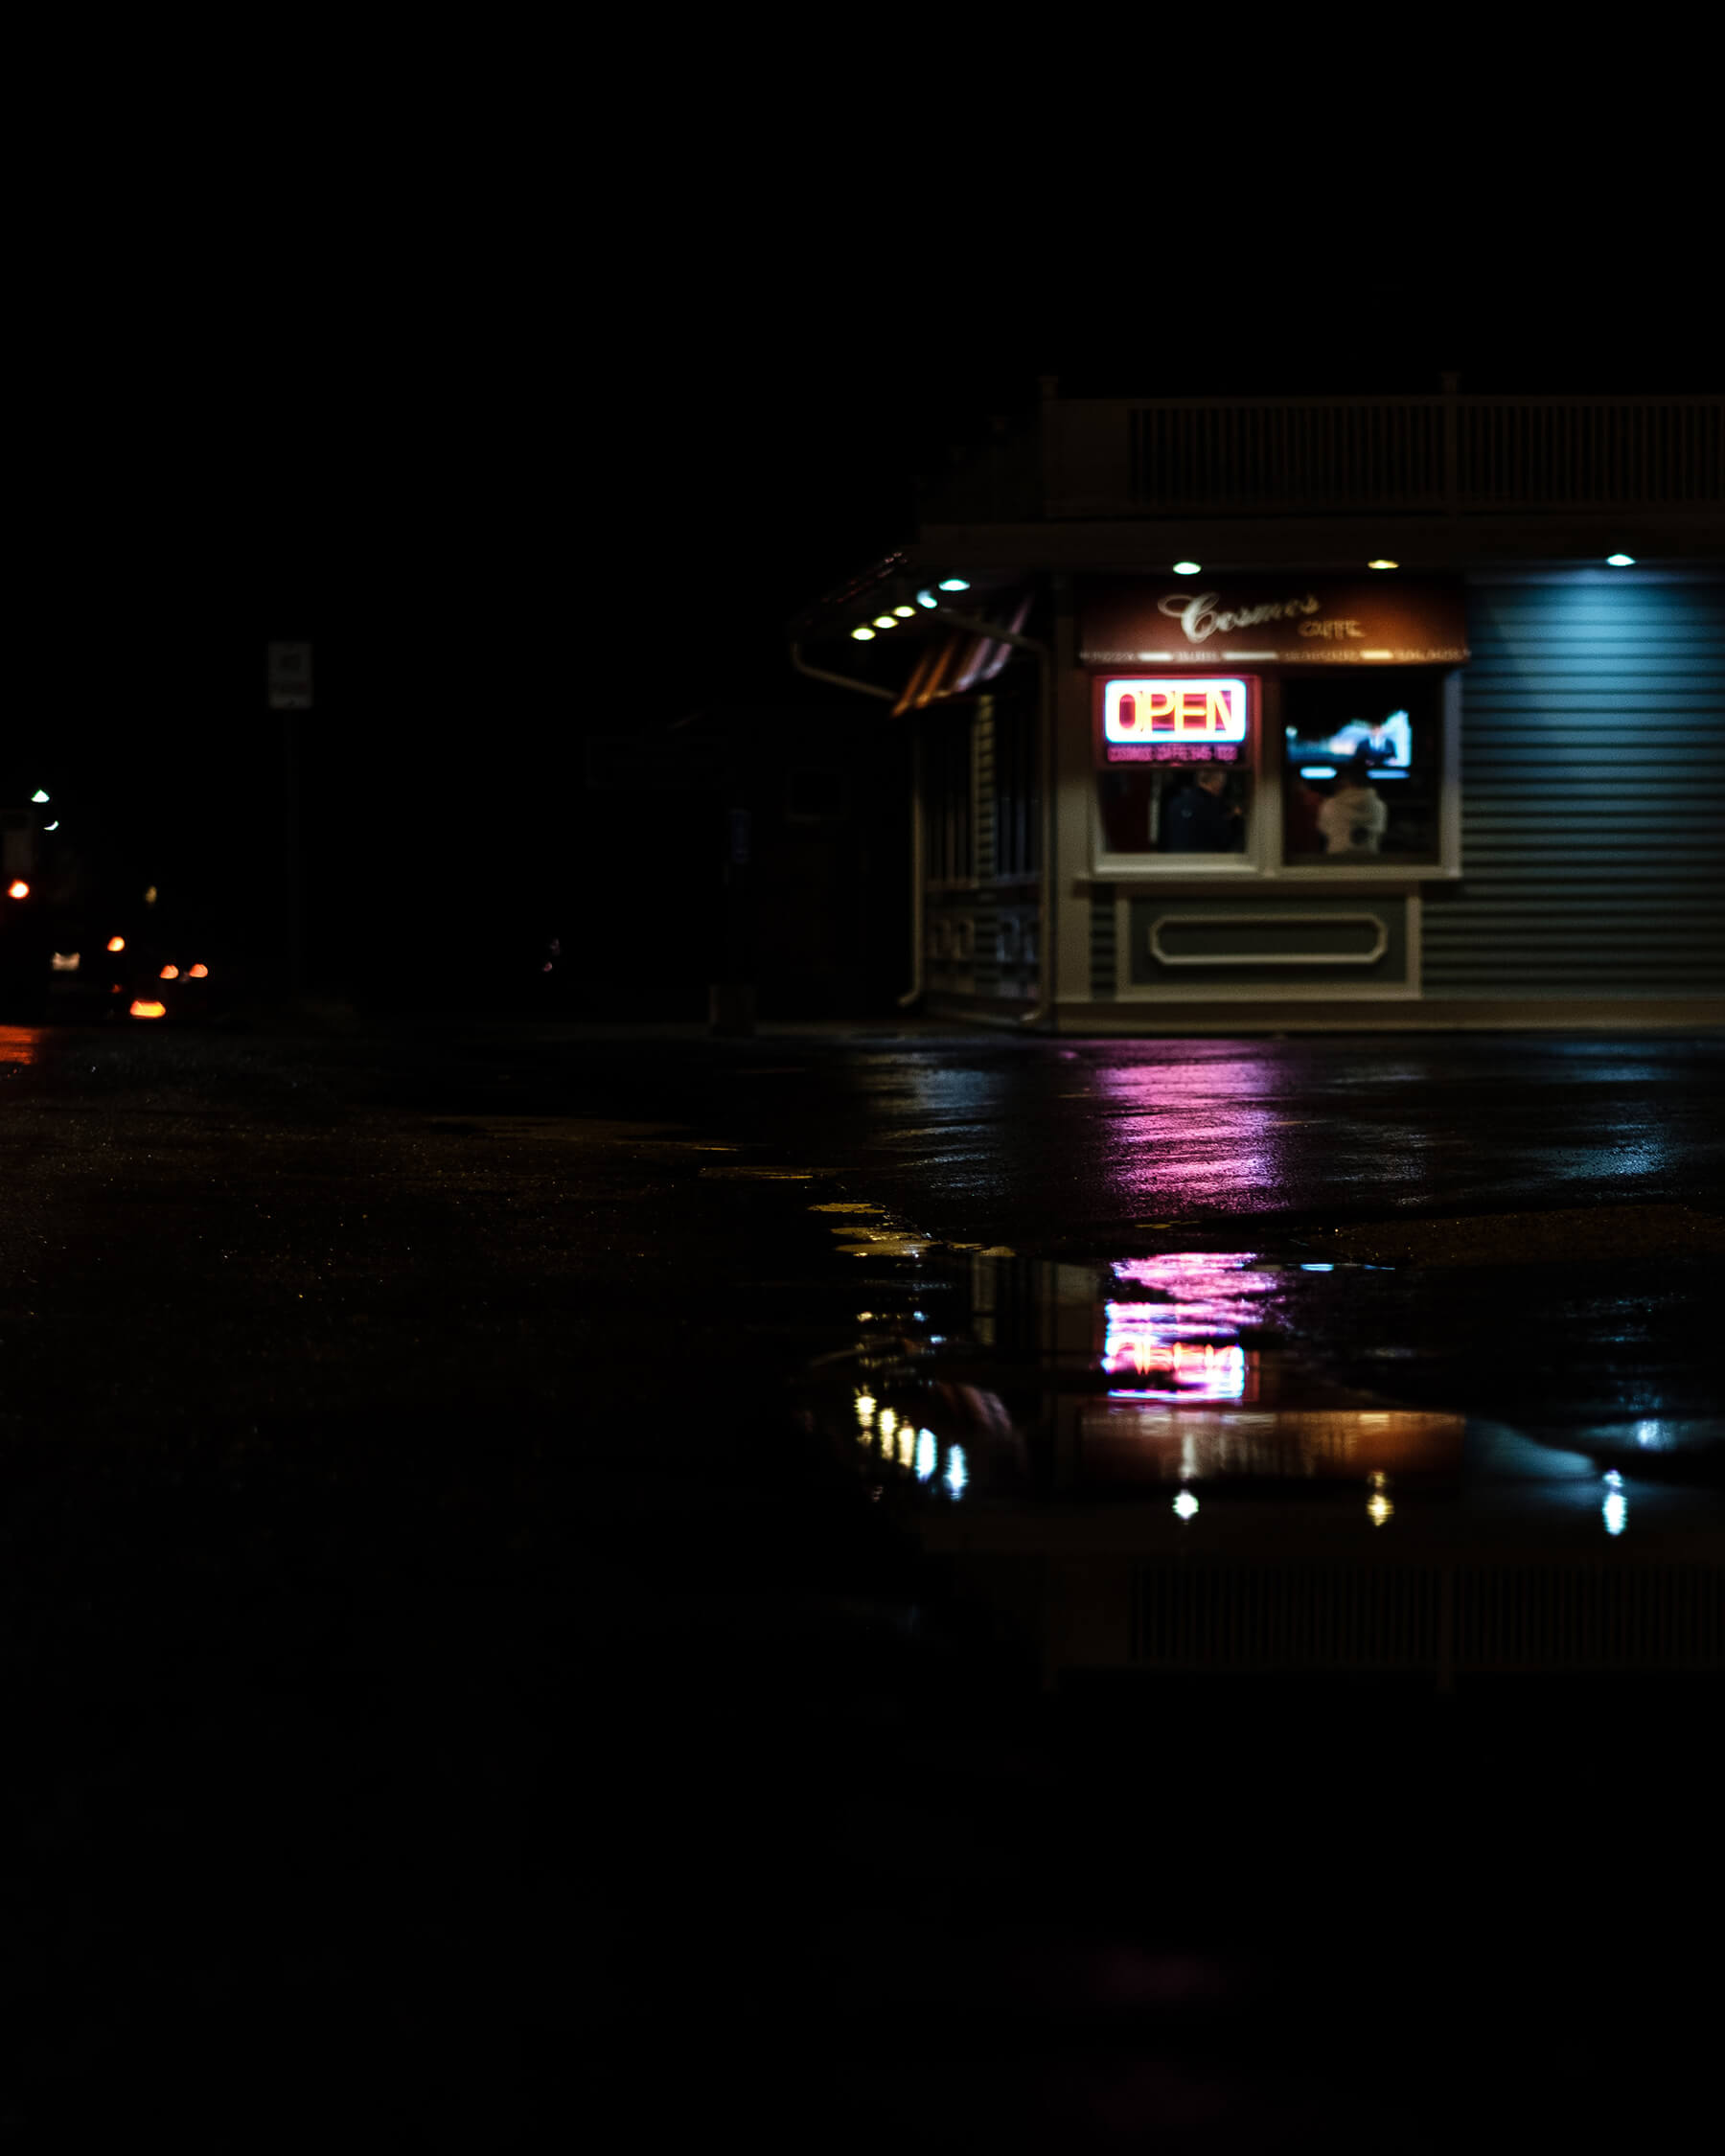
Image This dark street scene is fantastic as it is, but an additional light could have filled some of the empty space and given the photo even greater depth (credit: Osman Rana)
Do you have a great outdoor lighting tip? Let us know on social media by tagging us using the handle @PhotonewsPN!
Don’t forget to sign up to receive our newsletter below, to get notified of the new issue, exclusive offers and competitions.

