Using hyperfocal distance for true infinity focus
5 minute read
For sharpness throughout your whole photo, you can’t just set your lens to infinity focus. Here’s how to use hyperfocal distance for the greatest dept-of-field possible.
Until now, you may have been using your lens’s infinity focus setting to photograph far-away objects and using a tiny f/stop to maximise depth-of-field. But there is another way, and it’s all to do with something known as the hyperfocal distance. We’ll explain what that is and how to use it shortly, but first, here are a few benefits.
Whether you’re shooting landscapes, street photography, portraits or virtually any other genre of photography, at times, you’ll require the maximum depth-of-field possible. You could opt for your lens’s infinity focus setting, but the issue here is that foreground objects aren’t likely to be in focus. You could stop your aperture down all the way, but again, you’re limited on a number of fronts. But, by using the hyperfocal point, you can capture a sharp foreground and background, use a wider range of apertures, raise your shutter speed and more.

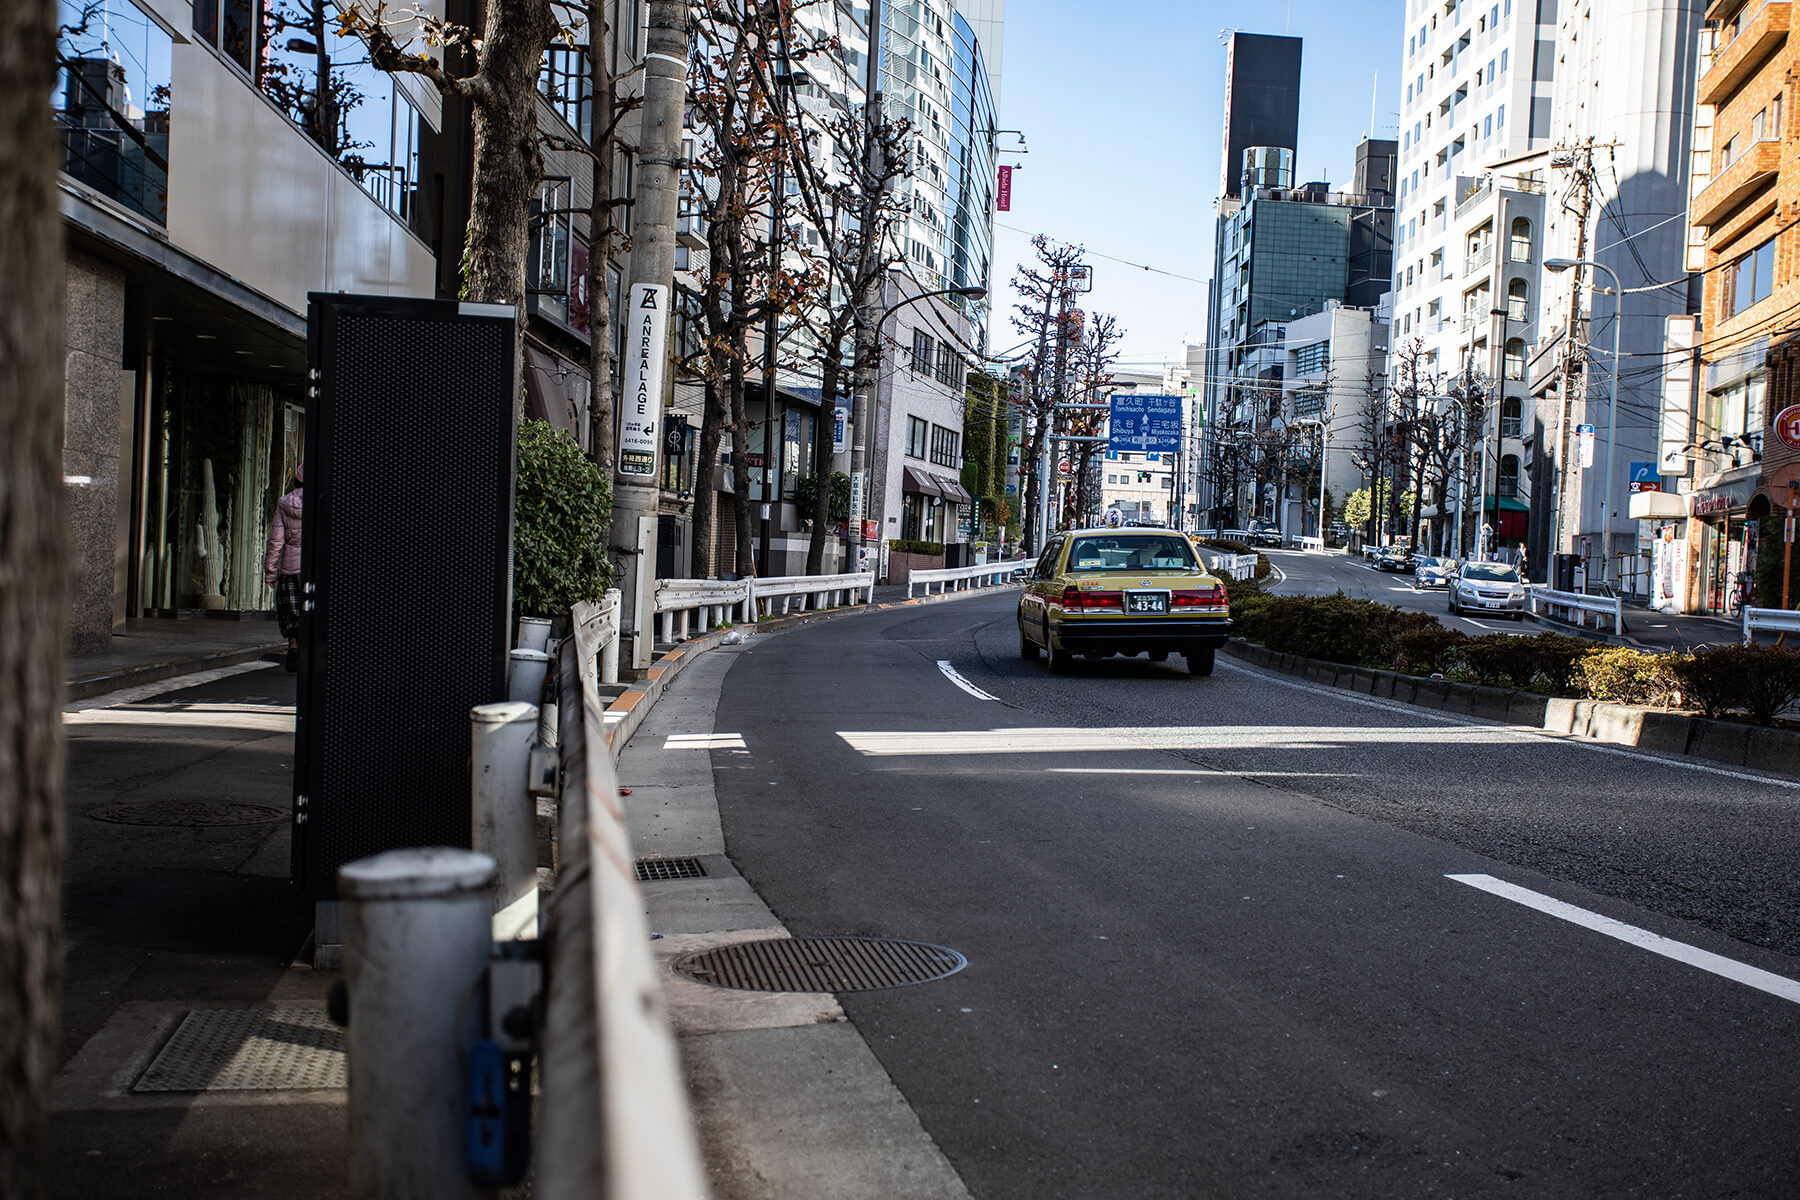
Image In this street scene, everything from the road in the foreground to the buildings in the background is in focus, even at an aperture of f/4 (credit: Kirill Petropavlov)
What is hyperfocal distance?
Hyperfocal distance is the point that allows the greatest depth-of-field for a given lens. When focussing at the hyperfocal point, everything from half-way to that point to infinity will be in an acceptably sharp focus.
The term ‘acceptably sharp’ isn’t as abstract as it seems. It actually refers to something known as the circle of confusion, but we won’t be going into depth on that here – nor should you ever strictly need to. What is important is that ‘acceptably sharp’ is more than sharp enough for the naked eye, or even a fairly large print.
Another important consideration is that hyperfocal distance, and the results that can be achieved by using, it vary based on your lens’s focal length and aperture, as well as distance to the nearest object you want in focus.
By its very nature, the hyperfocal distance of a longer lens is going to be further away than that of a wider lens. Similarly, hyperfocal distance doesn’t suddenly give a wide aperture limitless depth-of-field. Still, with the right lens and settings, you can use this technique to capture acceptable sharpness from within a metre to infinity.

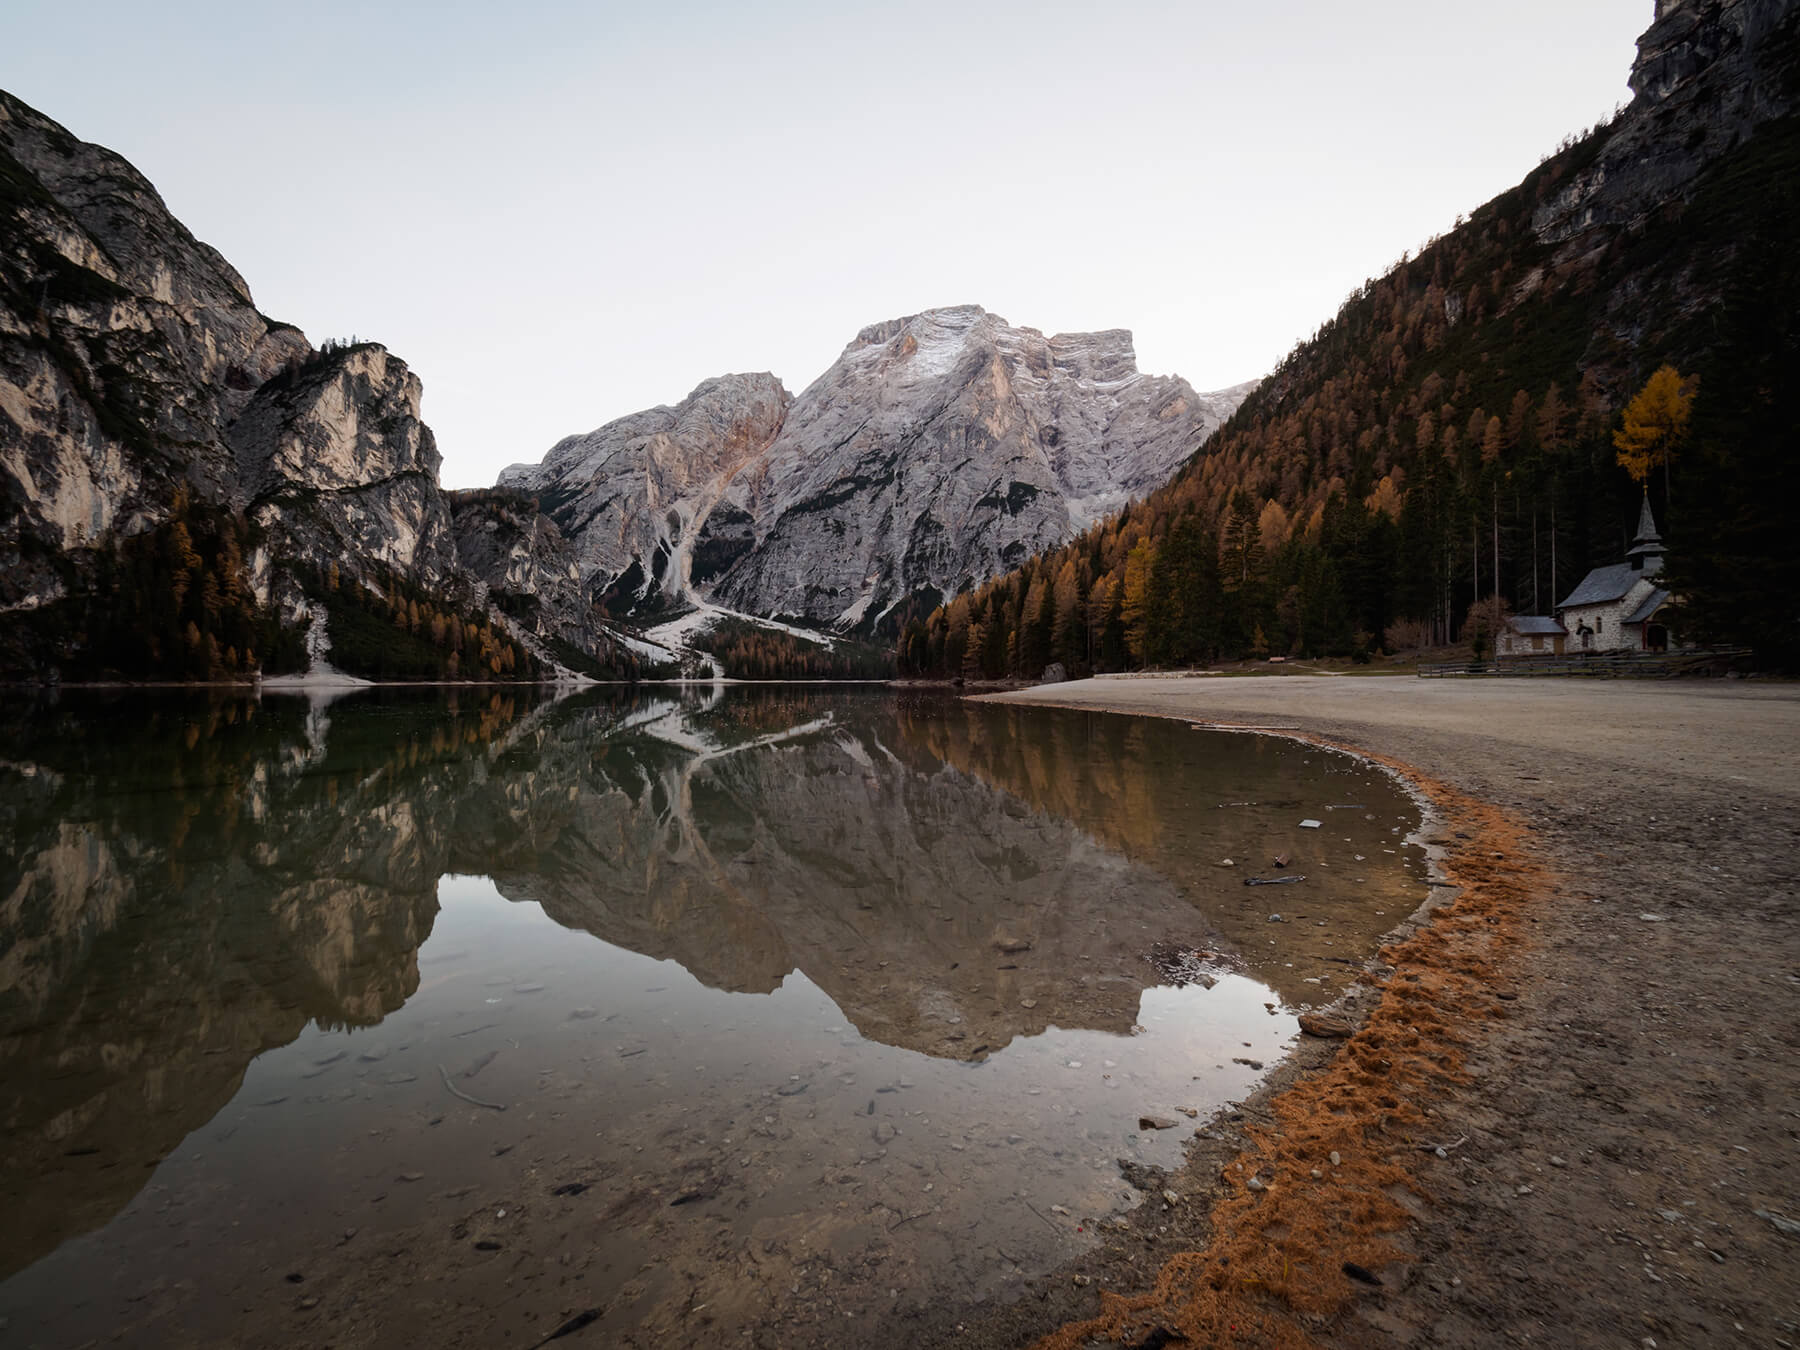
Image This landscape scene is a perfect example of when hyperfocal distance is needed. The shore is just a few feet from camera, the mountains are beyond ‘infinity’ distance and there are objects in between. In this case, a middling aperture of f/9 was used with no need to stop down any further (credit: Alberto Tondo)
How to calculate and use hyperfocal distance
There are two common ways to work out hyperfocal distance. The first and most accurate is by using a hyperfocal distance chart. For this, you’ll need to know your lens’s focal length and your desired aperture. Next, pull up your hyperfocal distance chart and use your focal length and aperture to determine the hyperfocal distance. When you have the hyperfocal distance, focus there using your camera or lens’s distance scale or by measuring the scene itself.
You could also use your focal length and the distance of the closest object in your scene to determine aperture – again, in conjunction with your chart – but this will mean your aperture is chosen for you. The result of this is a potential slight loss of sharpness (depending on where your lens performs best) and restrictions on shutter speed.
| f/2.8 | f/4 | f/5.6 | f/8 | f/11 | f/16 | f/22 | |
| 35mm | 47.5ft | 33.6ft | 23.8ft | 17ft | 12ft | 8.5ft | 6ft |
Chart Here’s an abridged chart showing the hyperfocal distances of a 35mm lens on a full-frame camera at varying apertures. Remember, everything from half way to this point and beyond will be in focus. So, in the case of f/11, everything between 6ft and infinity will be in acceptably sharp focus
These somewhat time-consuming measurements are fine for a landscape, but what about street scenes, portraits or documentary photography? In those instances, you may be better off opting for the second option: the double the distance method.
The double the distance method is certainly less precise, but also significantly faster. Remember we mentioned earlier that focussing at the hyperfocal distance keeps everything from half that distance to infinity in acceptable sharp focus? The double the distance method simply advises you focus double the distance from the closest object in your scene.
In doing this, we’d advise closing your aperture as much as practically possible in the moment, just to give yourself the maximum depth-of-field. Also, as only half the distance between the hyperfocal distance and your camera will be acceptably sharp, it’s better to underestimate double the distance of your closest object rather than overestimate.

Image To recap, let’s use this image and a few hypotheticals. Let’s imagine it was taken with a 35mm lens on a full-frame camera, and the closest board on the pier was 6ft away. We could use those two factors with our chart above to determine an aperture of f/11. Alternately, if we really wanted to shoot at f/8, we could reframe slightly so the closest board was 8.5ft away (credit: Tomas Brambora)
So, will you be using this method to get the maximum depth-of-field possible in your photos? Show us the results or ask us any questions on Instagram, Twitter or Facebook, at the handle @photonewspn
Don’t forget to sign up to receive our newsletter below, and get notified about the new issue, exclusive offers and competitions.


