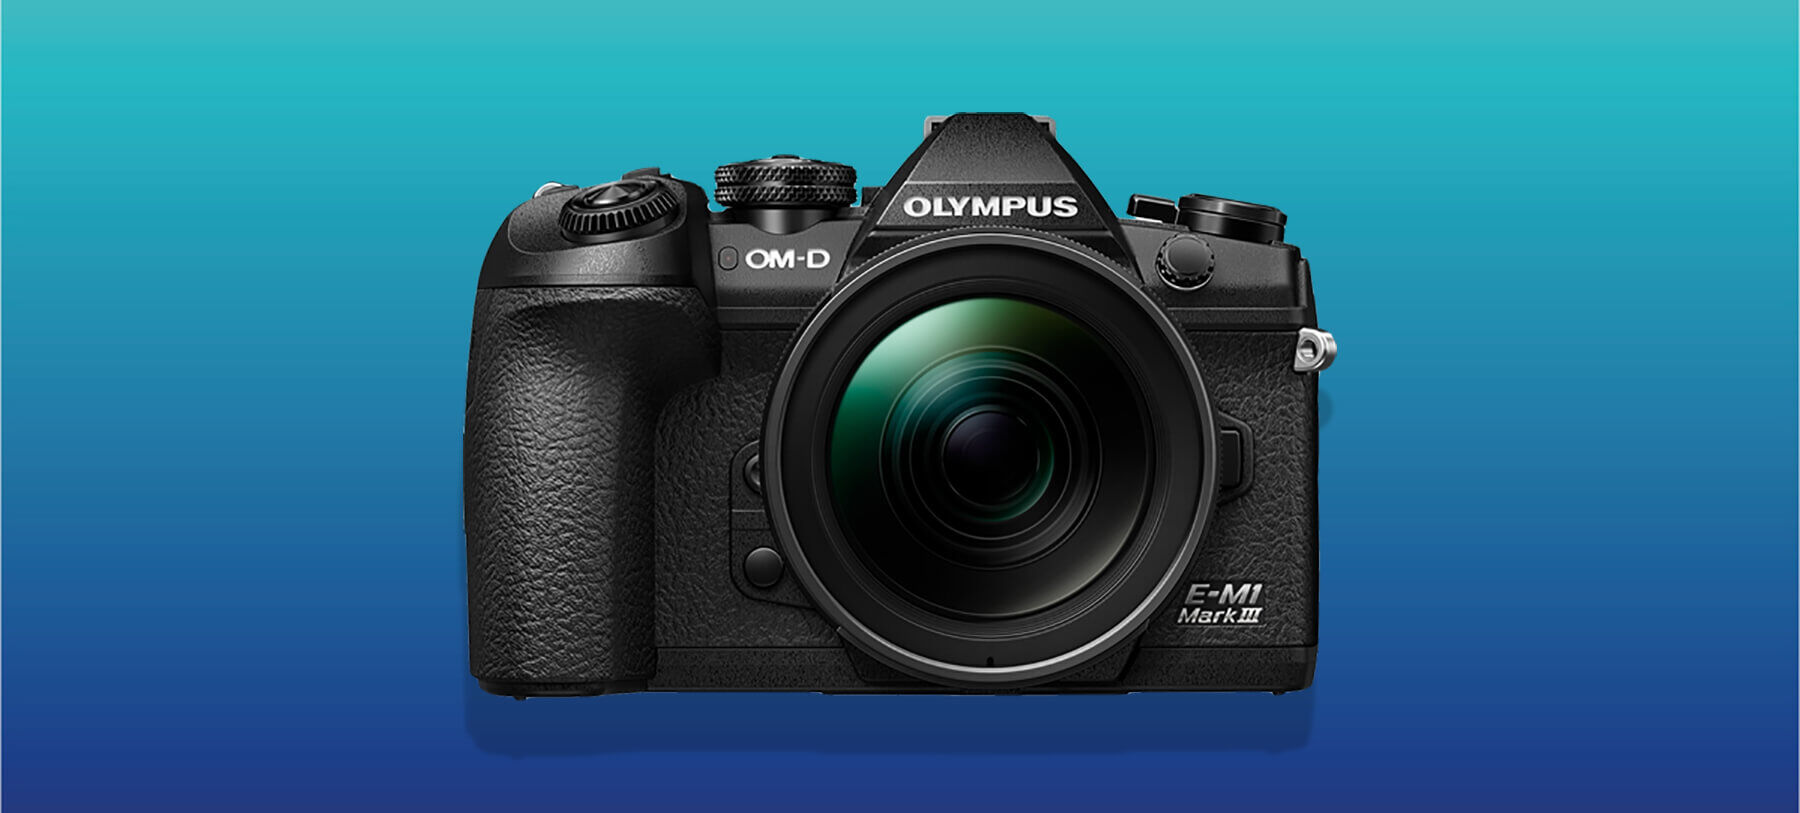
Olympus OM-D E-M1 Mark III test: going wild
Wildlife pro photographer Andy Rouse give us his first impressions of the Olympus OM-D E-M1 Mark III, and his experience of using it for his shoot in India.
SPONSORED BY OLYMPUS
I had the Olympus OM-D E-M1 Mark III for an intensive few days, and have to admit it’s without a doubt a mini E-M1X – which is excellent! You get most of the power, but in a smaller body, so many people will love it if they do not need the whole E-M1X package. The range is very well balanced now, allowing people to choose when they dive in according to what they need and cost, of course. In fact, the owls I shot tell the story – almost. This was shot hand-held using the M.Zuiko 40-150mm f/2.8, at ISO 400, f/4.5 and 1/3200sec, -0.7 compensation. I was standing on the Jeep, holding up the camera and using the screen tilted out and down so I could get the maximum height. AF was CAF + Tracking, set beforehand. It worked!
So, I’d put the cameras in this order: E-M10 – the cute smaller one; E-M5 Mark III – a step up; E-M1 Mark II – in the middle and great value as a way into the ‘Pro’ end; now the Mark III – if you want the latest spec and, finally, E-M1X for raw power.

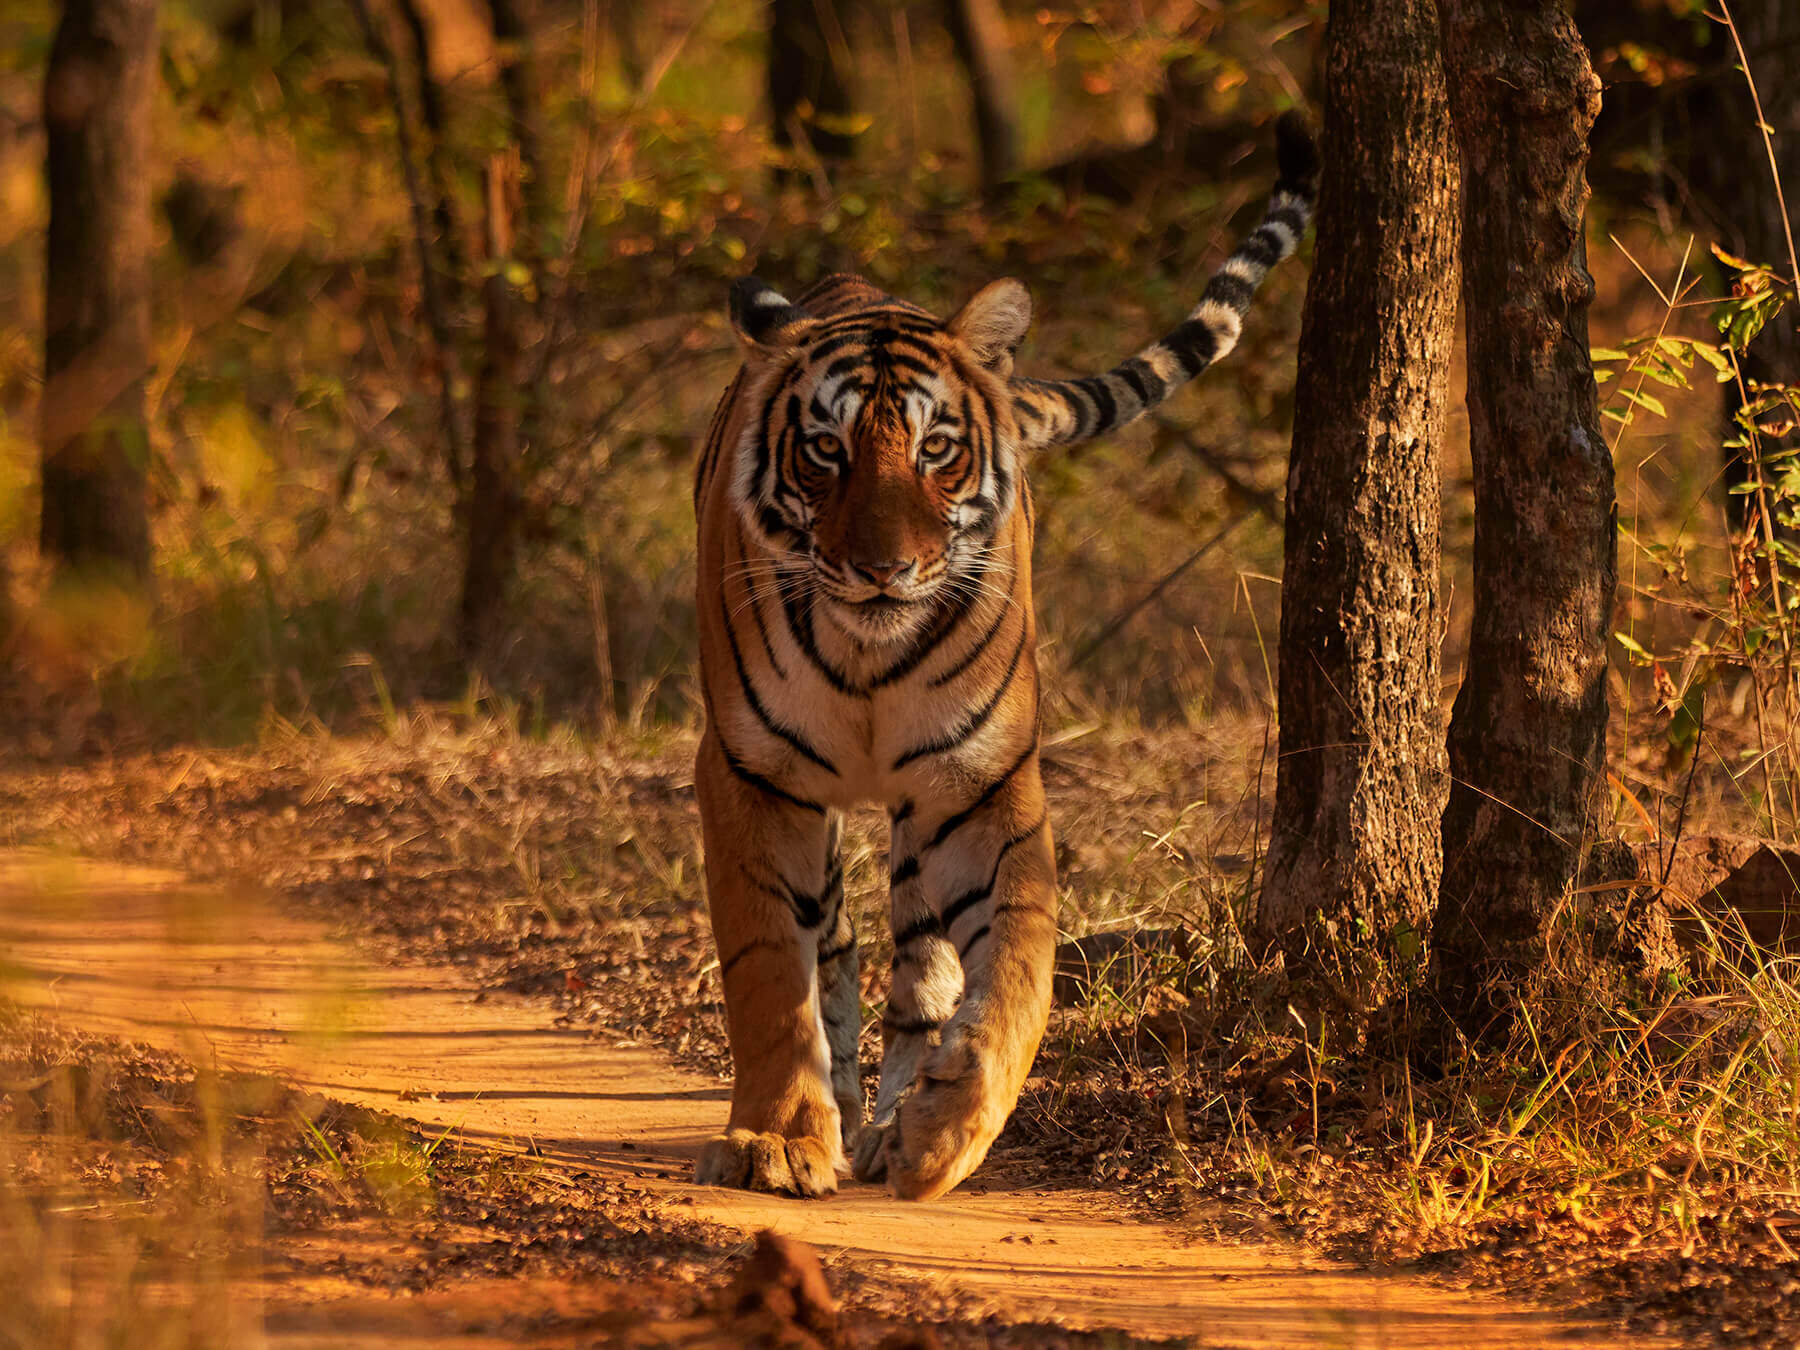
When comparing the new Mark III with the Mark II, I’d have to say 100% that the joystick is the most welcome addition as it makes changes in focusing so much quicker. The shot pictured above, captured with the M.Zuiko 300mm (my go-to lens for excellent bokeh) with the subject to the left of the frame, is a great example. No need to move the camera or take your eye from the finder – move the point with the stick. Plus, I am so used to using them, it feels natural. I read that the shutter durability has doubled to last 400k cycles, which is a bonus with the number of shots I take. Adding the PD compatible power delivery also makes sense as you can run off a big power bank forever when out in the middle of nowhere.
In addition, I knew the image stabilisation had been improved by 1EV compared to the Mark II, and it shows. You can also feel the overall focusing response was snappier, which helps. It’s crazy how we used to manage with manual focusing at all, but now improvements to already great AF systems are taken for granted. In the end, they all help your hit rate, but you still need to know where to point the camera and to get the exposure right.

I’ve been told a lot of work has been done on the new processor to make it an overall step up in what the camera delivers and, while I need more time to look at the images in more detail, they are certainly cleaner and whatever they’ve done internally is pretty clever. I think people miss the under-the-bonnet stuff where a ton of smaller things like faster processing and better power handling all add up. In the end, the output is great for my professional publishing needs – no complaints.

When it comes to getting the best out of Olympus Raw files with Capture One, I think a lot of people have no idea just how much of a difference it can make, so I would definitely encourage others to give it a go. You may have used your current software for ages, but there is a big difference. In any case, you can still do tweaks in whatever program you like, but get the basics right first. I am hoping to do a small ‘how-to’ when I get some time but there are excellent online tutorials from Capture One, which I used to get me started. Remember – much as you still need to know where to point the camera, there is also a ‘you get out what you put in’ element to processing the files.
Follow Andy Rouse on Instagram.
For more information, please visit the Olympus website.


