How to get better in-camera audio
Posted on Jun 5, 2020 • 8 minute read
In-camera audio is notoriously poor quality, but here’s how to make sure it’s as good as it can be.
As part of the Photography News Summer Festival, in issue 77 of the magazine, we covered the essentials of video for beginners. Sound was mentioned, but not in as much depth as we would have liked. Here, though, we’ve got some tips that will certainly help.
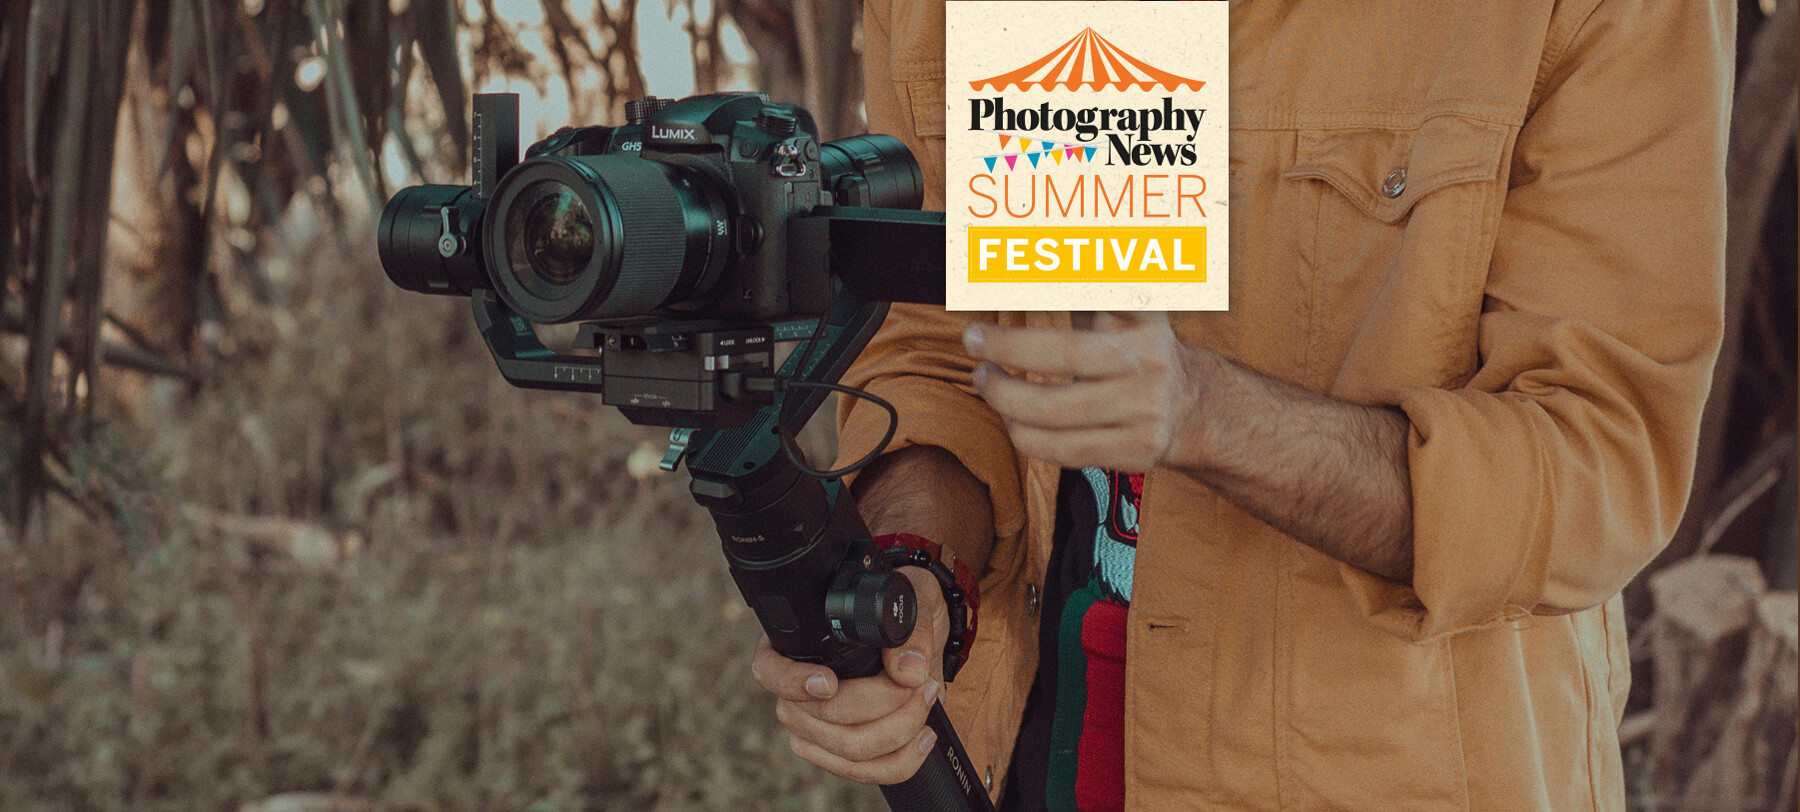
Sound is a significant part of video, but for beginners in particular, buying an external mic isn’t very appealing. The problem is, the audio from your camera’s built-in mic won’t be up to scratch. It doesn’t really matter what brand or model you own, because the simple fact is, that DSLR or mirrorless wasn’t built to deliver good audio – it was built to capture the best image possible.
So, it seems you’re stuck between a rock and a hard place: pay out for an external mic or suffer poor-quality sound in your videos. But what if there were a middle ground? Well, there is some hope of acceptable in-camera audio if you know what you’re doing.
Before we begin, we feel it’s important to state that there’s certainly no substitute for a well-designed external mic, and any of these tips will only help you get the best from your camera, they won’t give you professional-quality audio. We’ll be covering video accessories, including a range of external mics, in issue 78, which may well be out by the time you’re reading this. Read it free and online in our Issue library.
Recording
Just like still images or video, the path to better audio starts with getting things right during capture. There’s only so much that can be done in post. So, step one is setting the correct levels.
By default, your camera audio level or sensitivity is probably set automatically, but you should have the option of adjusting manually for better results, either in decibels or via a more basic numbered scale. You’ll most certainly want to avoid topping out your audio, which is indicated when the audio meter is filled, likely turning red.
To set levels, test them using the sound you’ll be recording or something very comparable. Ideally, the bars will fill roughly three quarters of the meter when the sound is at its loudest. Don’t worry if they appear a little too quiet – in post, it’s far easier to increase the volume than it is to recover topped-out, distorted audio.
For reasons of minimising background noise, have the mic near your subject if possible, allowing you to set lower levels. Of course, with in-camera audio, this means having the camera itself close to your subject, which isn’t always possible.
In cases such as this, do your best to eliminate background noise. The problem with most cameras’ on-board mics is that they’re multidirectional so can’t be used to target a subject. You can help with this, though, by physically shielding the camera from sounds like wind, for example. Try using your body, a camera bag or a jacket.
Another issue with in-camera audio is its sensitivity to camera noise. A lens’s AF motor, the flick of a switch, any small bump or knock, even handling – all of these noises are going to be amplified significantly, so try to avoid them as much as possible. If this means using manual focus, sticking with all settings that were selected before you hit record or even taking most of the camera’s weight in a camera strap to avoid adjusting hand position, so be it.
Editing
Many beginners overlook editing audio much at all but, just as you wouldn’t neglect editing visuals, audio deserves some due care in post. Again, there’s only so much that can be done when it comes to in-camera audio, but we’re sure you’ll notice a difference using these few simple tips.
It’s also worth noting that some audio options may not be available to you in less-advanced video editing software. Still, there are many stand-alone free audio editing software options. You can edit your combined video and audio tracks in a video software so they’re in sync, then export your audio track and edit it elsewhere, then rejoin them back in the video editing software.
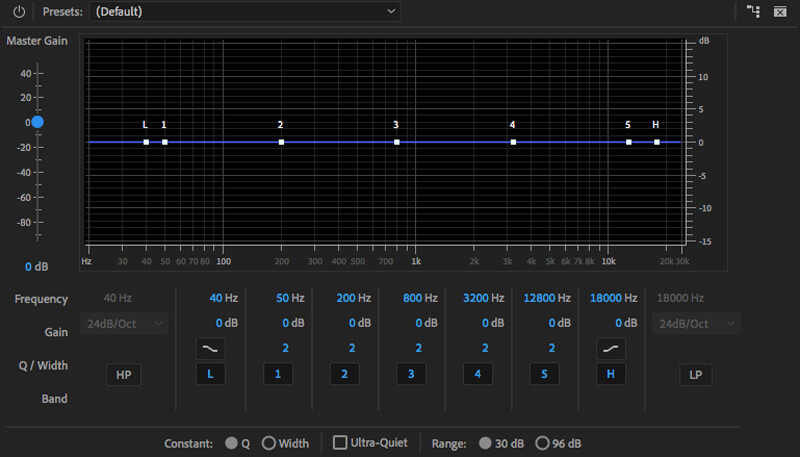
Our first step is the equaliser (EQ). In simple terms, EQ lets you isolate all the frequencies that make up your audio clip. You can think of it as targeting the blacks, shadows, midtones, highlights and whites when making a levels adjustment on an image.
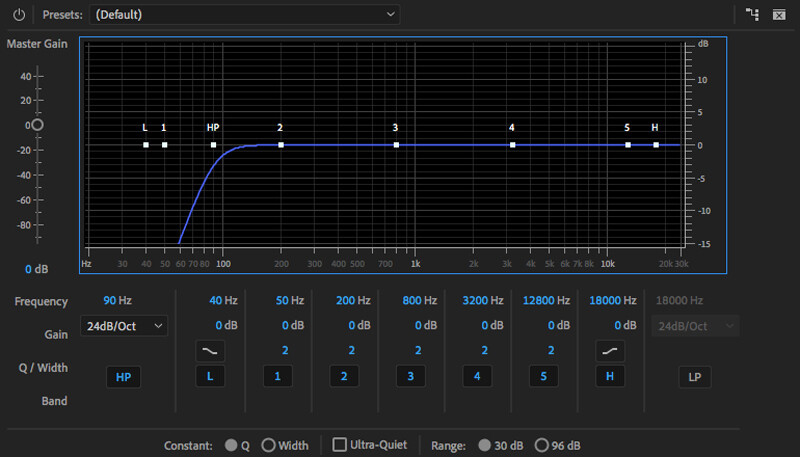
This is particularly helpful with voice clips. Here, if it is a voice clip, you can immediately drop anything higher than (to the left of) roughly 90Hz to create a high-pass filter, which is a built-in feature of some advanced mics.
Click the images to see a larger view
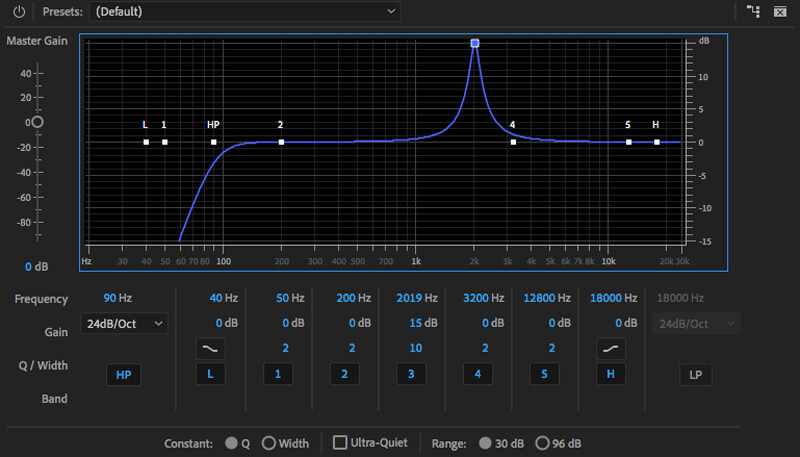
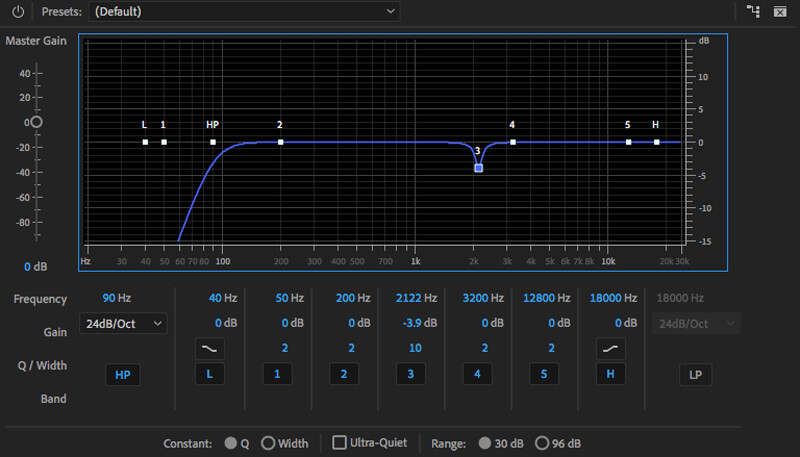
From here, you can begin to eliminate the worst parts of the audio clip by frequency. This should help you reduce the tinny, echoey quality of the audio slightly. To do this, take one of the points on your EQ scale, drag it all the way up the Y axis to increase gain, then sweep it across the X axis between roughly 1000Hz and 5000Hz with the audio playing. When you identify the bad frequencies – you’ll know when you do – reduce the gain in those areas.
Click the images to see a larger view
The next thing we’d suggest is some compressing, which is the process of reducing the dynamic range of volume. You may have a Compressor tool to do most of the work for you, but if not, you can identify the loudest and quietest parts of your clip, isolate them with simple cuts then increase or decrease the gain. You may wish to add a fade up/fade down transition so it’s not such a sudden change.
There are more editing techniques that will help you sharpen up your in-camera audio, and they’re well worth exploring for the experience alone. Consider this, though: if you care enough to go to greater lengths than these while editing your audio, perhaps it’s time to just invest in some better kit.
Alternatives
As we said at the beginning of this feature, audio is incredibly important in a video, but nobody said the audio had to be synchronous. By being clever and creative with your filmmaking, you can do more than your kit would ever allow in other circumstances.
Of course, this depends on the type of video you’re creating – if it’s documentarian for example, you’re limited here – but in almost any instance, you can think outside the box.
If you’re shooting video for no other reason than capturing some nice-looking scenes, edit your B-roll style video with music. No diegetic sound is better than bad diegetic sound.
Alternatively, if your clips aren’t of a subject with finely synching visuals and sound, you can capture your visuals and audio separately. Even if you do have to use your in-camera mic, you can use it in the best possible circumstances, as outlined earlier.
Any audio clip of a river flowing, some general city noise or the ambient sound of a woodland would fit with any comparable visual clip, regardless of when each was taken. Avoid obvious visual or aural indicators and nobody will know the two parts of your video weren’t captured in the same place at the same time.
As the Summer Festival goes on, we’ll have more great guides in print and on the website, not just for video, but for stills photography, too. Read the magazine free and online via our Issue library and find web features in our Inspiration section.
You can find us on Instagram, Twitter and Facebook using the handle @photonewspn
Don’t forget to sign up to receive our newsletter below, and get notified about the new issue, exclusive offers and competitions.
Have you heard The Photography News Podcast? Tune in for news, techniques, advice and much more! Click here to listen for free.

