Get fresh with outdoor high-key photography
Get ready for great outdoor portraits with this simple high-key photography technique. Here, we’ll use off-camera flash and bias the exposure to flood the frame with light for a beautiful, flattering, high-key effect.
Read time: 10 minutes
It’s well past summer now, so you may have left the outdoor portraits alone quite some time ago, but get out there, flash in hand, and you could achieve some great results. With the right approach, you can use flash to augment the sunshine and fill in the shadows in a way that’s much more controllable than shooting with just the natural light.
For the most flattering results, the drill here is to turn the subject away from the sunshine and to fire the flash as a fill light. A second flash can be used to add to the sun’s backlighting, so you can control its position more easily on the subject and also keep shooting when the sun goes behind a cloud.
For high-key photography like this, using a flash is often better than a reflector for several reasons. The flash’s light is more controllable, and also not as intrusive to the subject, because while the constant sparkle of a reflector may make them squint, the flash is, of course, only brought into play at the split second it’s required. With just a little experimentation, we’ll achieve a bright, summery, high-key image, whatever the time of year.

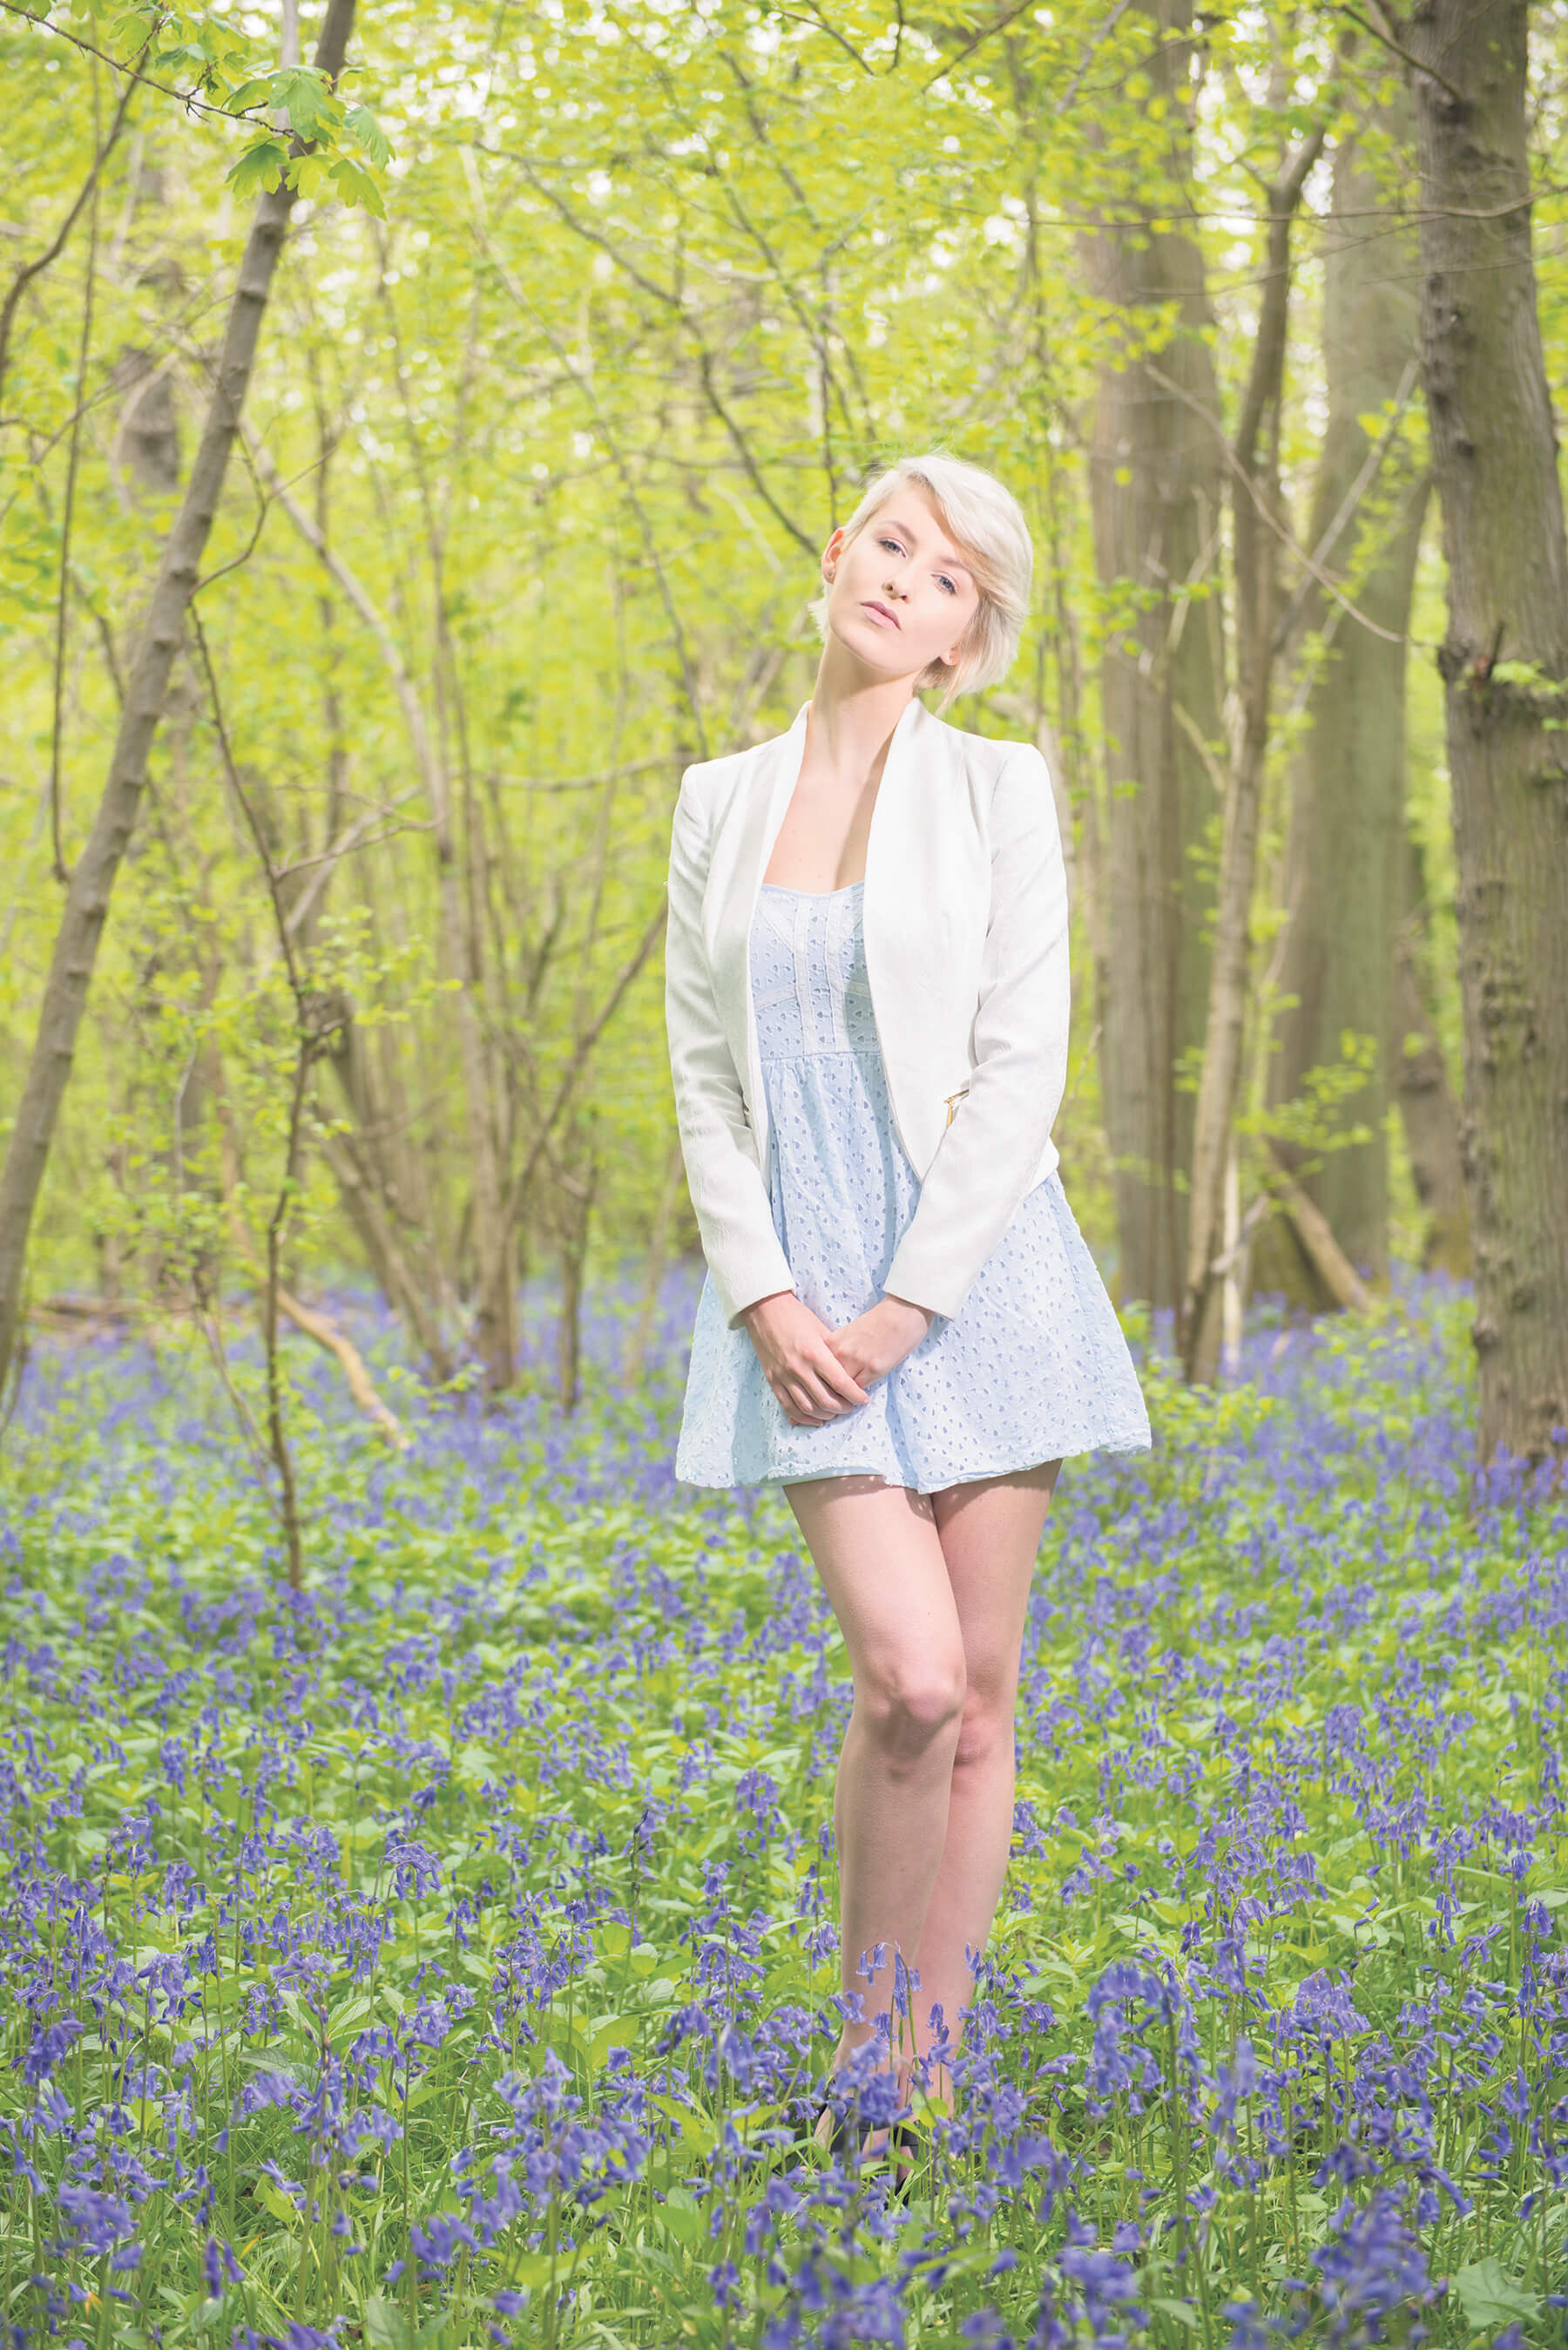
Image With Amber turned against the light, overexposing the shot by about 1EV gives an OK exposure, but there are still shadows to deal with. With a hair light and fill light firing, these are more easily controlled than using a reflector
We went to a local woodland for this shoot, full of fresh greenery, bluebells and nice straight trunks to create a background reasonably free from distractions. Framing fairly wide to start off, but using a wide f/4 aperture to knock the background out a little, Amber stood with her back to the sun and we took a shot in aperture-priority, metered in multi-segment mode (1/200sec at f/4, ISO 200), which, as expected, exposed the background quite well, but left her too shadowed, and had none of the high-key sparkle we wanted in the shot.
Dialling in +1EV of exposure compensation gave a better look to Amber, and the background gained the desired brighter look, just right to create the high-key effect we were after when the fill and hair lights were put in. In fact, just using exposure compensation correctly to expose the subject and let the background take care of itself would be a perfectly good set-up if we didn’t have flash to add as well, but the extra light you can add really pays off.
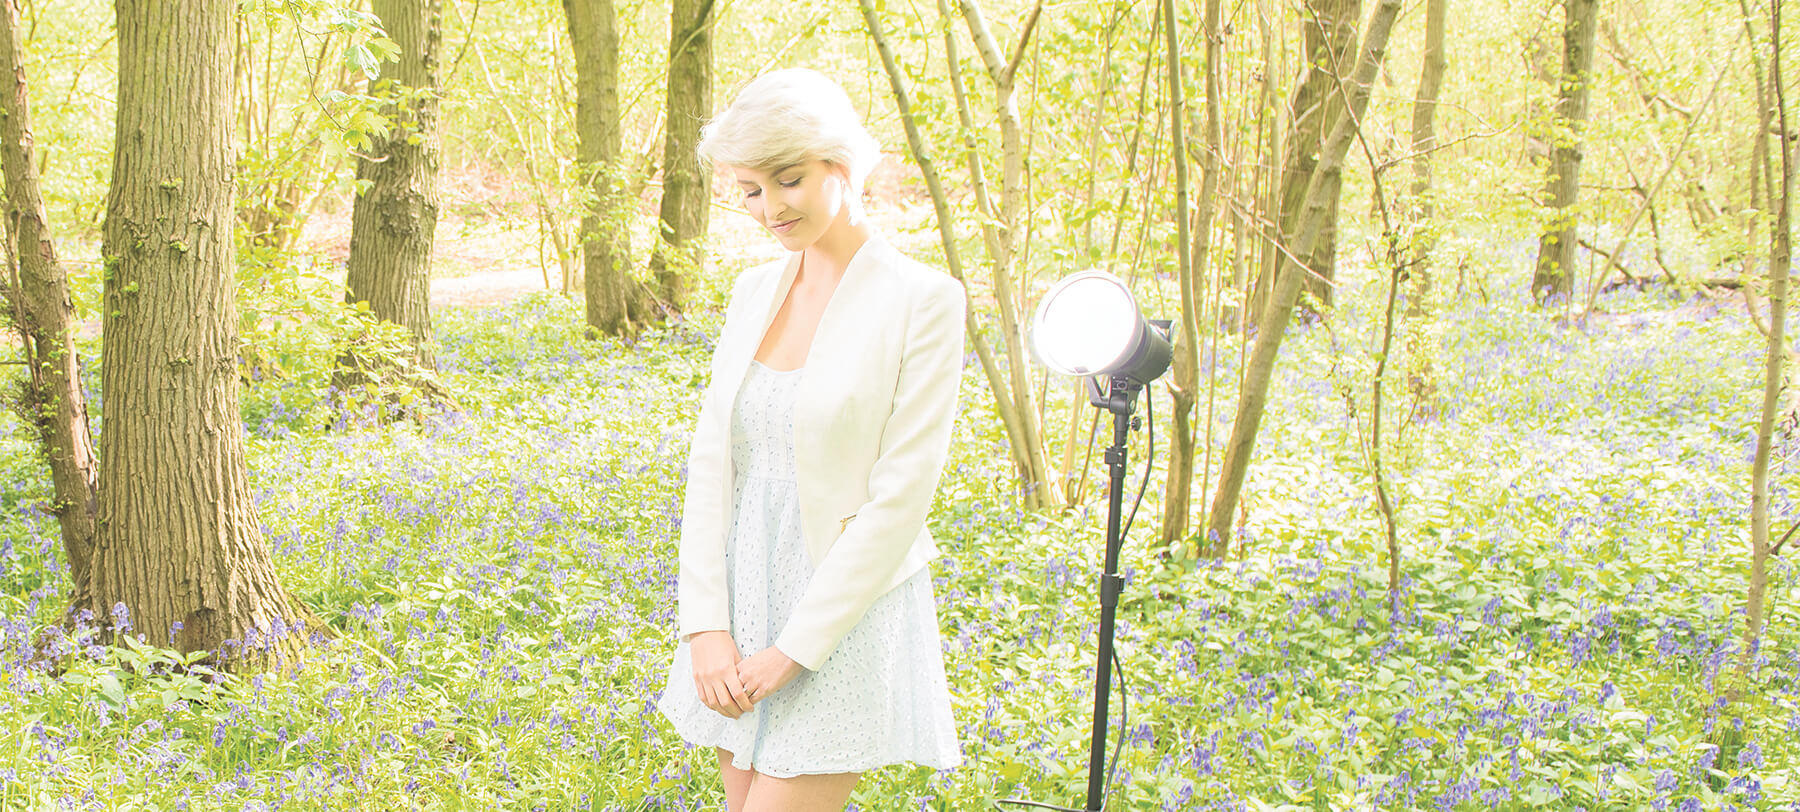
Switching to manual mode and dialling in the 1/100sec, f/4, ISO 200 exposure we knew was good for the wider scene, it was then time to set up the flashes and get their power to the right level. First came the fill light, initially positioned to Amber’s left (camera-right) and fitted with a basic reflector dish.
The height of the fill light contributes to how natural it looks, with flatter angles looking more artificial. Placing the light higher mimics the look of the sun, so we settled on an angle of around 45º above Amber’s eyeline. It’s worth checking at this stage how the shadows are falling on your subject’s face, and the cardinal rule here, for a flattering style, is to avoid anything too long or deep; for instance, if the shadow from the subject’s nose breaks over their lips, the angle needs lowering.

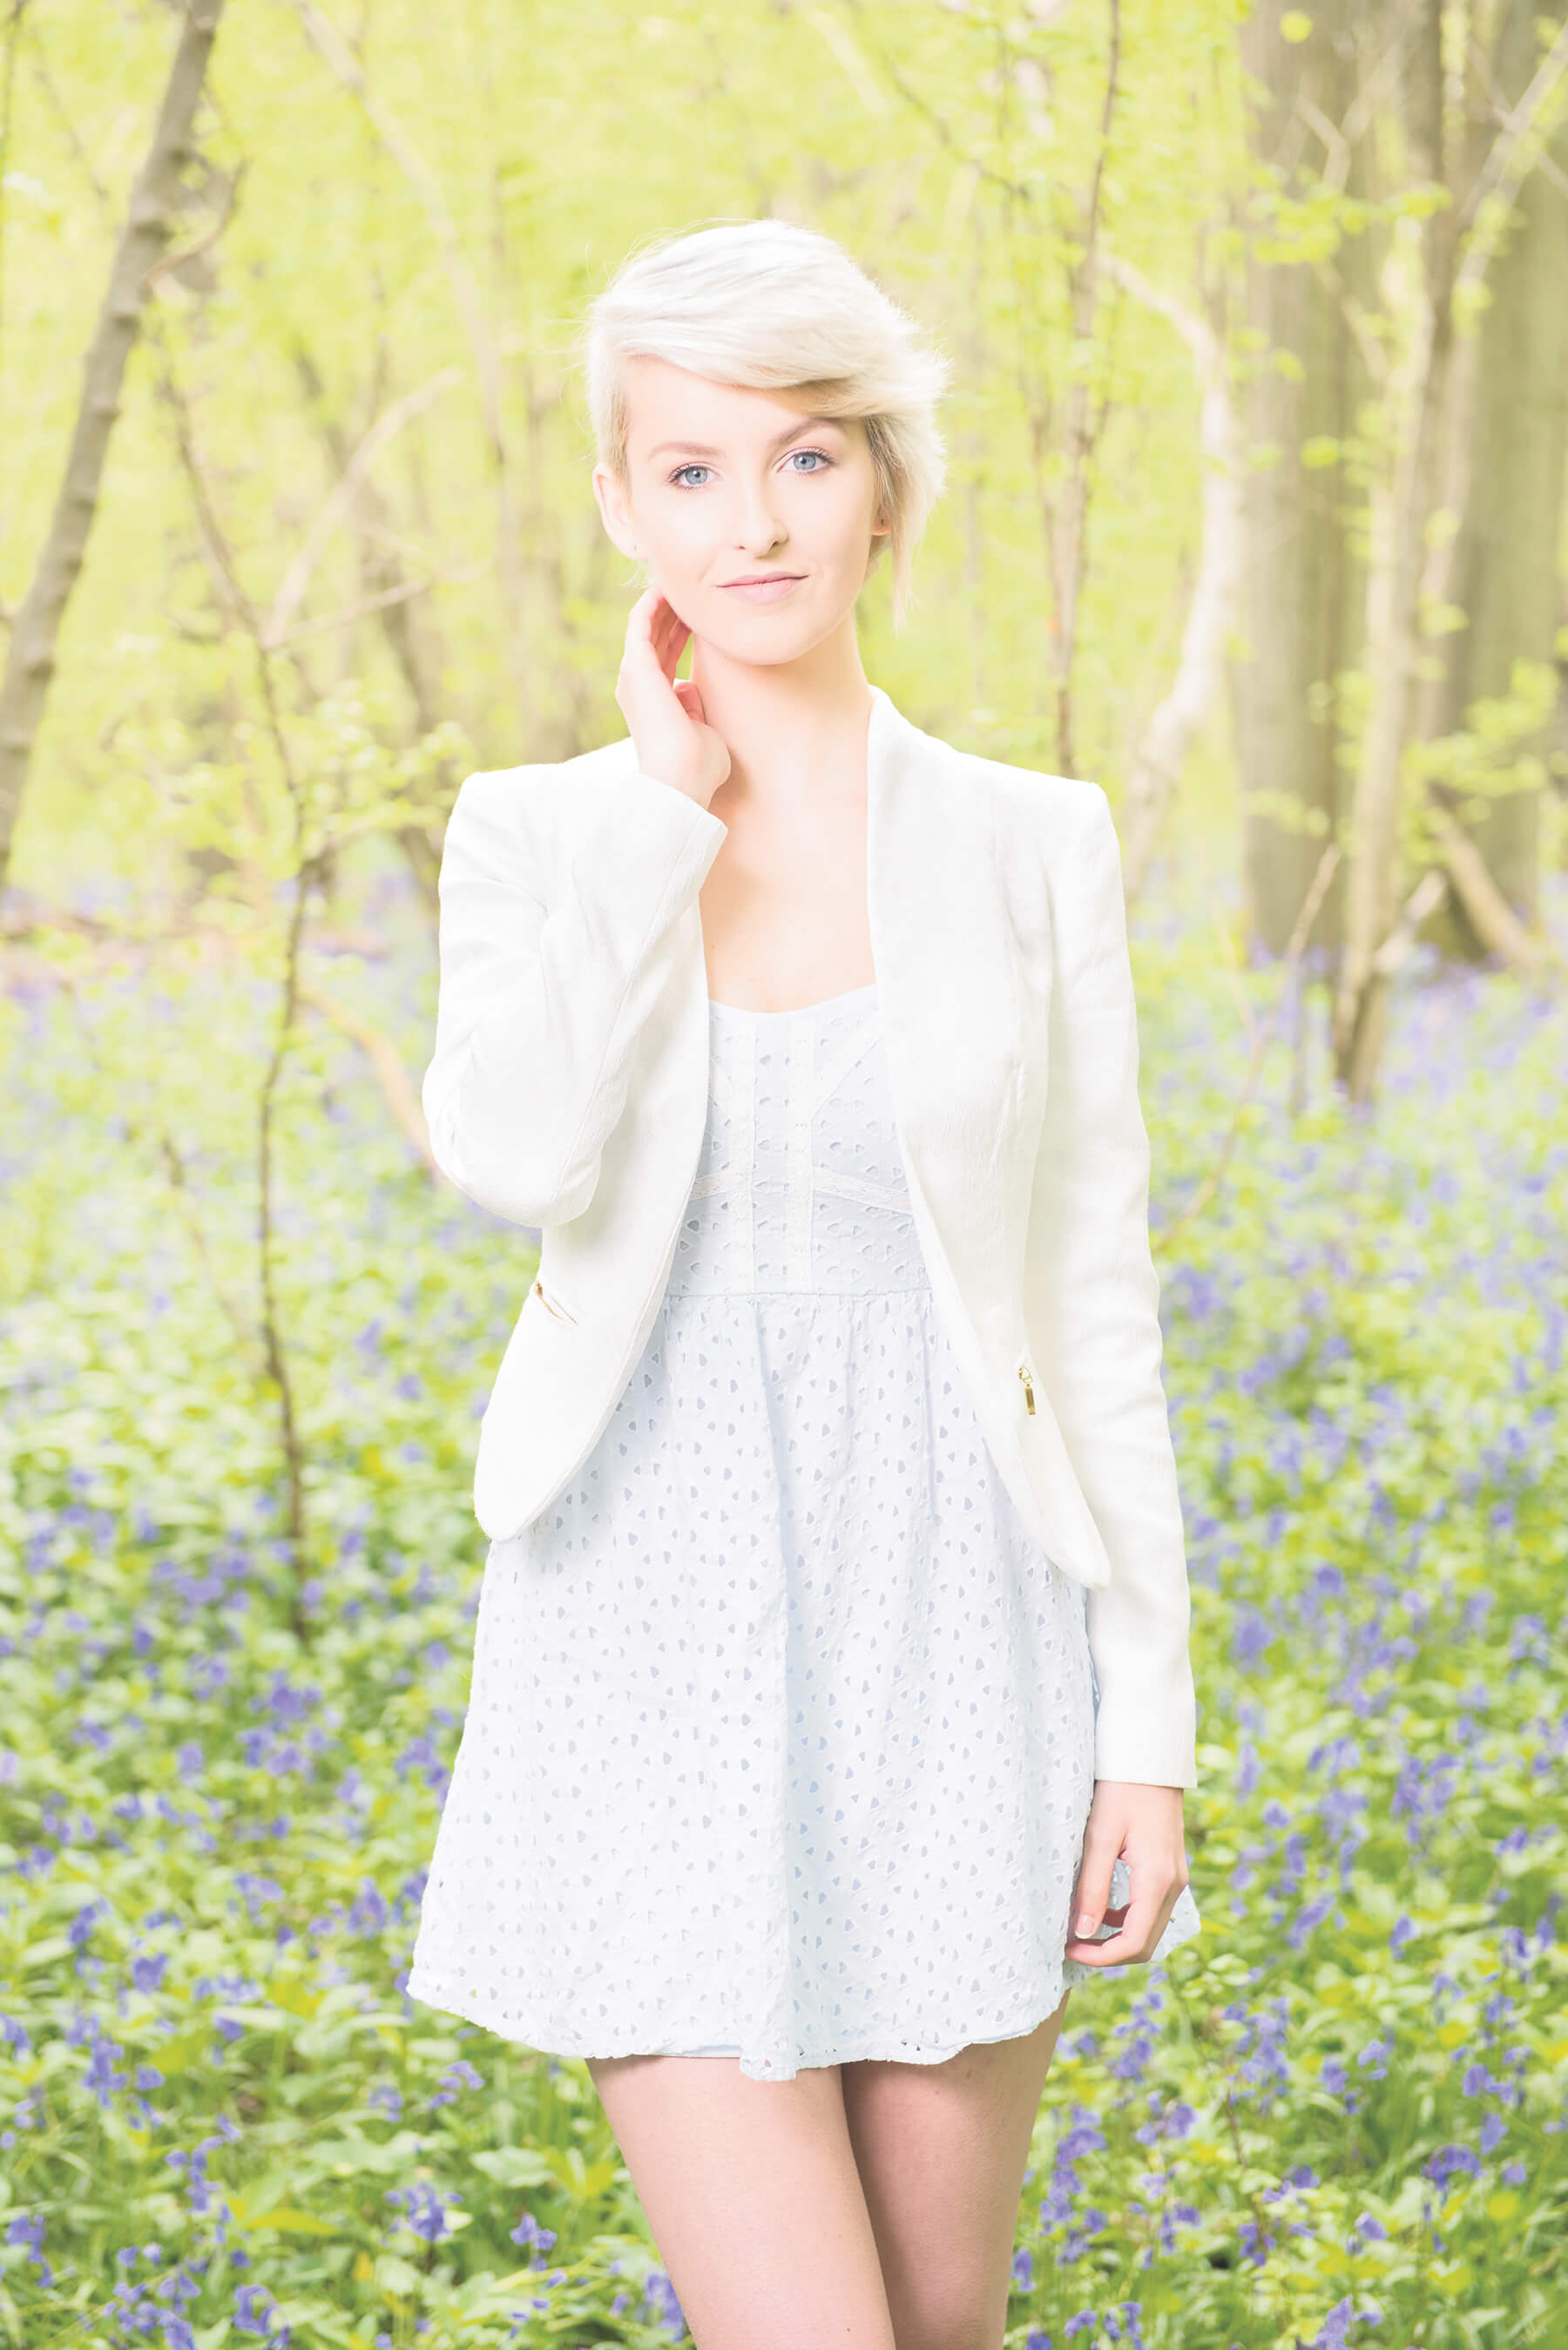
Image If you’re short on kit, using a single fill light and dropping the backlight can still produce very nice results, as seen here
Light check
To check this, you can use your flash’s modelling lamp if it has one. The Safari 2 lights we used have a 15W LED lamp, equivalent a 150W tungsten bulb, but this wasn’t too visible in the sun (it would be easier on a dull day), so we made do with a quick test shot.
Positioned around 5ft from Amber, we then metered the light using a Gossen DigiPro F2 flash meter arriving at a power output of 1/32nd. The light worked OK here, but as expected, the lack of diffusion from the reflector dish meant that it wasn’t the most flattering. In fact, for a shot like this, where the subject is turned away from the undiffused sun to avoid high contrast on their face, using unmodified flash is just creating the same problem. When we switched to a bounce umbrella (which provides lots of diffusion) and fired it from the same distance and height, the results were much improved, with exactly the natural look we were after.
This did mean that we had to re-meter for the flash power – the extra diffusion meant that more power was required – and this was reset to around 1/8th. Whether it’s the distance, angle or modifier of the light that you change, it’s important to readjust the power of the lights, as even minor alterations can throw off your exposure completely. The ambient exposure should remain roughly the same, but it’s also worth keeping an eye on, too.
Adding the hair light
With the fill light balancing the ambient backlighting from the sun, you could explore the scene quite happily. However, if you want a bit more control, or if the sun isn’t hitting the subject quite as you intended, an additional flash positioned to the rear can help. Of course, this can be used as a complete substitute for the sun if desired.
Starting with the intention of training this light on Amber’s hair alone, we set up a second Safari 2 head on a stand behind and to her right, roughly in the same direction as the sun. We first tried the flash with just its reflector dish, finding the throw of light to be a bit too broad and also getting some flare from it in that position – a nice effect if it’s what you’re going for, but not something you want to achieve by accident.
Fitting the reflector dish with a 10º honeycomb, the light was much more controlled, but even so, it fell across her neck a little too much, creating a rather hard shadow there. The solution here was to feather the light a little by angling it upwards, so that most of it was missing Amber’s hair, and just picking up the points we wanted. Positioned further away than the fill light and also angled off, we needed 1/4th power to get the aperture that we wanted.
Click the images to see a larger view
Images Soft or hard fill light? The modifier to use depends on the look you want. We were after a soft, high-key style, so used a bounce umbrella on the fill light to give lots of diffusion (in the picture above right, it’s placed to Amber’s left), but if you want a slightly harder look to the shadows that’s more like direct sunlight, a simple reflector dish does the job just fine (above left)
Fine-tuning the results
With the fill and hair lights both working well in the scene, a few more tweaks were made to improve the modelling on Amber and also try some different looks. Firstly, the fill light with its bounce umbrella was moved over to camera left pretty much opposite the sun and the hair light; in this opposing position, it provided the maximum fill effect, lowering contrast on Amber even further.
We also tried out a direct backlighting effect, positioning the second light directly behind Amber and framing tighter so it was hidden. Here, the same honeycomb modifier was used, but because the light was closer to Amber, the power was dropped to 1/8th; the fill light was moved back towards the camera a little, but at the same distance, and after checking it was used at the same power as before (1/8th). This broader backlight gave a really nice haloing effect, reminiscent of a lower sun and filled the image with even more light tones. Some burnout was seen in Amber’s hair, and while the power on the back light could have been dropped to remove this, we were happy with the glow it gave.
The kit we used
As you’d expect, for a shoot like this you’re likely to be well away from the luxury of mains power, so you need a flash system that runs from a power pack, like Lencarta’s Safari 2. Equally important then is the amount of power that’s provided and how long it lasts as you need enough to have flexibility in your lighting and certainly don’t want to run out mid shoot.
The Safari 2 has a 600Ws flash generator that’s small and light enough carry about (we took two on this shoot in their carry cases and didn’t break a sweat carrying them), and that power is adjustable over five stops down to 1/32nd in 1/3rd increments. The kit is rated at 400 flashes per charge, but of course this rises at the lower power settings, so you’re highly unlikely to find it running out on you. The flash generator is connected to the head by a heavy-duty cable of about 3m in length, so there’s plenty of scope in positioning one away from the other.
As mentioned opposite, it also has a 15W LED modelling lamp (equivalent to 150W), which means you can check lighting more easily with accessory flashguns, which are often used in these kind of location shoots. What’s more, the popular Bowens S-fit modifiers used mean there’s no messing about with annoying and flimsy flashgun attachments – whatever you use in the studio you can simply apply outdoors, too.
For more lighting tips, including indoor lighting and using artificial lighting outdoors, take a look at our lighting series.
If you put these high-key photography tips to good use, show us! Tag us in your photos on social media using the handle @PhotonewsPN.
Don’t forget to sign up to receive our newsletter below, to get notified of the new issue, exclusive offers and competitions.


