How to capture tilt shift miniatures
6 minute read
Tilt shift photography can be used to give your photos a unique miniaturised look, and you don’t even need a tilt shift lens. Here’s what you need to know.
The tilt shift lens was invented with practicality in mind, designed to eliminate converging lines, primarily for use in architecture photography. Without getting too in-depth, a tilt shift lens alters the relationship between a camera and lens’ plane of focus and image plane, allowing a user to capture more than a standard lens allows without having to tilt the camera up or down.
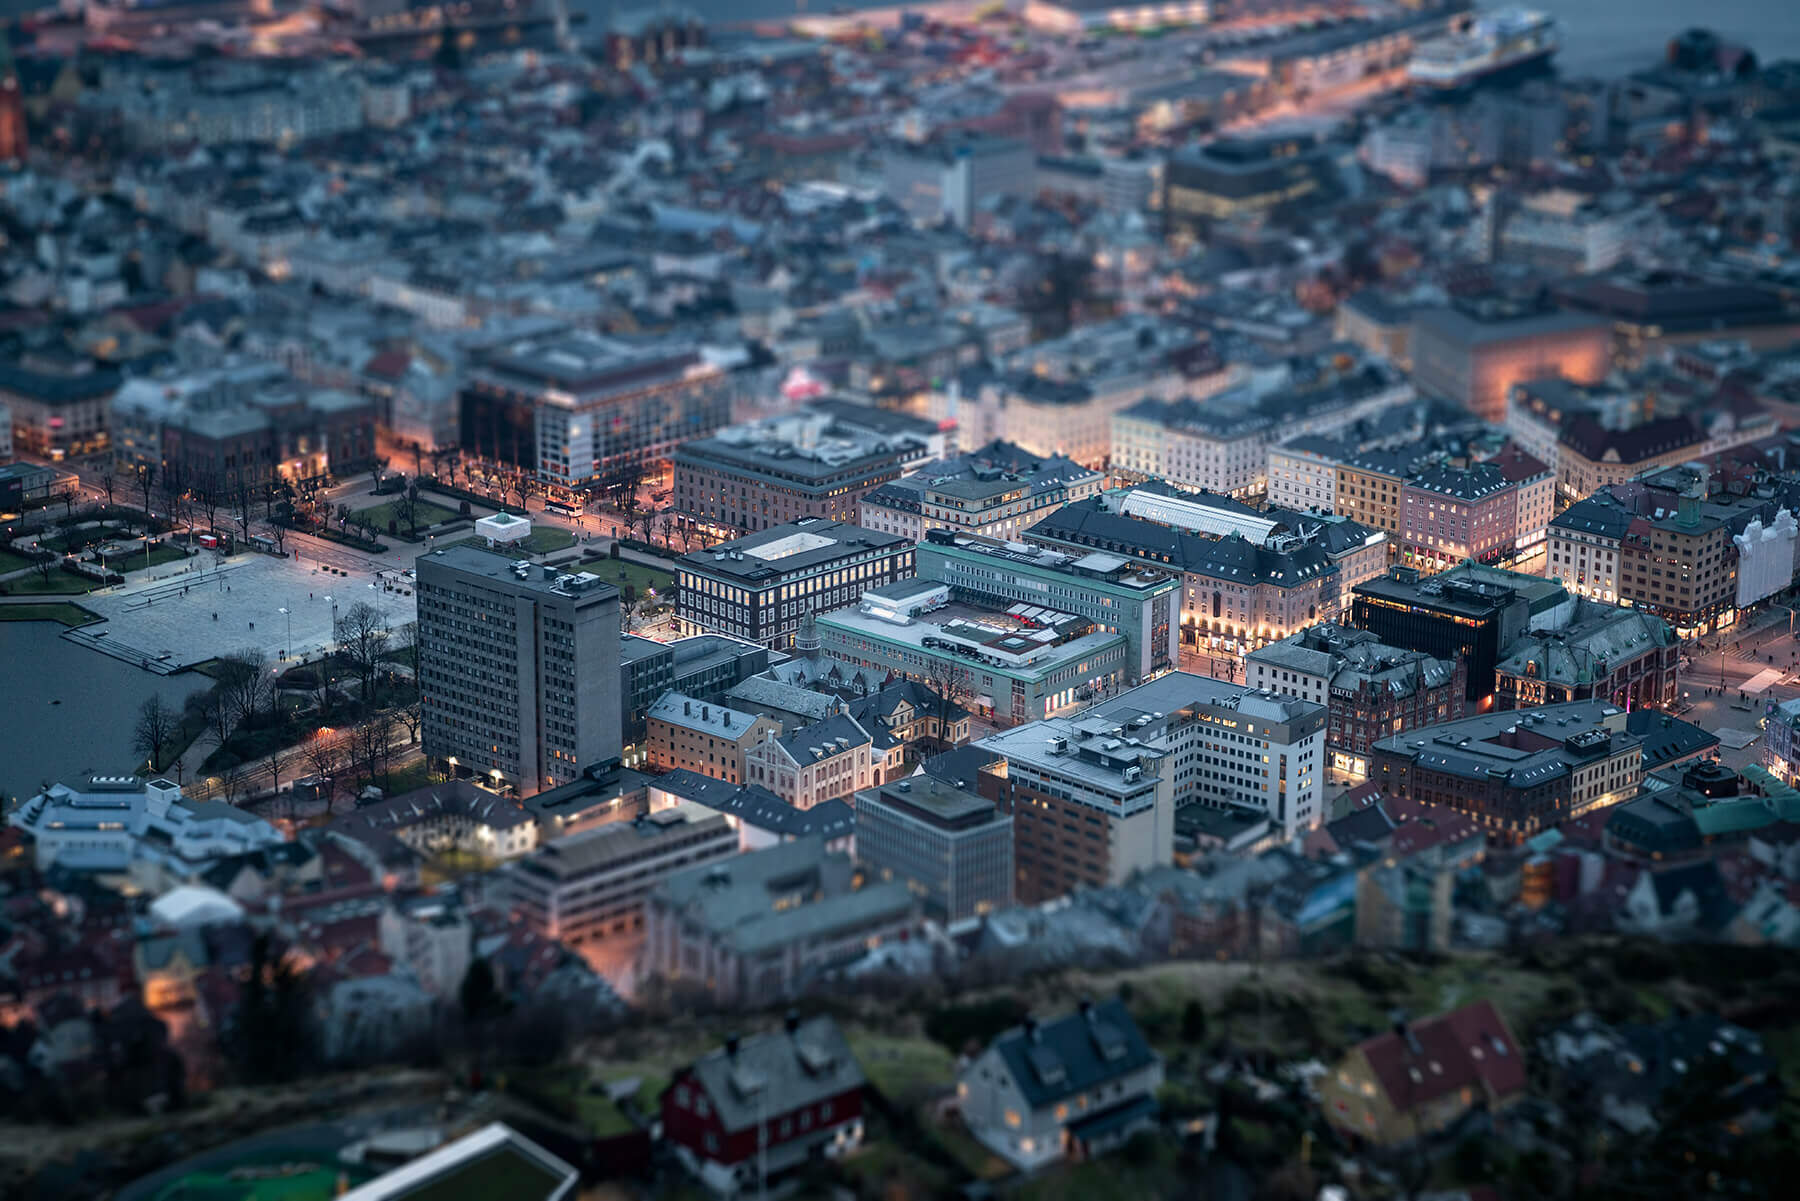
Practical application is all well and good, but an alternative use was swiftly discovered, and it’s altogether more fun. In fact, this secondary use couldn’t be further from the original, because rather than offer a greater perspective, a tilt shift lens can appear to miniaturise your photos.
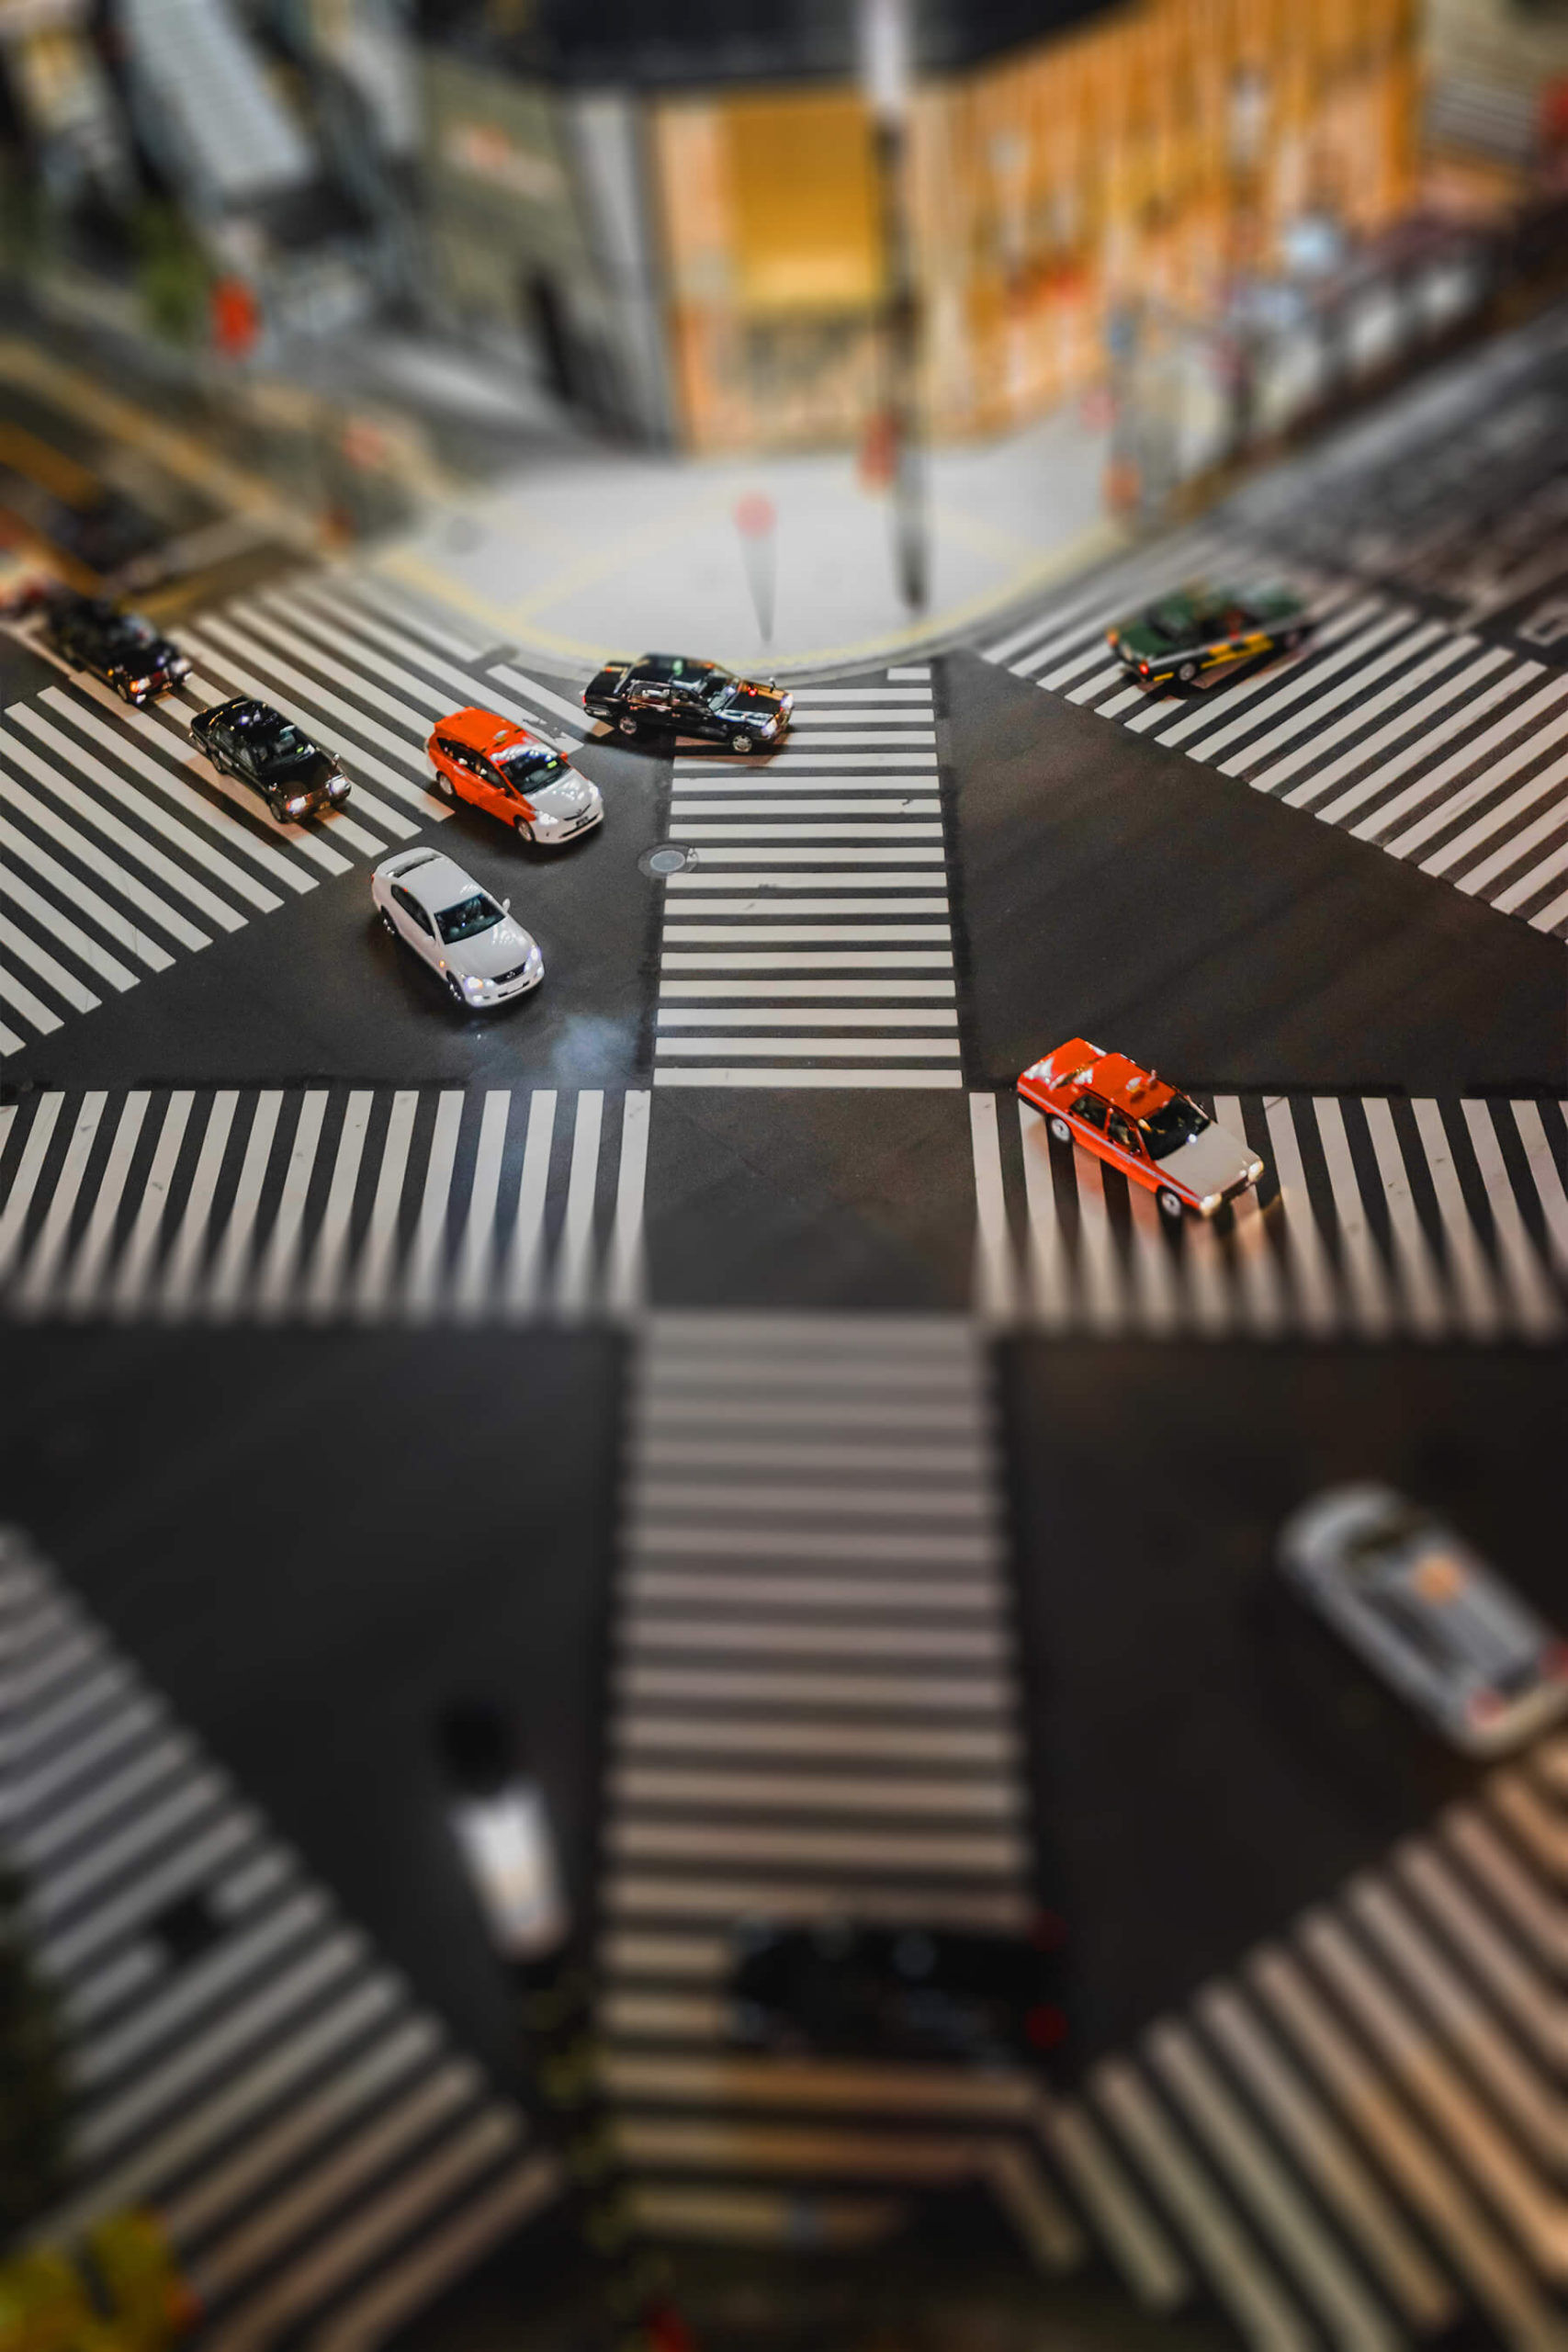
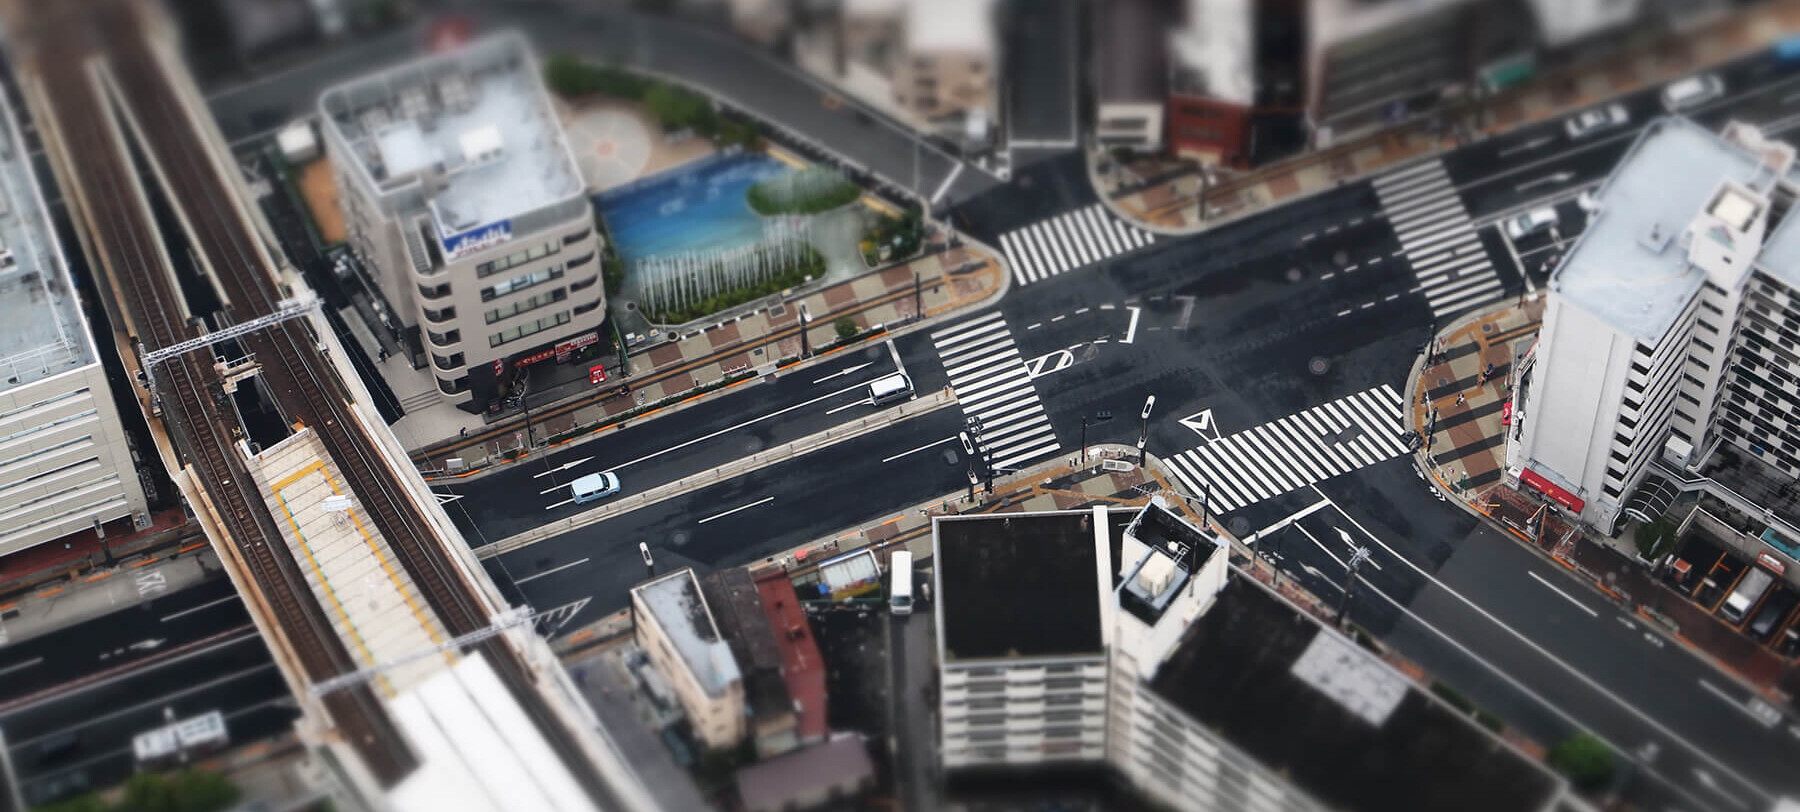
You’ve likely seen this type of photo before – they feature real-world scenes, but they look like tiny handmade models. They’re fantastically unique, and they’re very easy to capture and create.
Of course, the most obvious way to do this is by actually using a tilt shift lens, but the problem with that is price. With professional architectural photographers in mind, tilt shift lenses can be priced in the thousands. Cheaper bellows-style alternatives are available, but they can still fall around the £100 mark and results can be mixed.
Thankfully, there are other ways.
Free lensing
One popular means of replacing a real tilt shift lens is free lens shooting. This method essentially turns any ordinary lens into a tilt shift lens, which sounds very appealing, but it’s certainly not without its drawbacks.
Free lens photography simply refers to shooting with your lens free and unattached from your camera body. To create a tilt shift effect, simply hold the lens close to its natural position but slightly angled.
Issues here include an inability to control aperture, difficulty manually focusing and hit-and-miss results – and that’s without even mentioning the risk to your gear. With the latter in mind, we certainly wouldn’t urge you to use your camera in ways it wasn’t designed for. Regardless, free lensing is an option, and it’s one some people are happy to try, particularly with old or inexpensive equipment.
Editing for tilt shift effect
Our second option is, at least in our opinion, the better choice. There are dedicated websites that will turn your photos into tilt shift miniatures with one click, but to retain the most control over your images, manually editing is the way to go.
We’ll be running through specific steps in Photoshop, but if you use an alternative software, similar results can be easily achieved.
When your image is open, the first thing to do is right click your layer, then click Convert to Smart Object. This way, any changes you make won’t be baked into the photo.
Next, select the Filter menu, scroll down to Blur Gallery and select Tilt-Shift… From here, you can adjust the section of the photo that’s out of focus, the strength of the blur, the angle of the in-focus section and more.
When you’re happy with your results, click OK to apply the filter.
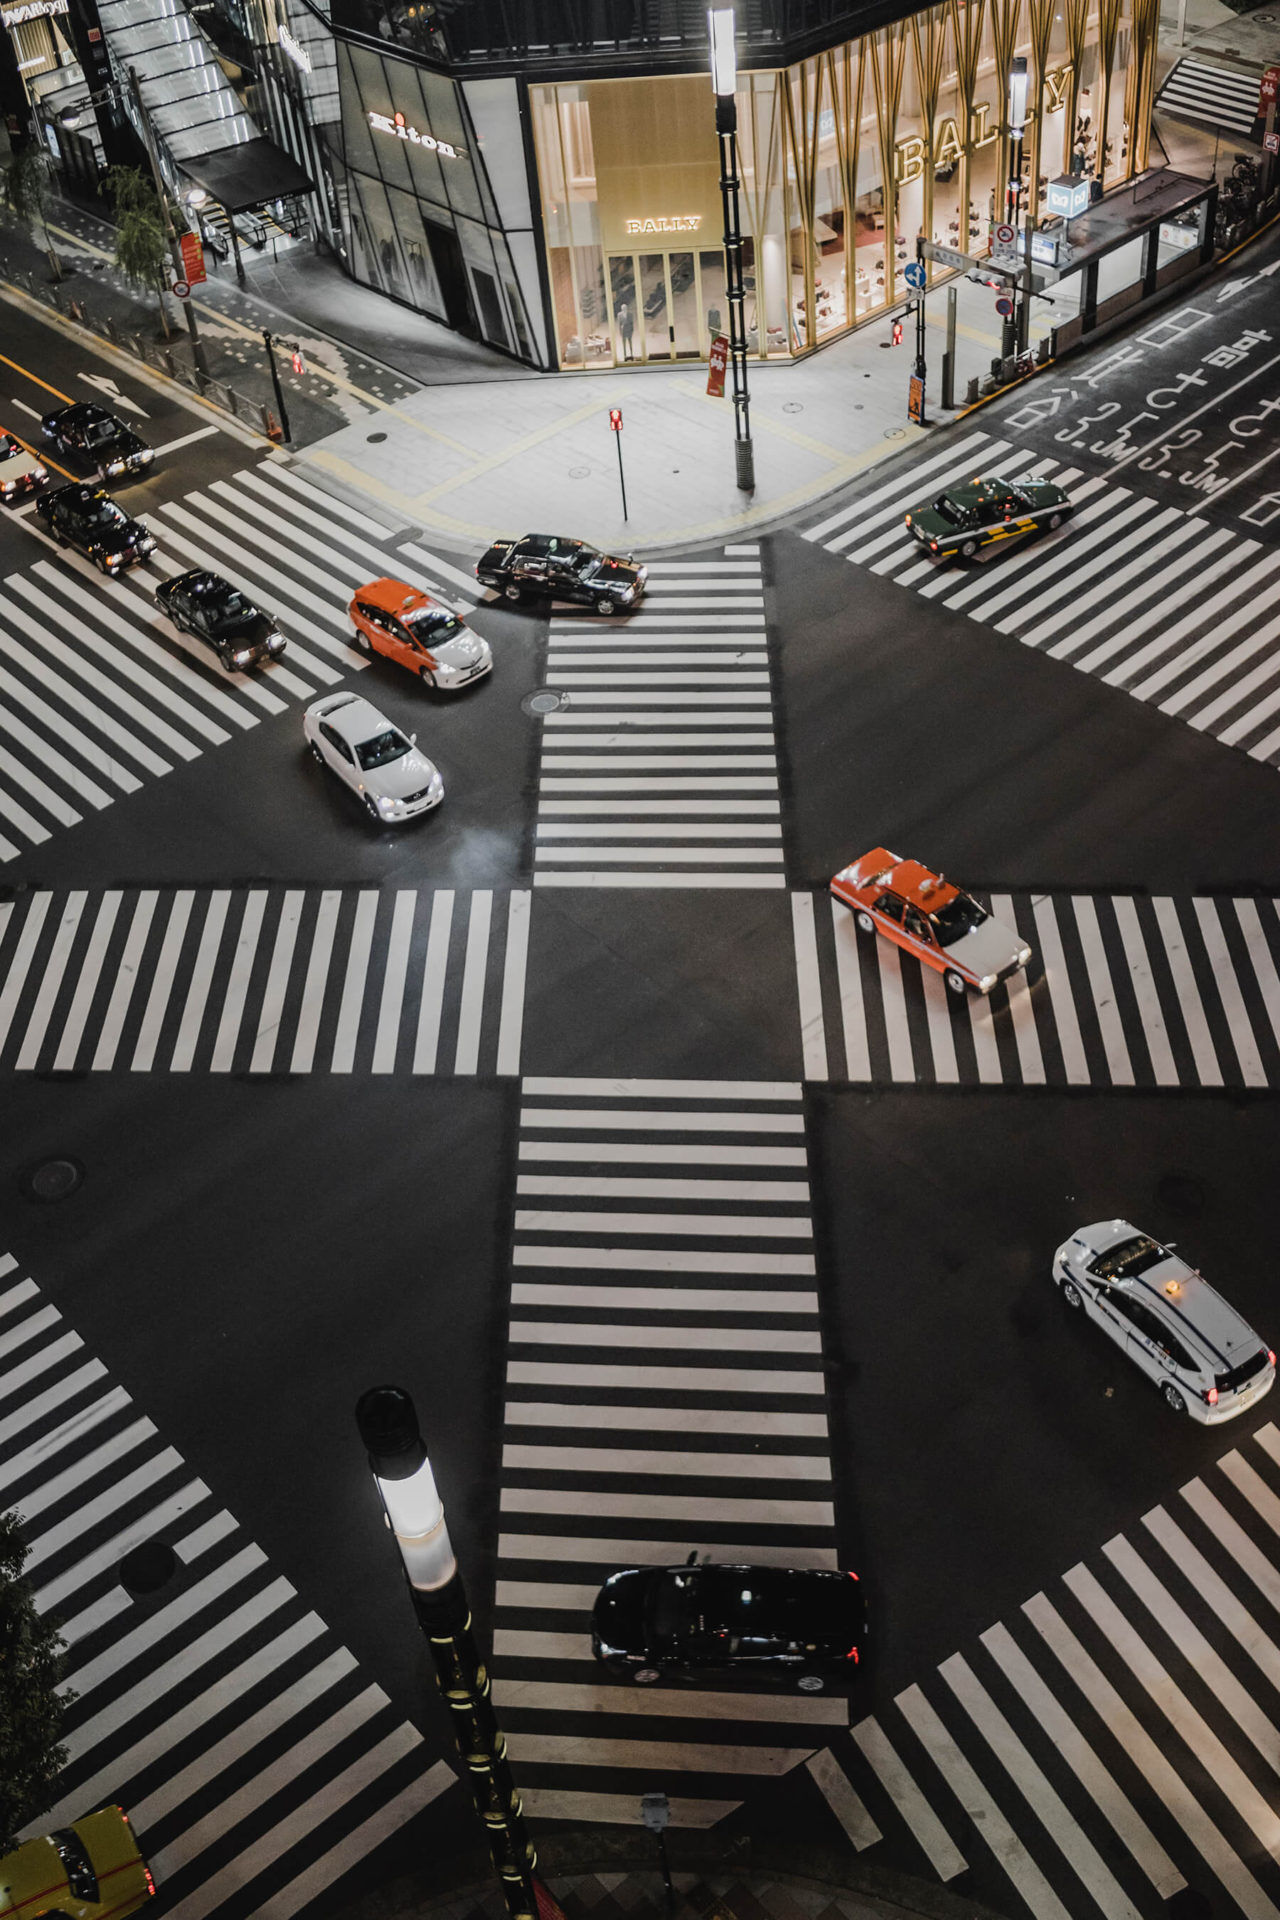
Click the images to see a larger view
Tilt shift miniature tips
Now you know how to edit your photos to create a tilt shift miniature effect, but there are a few things to keep in mind.
The first and most important tip is finding the correct angle, which is from above, but not directly above. If you want the effect of looking down at a miniature model, the angle of your photo will have to facilitate that.
Our second tip is about the content of the scene you’re shooting. Broadly speaking, you can photograph anything you want – a street scene, a portion of landscape, a sport scene, or anything else that takes your fancy, as long as your angle is right.
When it comes to content specifics, you’ll usually want to avoid anything too busy. A miniature model wouldn’t usually be crammed with details, so a few nice points of interest produce the most convincing images. Conversely, if the outer edges of your photo are completely bare, the blur effect will be barely visible.
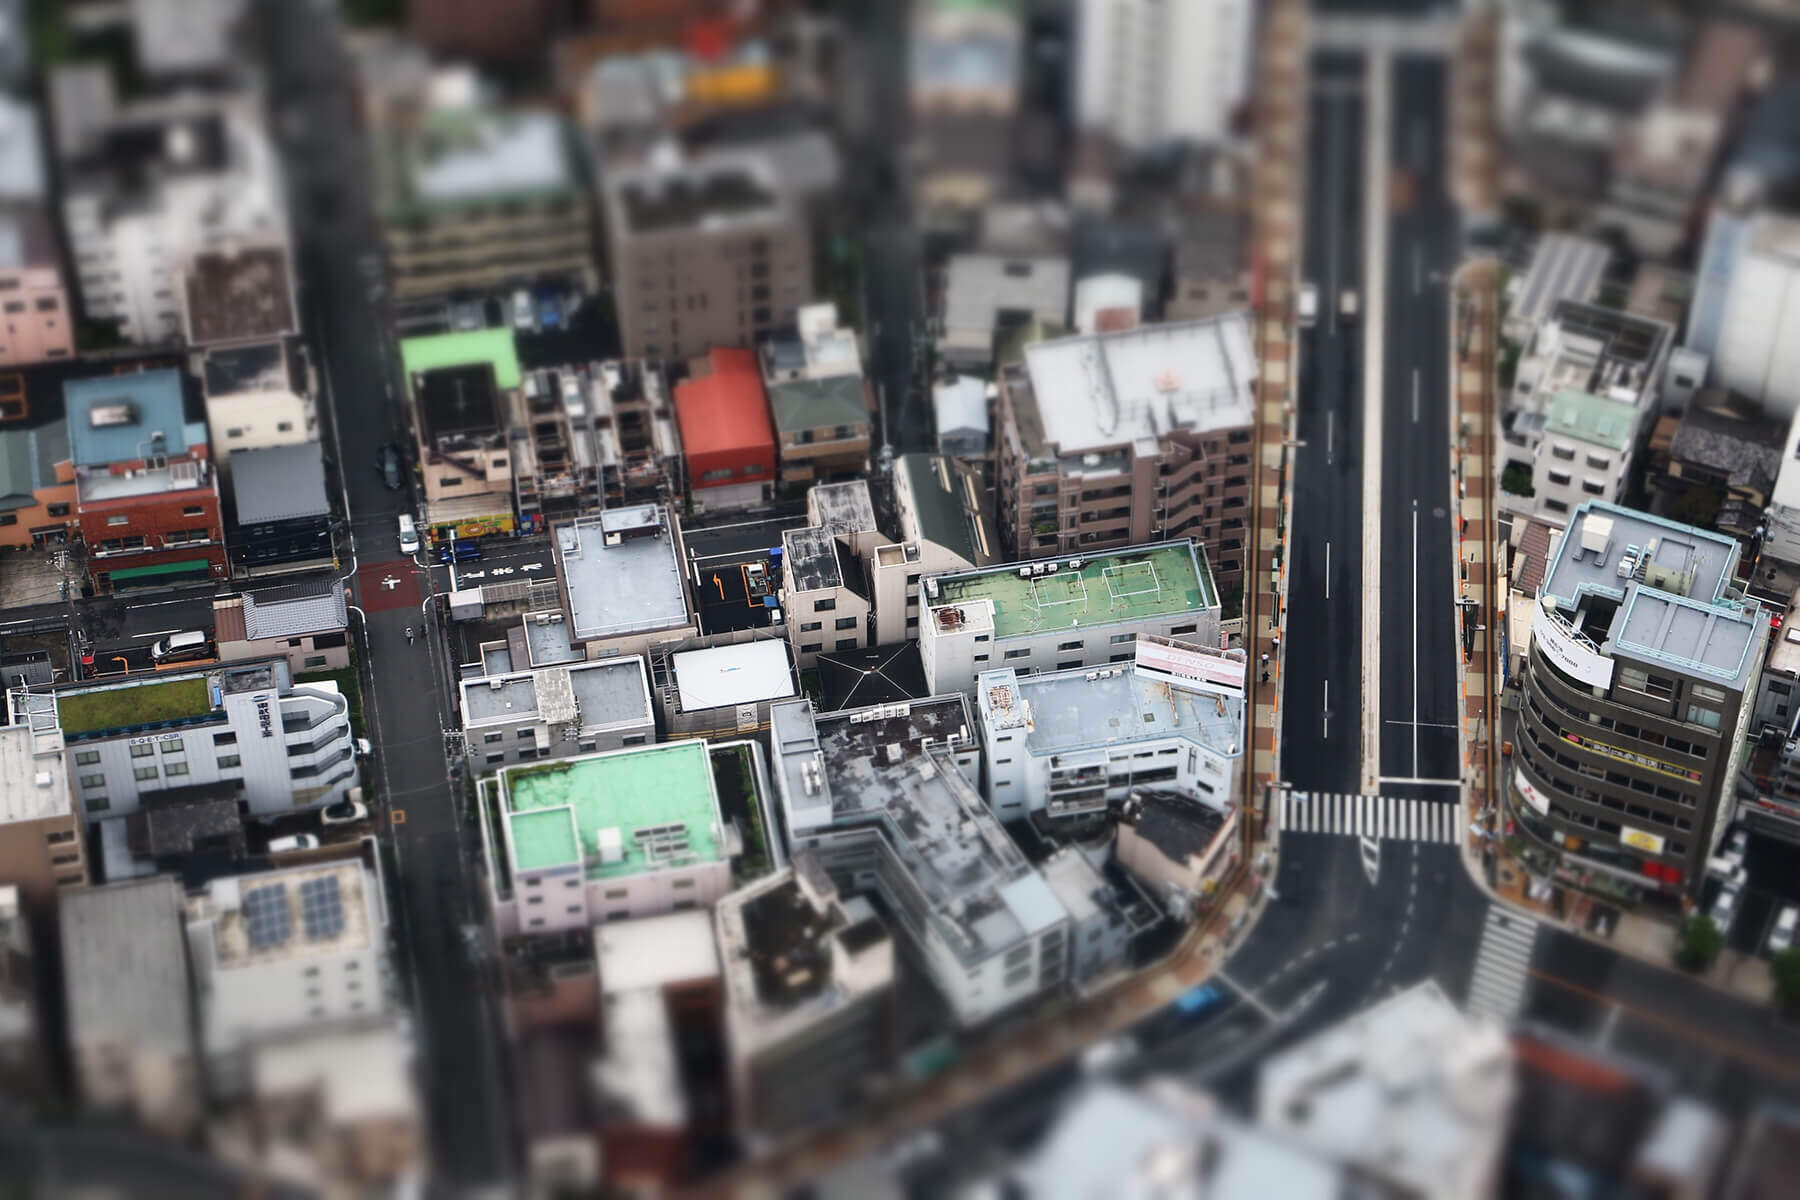
Our third tip is all bout focus. Having seen some miniaturised tilt shift photos, you may be inclined to produce some of the blur effect in camera, but that’s a trap. Tilt shift photos can look miniature because of their strange focal quality, by which only a small wedge of the frame is in focus. For maximum potential when it comes to the edit, shoot a photo that’s sharp front to back.
Finally, here’s a nice editing bonus that can really go a long way. If you boost the saturation of your photo, it can make real-world objects look hand painted, adding hugely to the miniature model look. In Photoshop, click the Adjustments tab, then Hue/Saturation, then adjust according to taste. You can afford to be more over-the-top than you typically would here – again, it plays into the look.
There you have it, the illusion of shrinking the world down into a tiny scene! Use it wisely.
For more tips, guides and techniques, take a look through our Inspiration section.
Show us your miniature tilt shift photos or ask us any questions on Instagram, Twitter or Facebook, at the handle @photonewspn
Don’t forget to sign up to receive our newsletter below, and get notified about the new issue, exclusive offers and competitions.

