How to create a physiogram light painting
Posted on May 27, 2020 • 7 minute read
There are many light painting techniques, but physiograms are as easy as they are eye-catching.
In issue 77 of Photography News, we launched the exciting Photography News Summer Festival. Throughout the summer, both in print and online, we’ll be bringing you a packed set list of advice on photo kit, camera technique and video technique.
In our most recent issue, camera technique consisted of long exposures, providing you with all the knowledge you need to explore the world of the one-second exposures and beyond.
There are countless techniques and opportunities to be had with long exposures. Last week, we covered creating awe-inspiring star trails. Here, we’re going to take a look at something a little less well-known but just as enjoyable – physiograms.
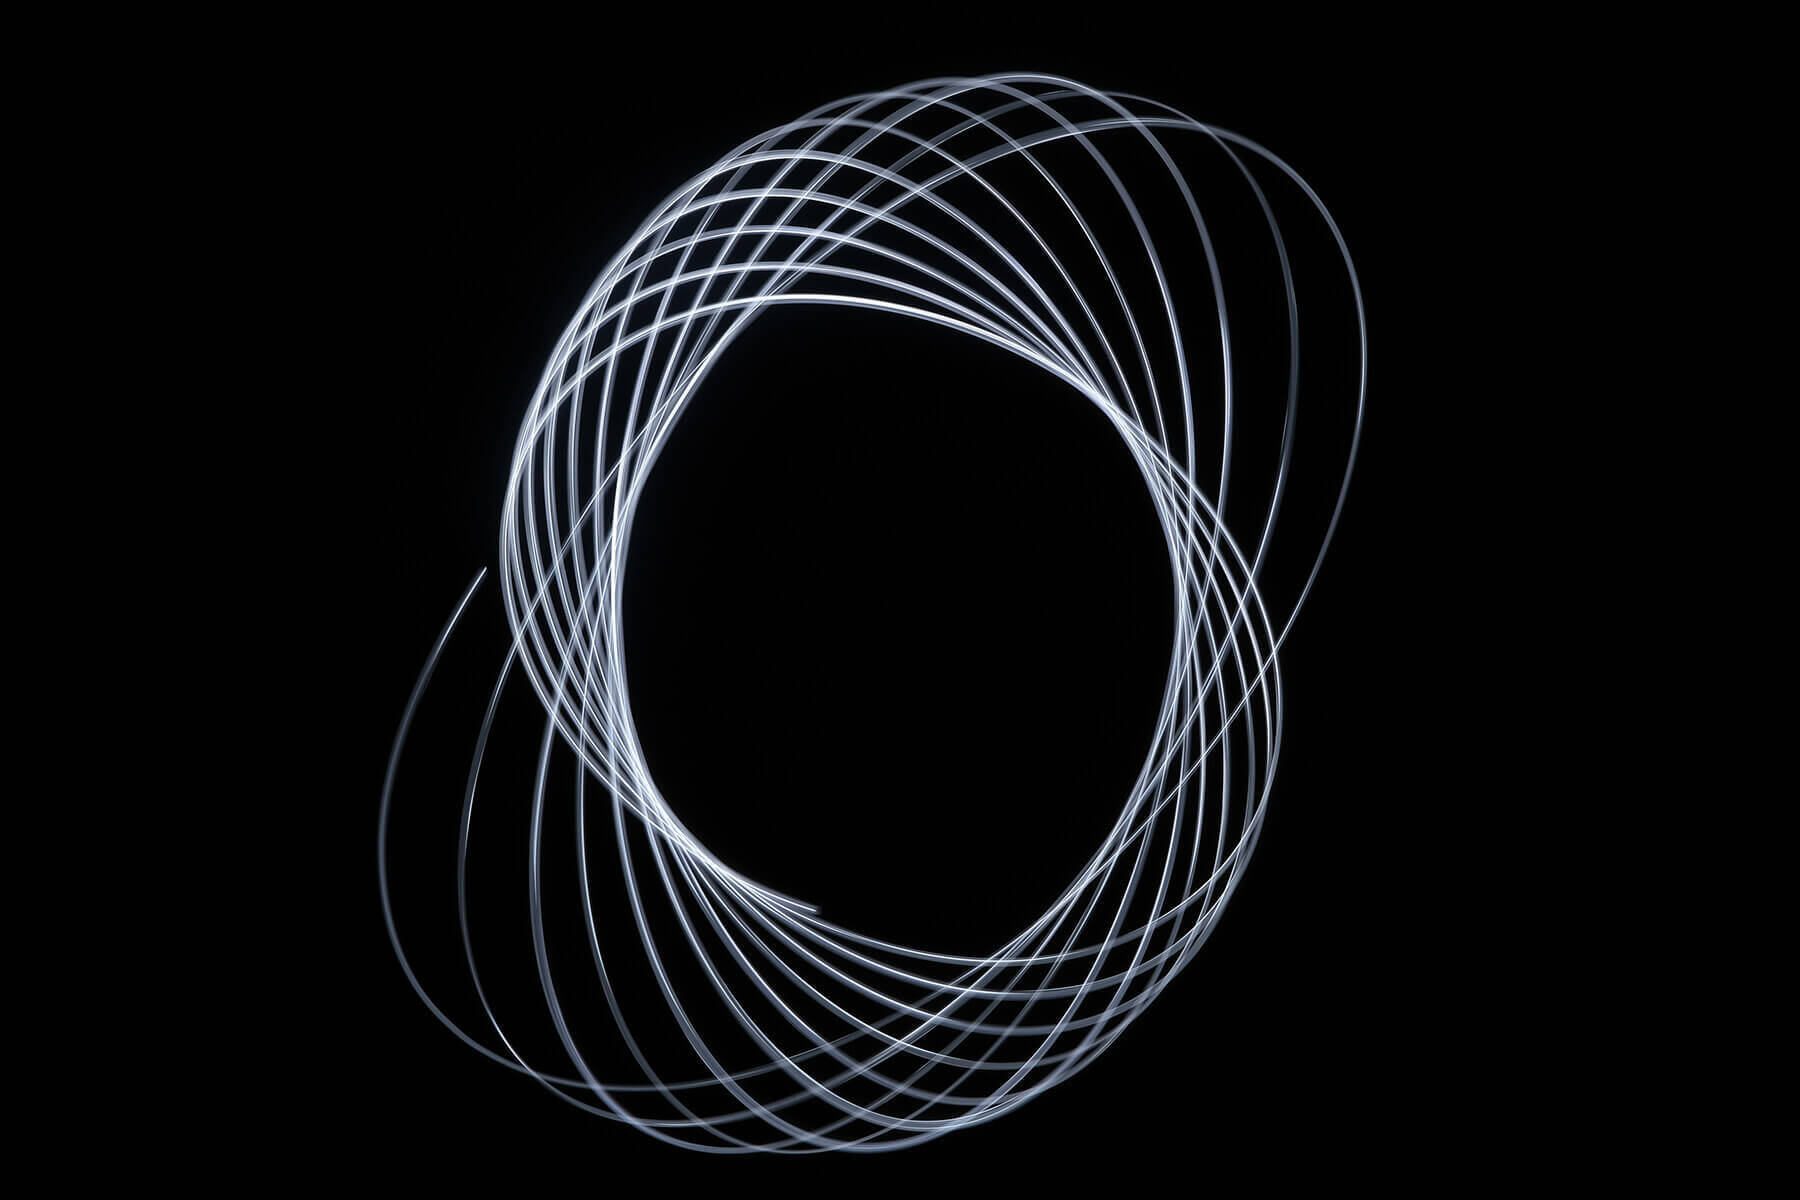
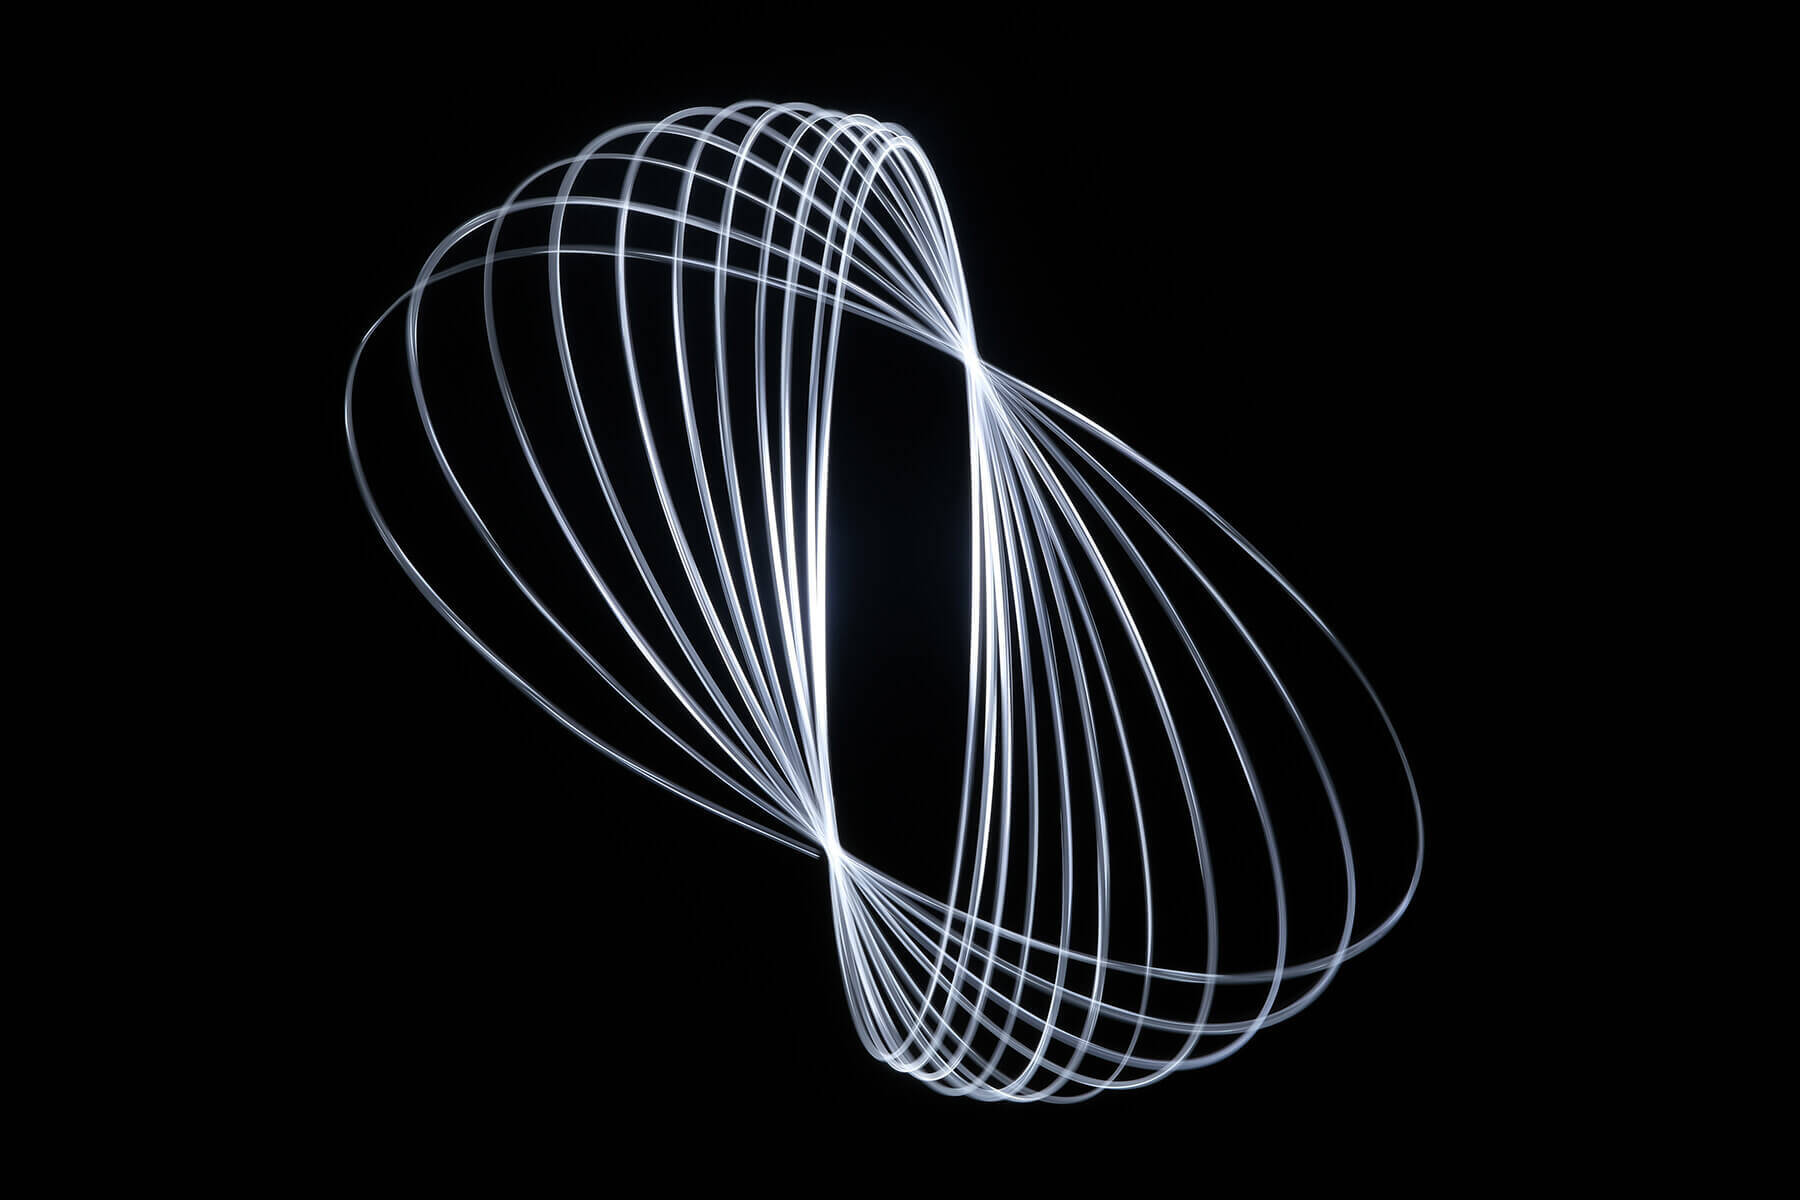
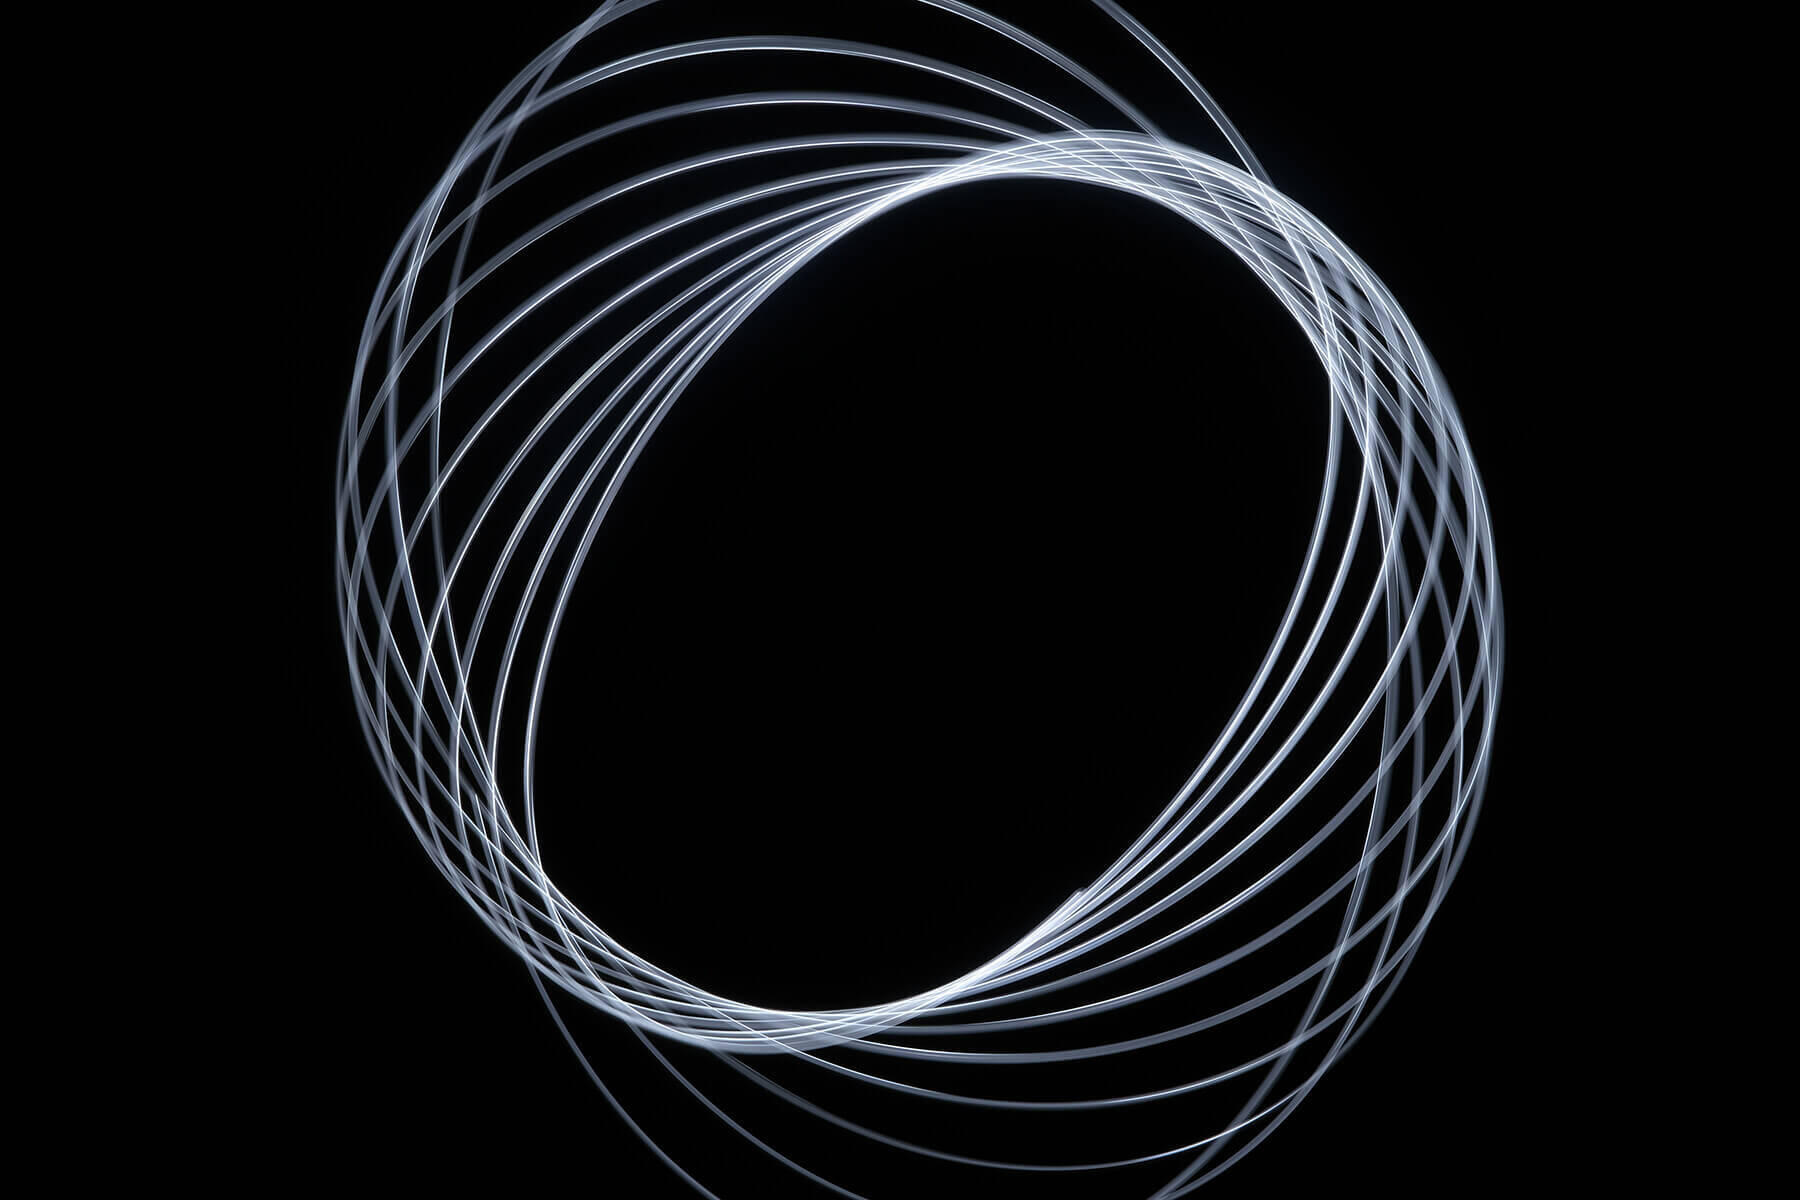
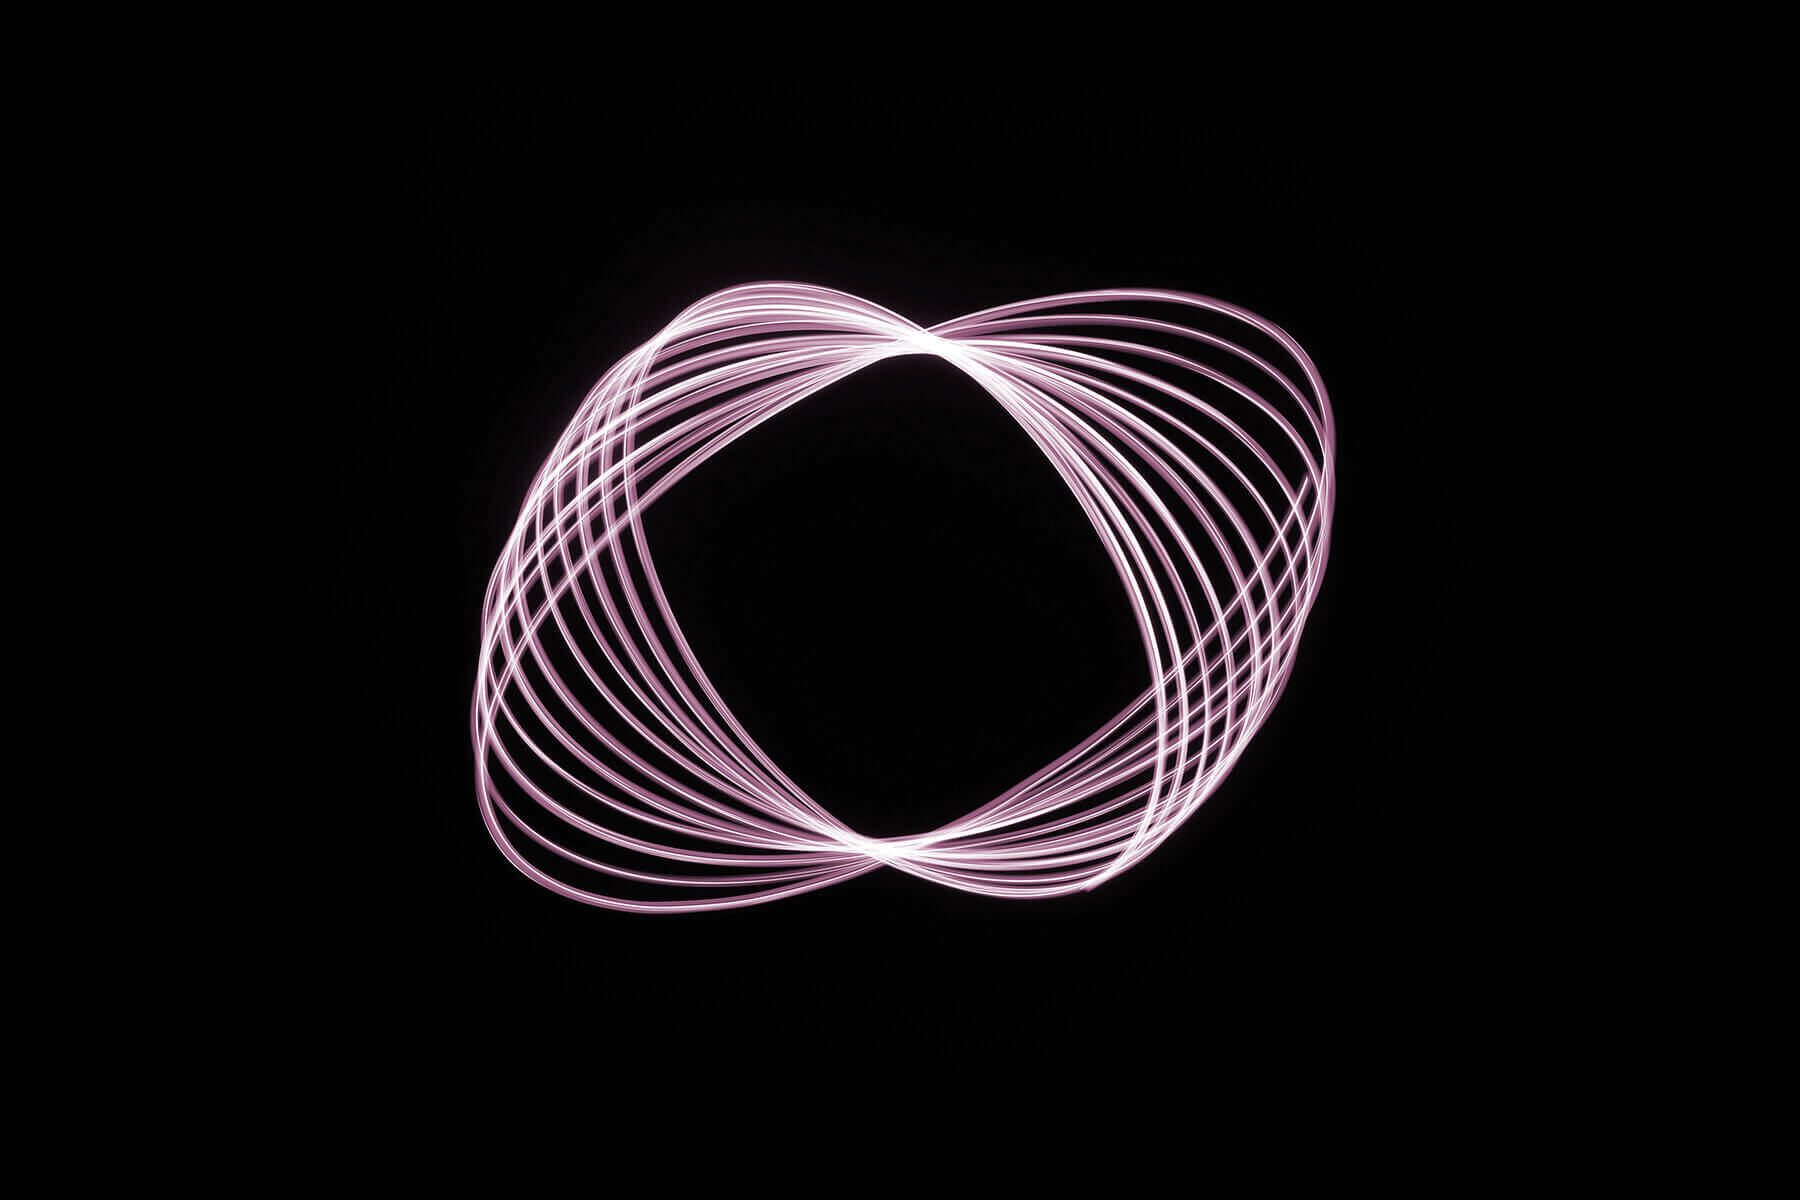
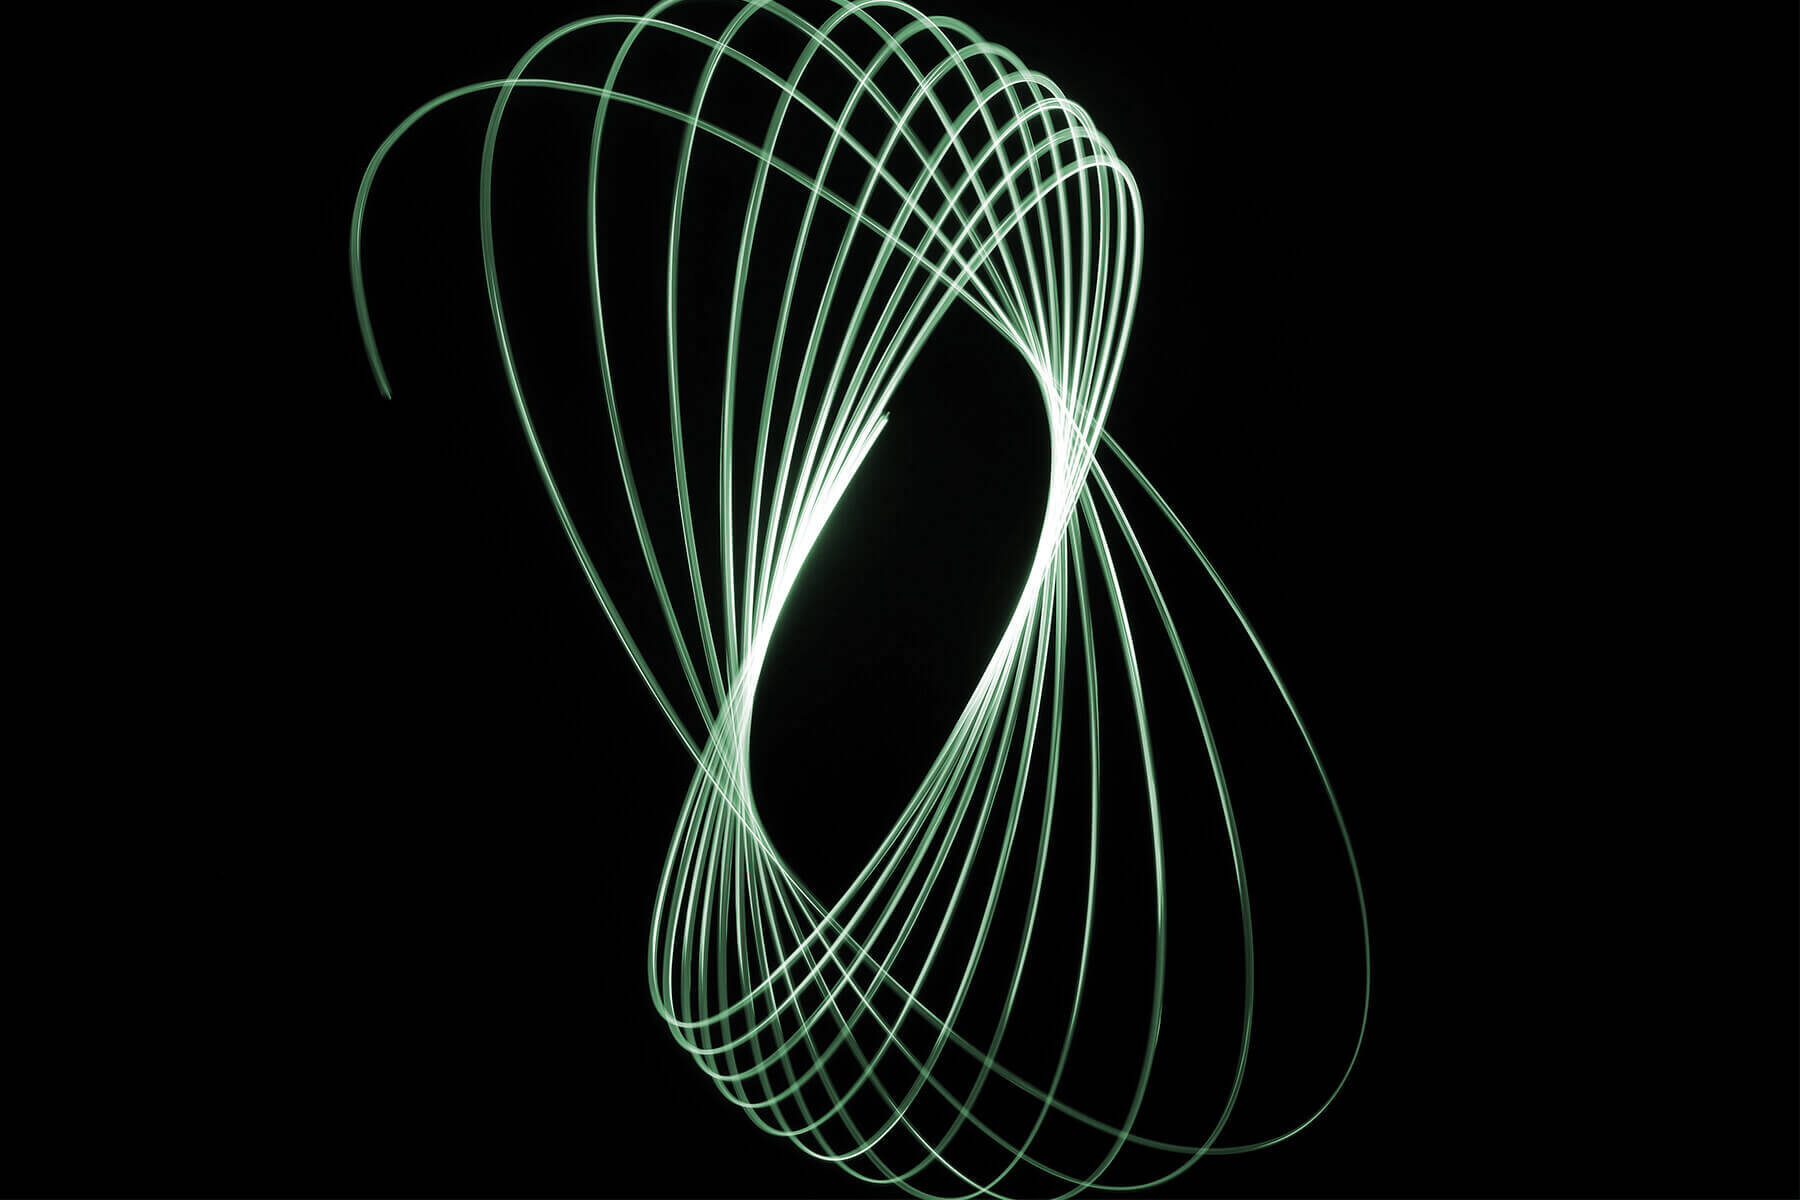
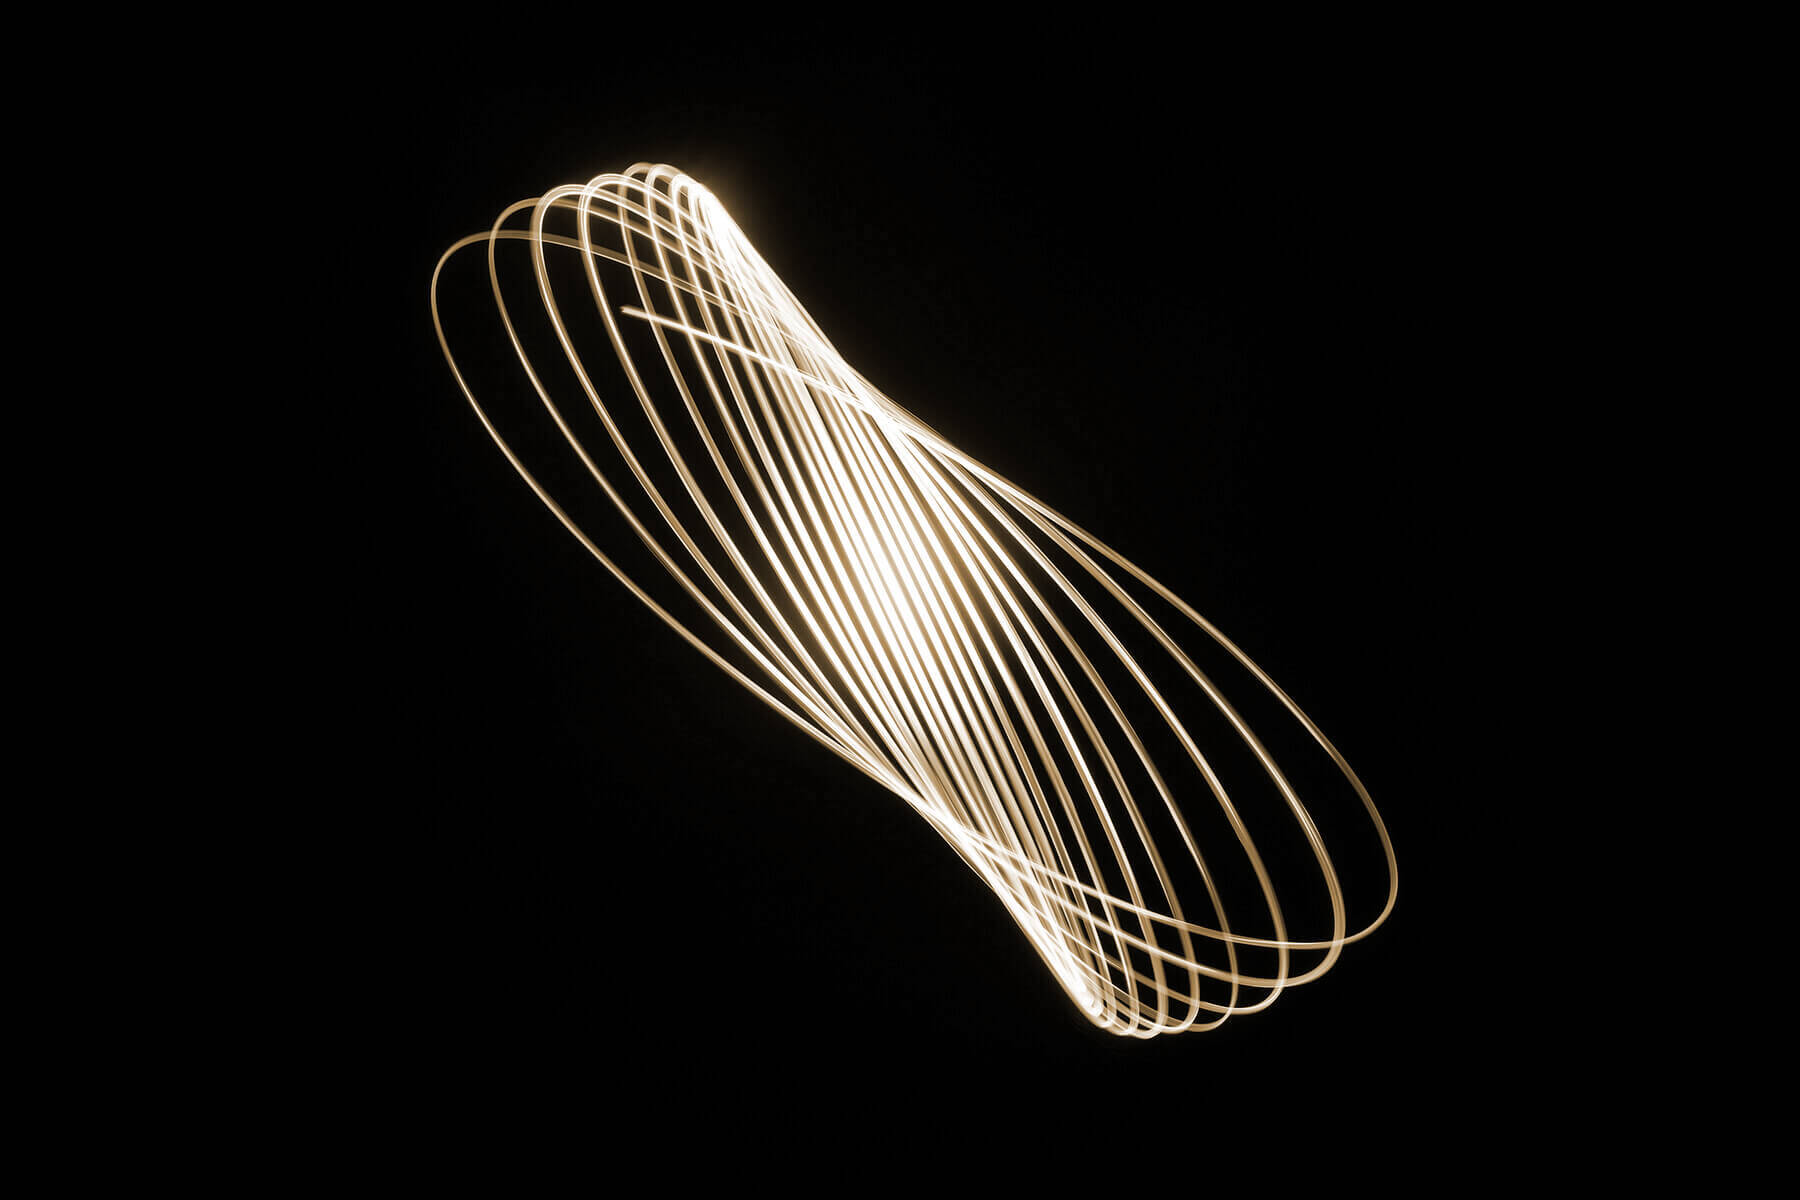
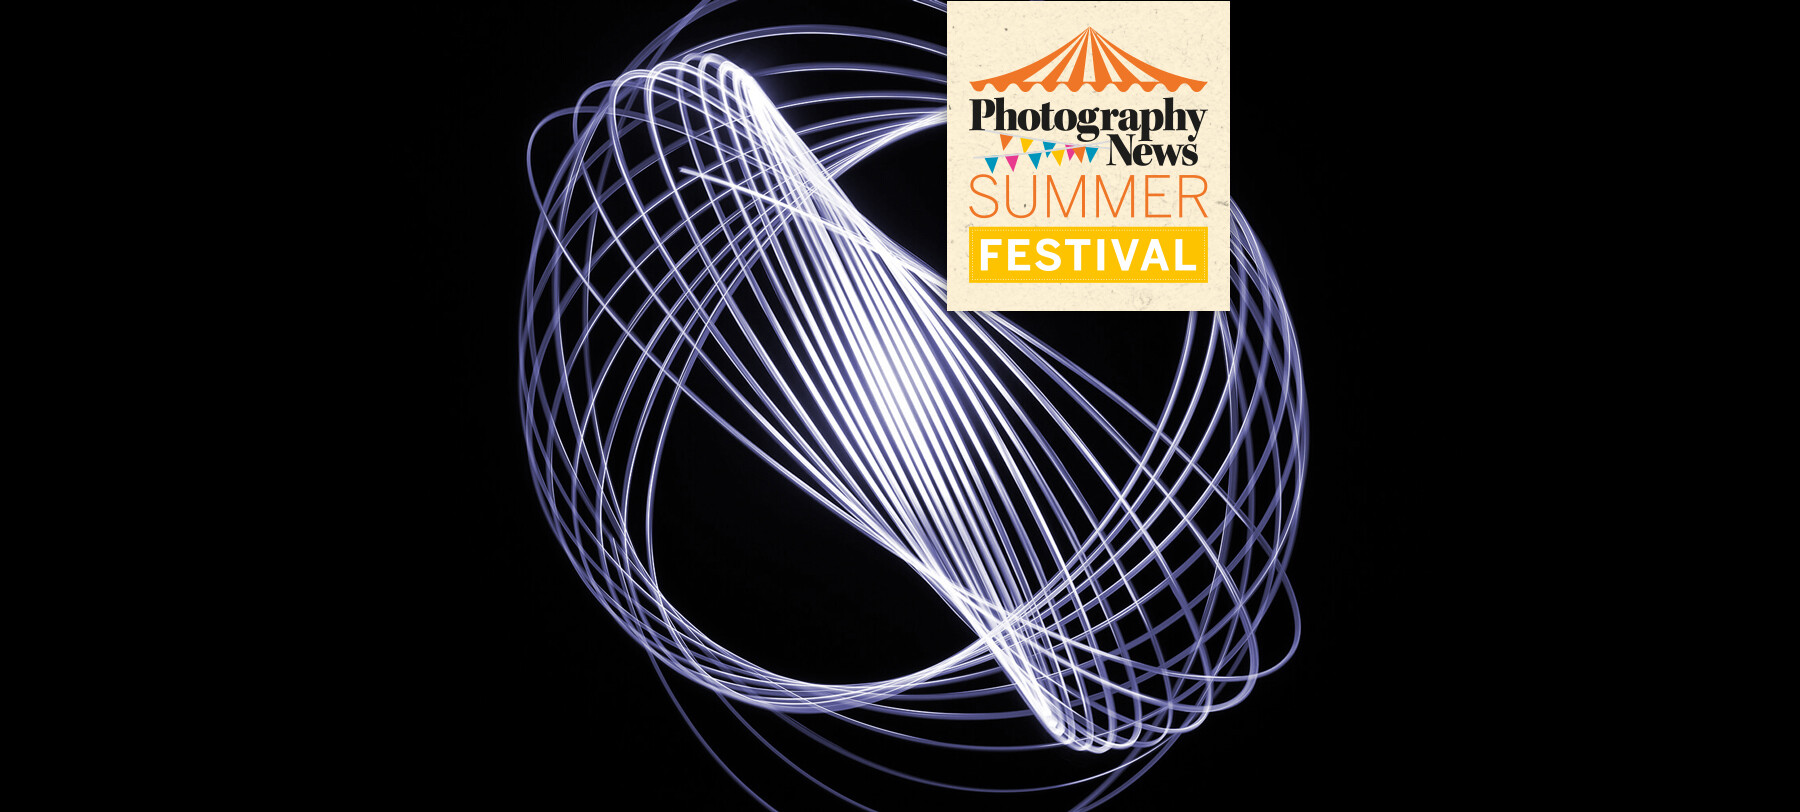
Physiograms need little explanation if you’ve seen the images, but you can think of them as the photographic equivalent of a Spirograph, using light painting instead of a pen. If you missed out on the childhood joy of Spirographs, just let the photos speak for themselves!
We’ve written about light trails in the past, which included some broader light painting, like the popular flaming wire wool technique, but at the time of writing this feature, we’re still in a state of semi-lockdown. One of the best things about physiograms, though, is that they can be done anywhere, including any dark room in your home.
Yet another draw is that you don’t need much at all, just your camera and tripod, a torch and some string. If you have all of those things to hand, let’s get started.
The first step is securely attaching a length of string to the end of your torch. Next, you’ll need to attach that piece of string to something so that your torch is suspended in the air, pointing straight down and has enough room to swing. Security on both ends is key here – the torch will be dangling directly above your camera soon, so you don’t want it to be even remotely precarious.
Click the images to see a larger view
Speaking of the torch, a smaller option is better if possible. Not only for reasons of protecting your kit, but because a larger torch will create a less defined trail when it comes to the light painting. If your only option is a larger torch, expose the bulb if possible, or consider covering some of the end so only a restricted beam of light is emitted. If you do cover the end, be careful, as it may become hot.
With your torch securely hanging in the air, set your camera on your tripod so that it’s low to the ground and faces straight up. You’ll be thankful for a fold-out screen when positioning here. If your camera doesn’t have one, you could try suspending your torch much higher and raising your tripod to a more comfortable level.
If you’re indoors, it’s time to darken the room, because next you need to choose your exposure settings. You’ll need a shutter speed of 10secs or longer, so start with a low ISO and a middling aperture.
Click the images to see a larger view
Don’t worry if you can’t completely darken your surroundings without significantly underexposing the torch light, there are steps we can take in post to correct this. It’s likely you’ll be adjusting your settings slightly throughout regardless.
Now, it’s time to start shooting. Pull your torch to one side then release it so it swings like a pendulum – nothing too forceful. After a few seconds, when the torch has stopped shaking and has settled into a smooth swing, release your shutter.
It’s highly unlikely you’ll get a good-looking physiogram the first time, but it should be a good indicator of over- or underexposure, too short or too long a shutter speed, or poor framing.
Continue shooting and dialling in between attempts, and before long, you’ll start to capture some nice light painting physiograms. You’ll find the unique looks come almost entirely as a result of the swing, so vary your release and try to home in on patterns you like. Adjust your exposure settings to let the patters play out for longer or cut them off sooner if needed. You can even try adjusting the length of your string.
Some physiograms won’t need much post-processing at all, but there are a few things that can help in some cases.
Click the images to see a larger view
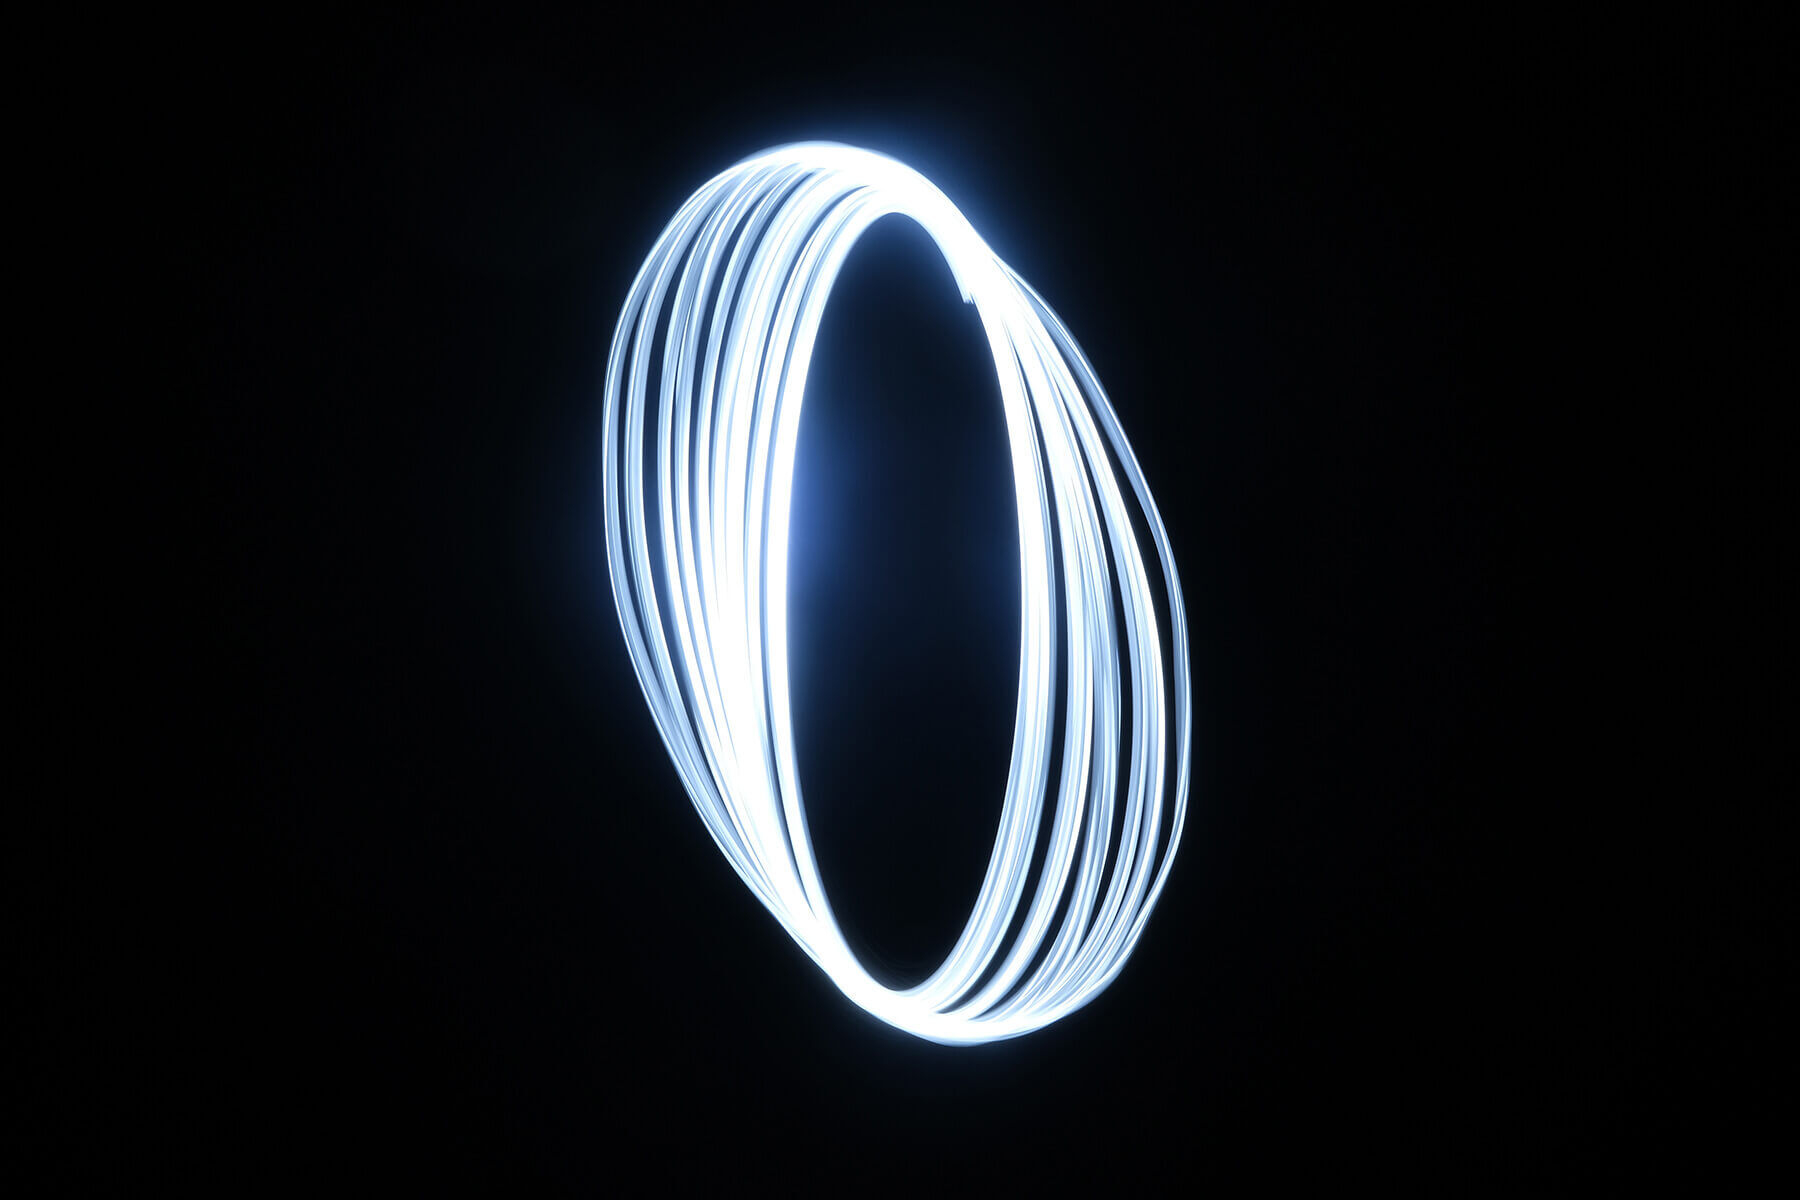
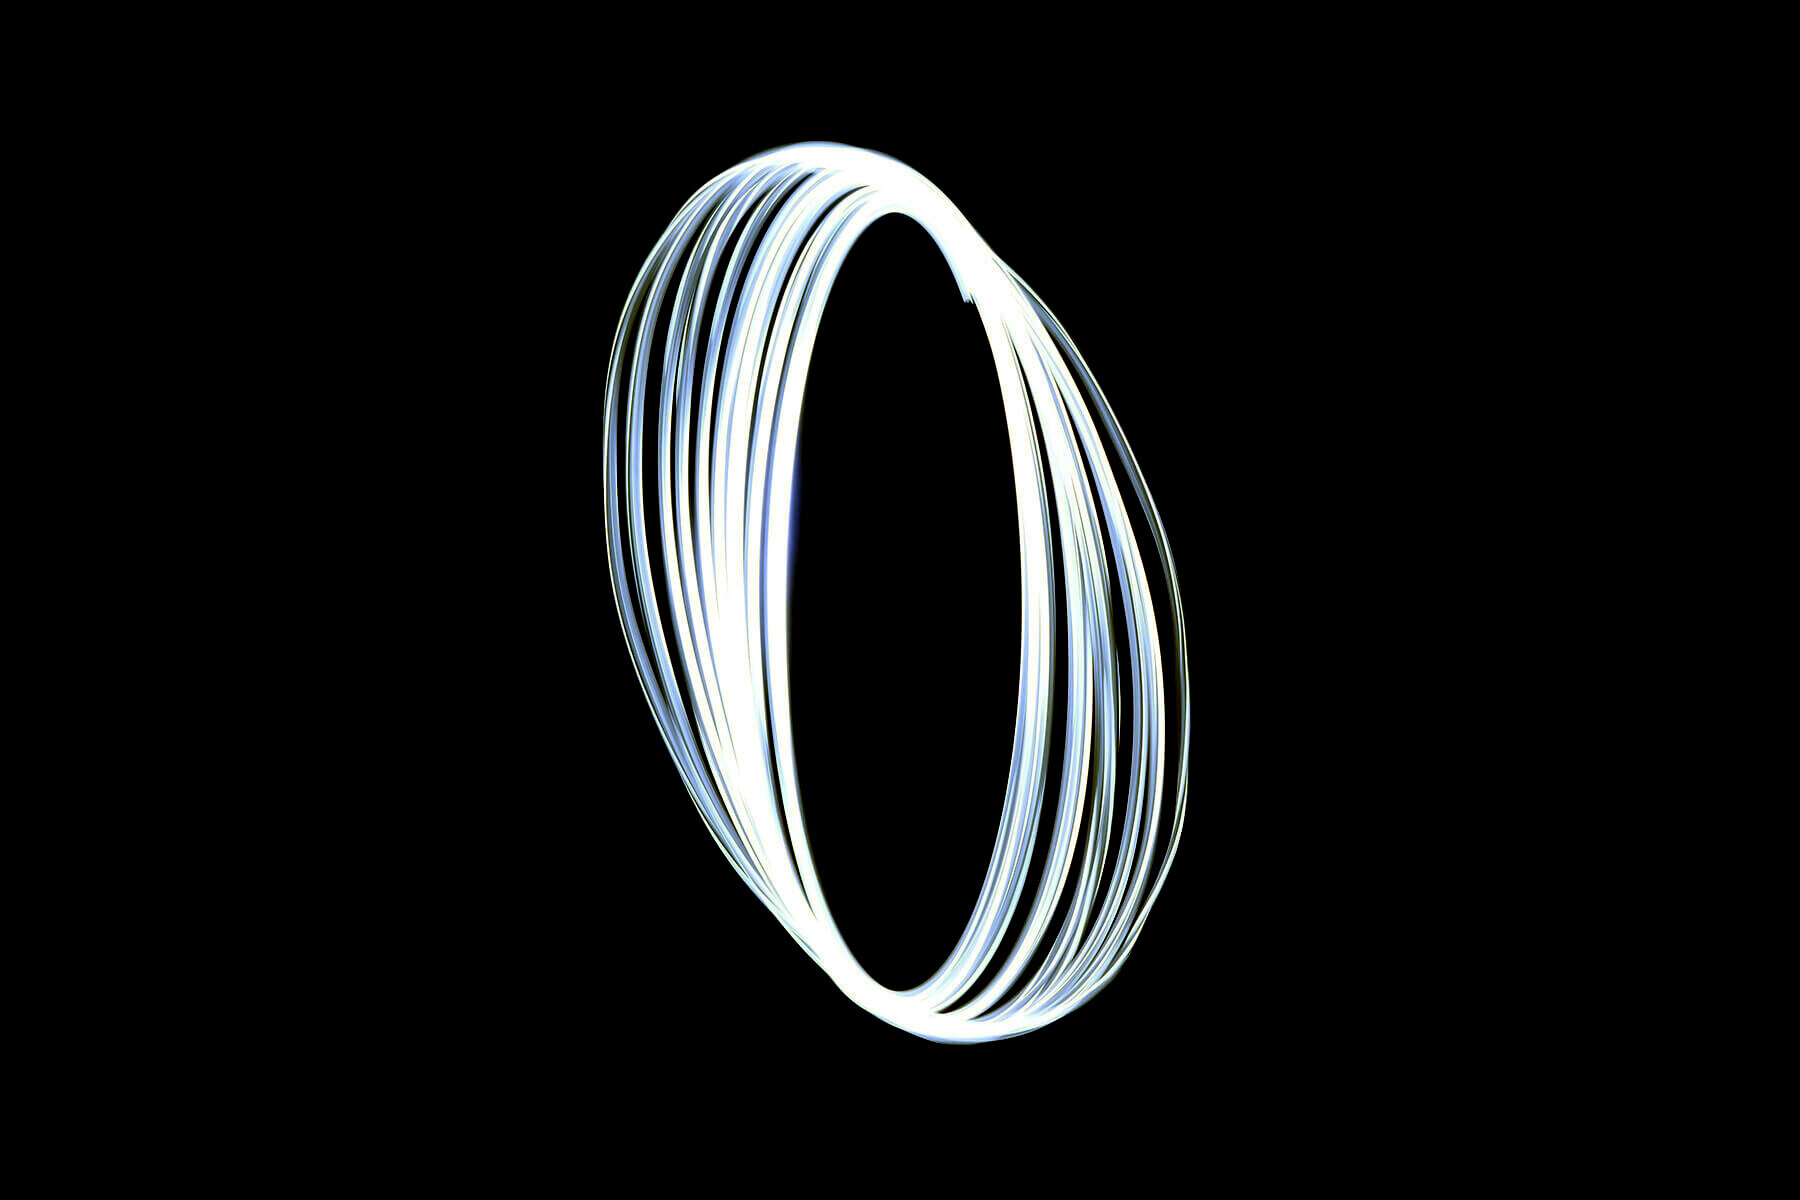
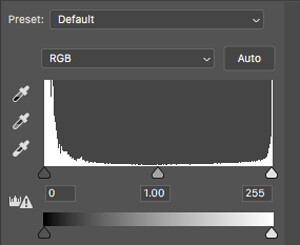
As mentioned, if you can’t control your ambient light adequately during shooting, you may need to darken it in post. You can do a good job of this by creating greater contrast however you see fit – we’d recommend using a Levels adjustment for the greatest control, though.
If you’re editing in Photoshop, for a quick and easy method, you can add a Levels adjustment layer, select the black eyedropper tool pictured above, then use it to sample any part of your image that’s too light.
As an additional creative twist, you can change the colour of your physiogram in post with ease, so it doesn’t matter if you only have access to a plain, white torch. If you’re using Photoshop, simply add a Hue/Saturation adjustment layer, check Colorize, then use the Hue and Saturation sliders to find something you like.
That’s all there is to light painting physiograms – they’re beautifully simple and a fun way to pass a few minutes or hours with your camera! If you shoot some, be sure to tag us on Instagram, Facebook or Twitter using the handle @photonewspn
Be sure to stay tuned for more Summer Festival content! You can read issue 77 free and online now for comprehensive guides on mirrorless cameras, long exposures and video shooting essentials. We’ll have more every week on the website, too, so keep an eye on our Summer Festival section.
Don’t forget to sign up to receive our newsletter below, and get notified about the new issue, exclusive offers and competitions.
Have you heard The Photography News Podcast? Tune in for news, techniques, advice and much more! Click here to listen for free.

