Remove any moving object in-camera
Posted on Jun 3, 2020 • 6 minute read
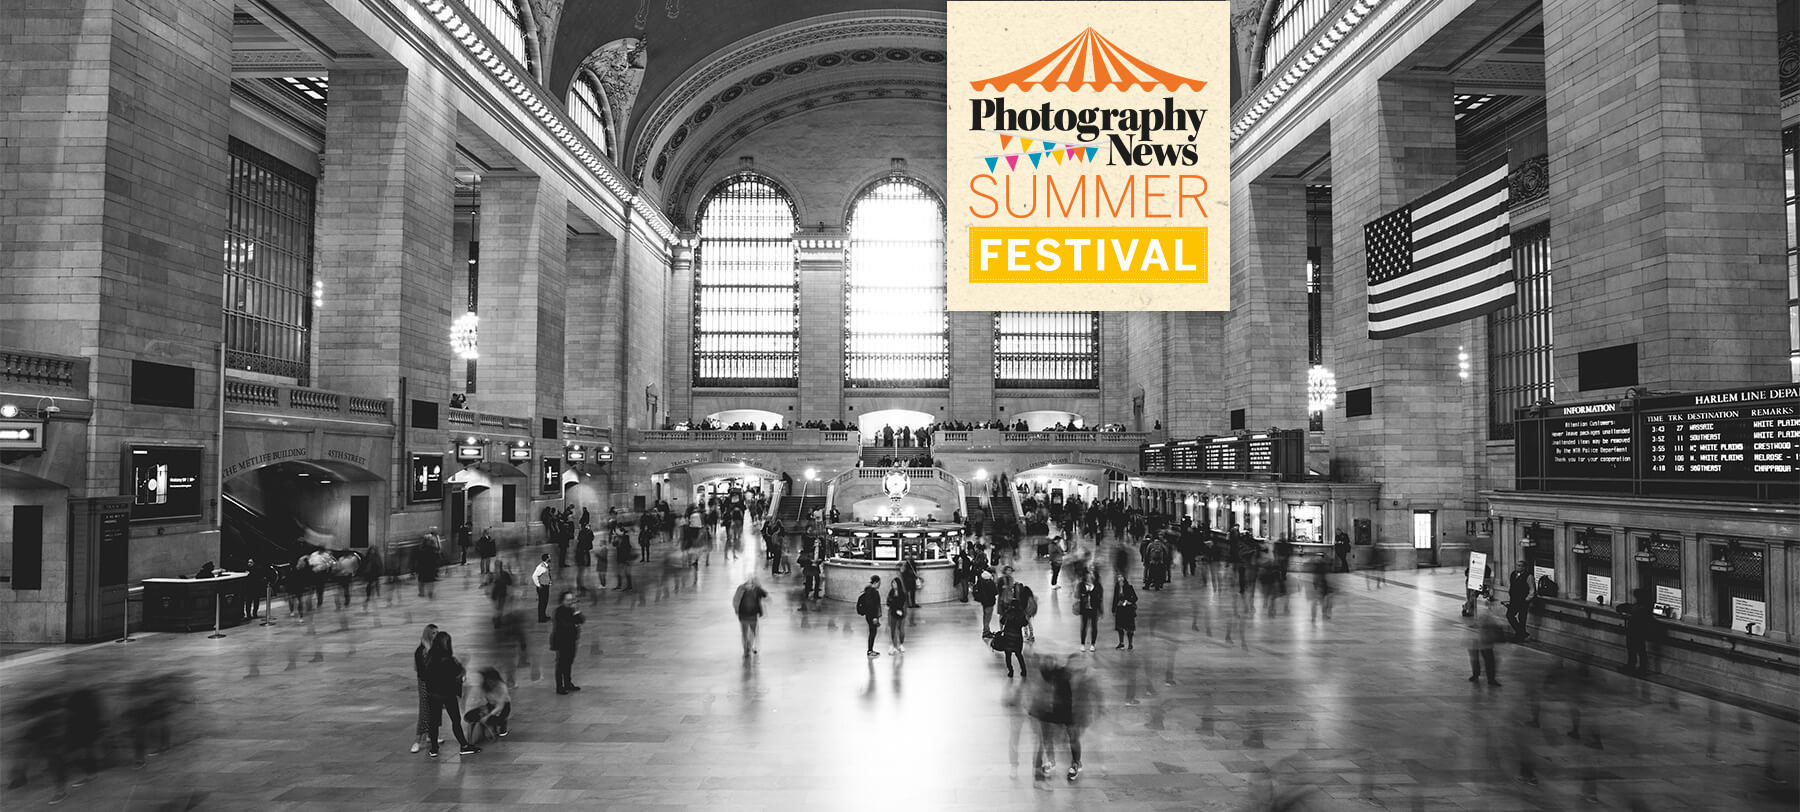
Have you ever wished you could remove people, cars or other moving objects from a scene without having to edit? Well, with long exposures, you can.
Photography News issue 77 saw the start of the PN Summer Festival, packed with exciting content in the magazine and on the website to help you learn and keep you inspired. In the magazine’s first photo technique feature, we covered long exposures.
There are many fantastic techniques that can be done using long exposures – over the last two weeks, we’ve had a guide on star trails and a physiogram how-to. This week, we’re going to cover how you can use long exposures to make moving objects disappear.
At the time of writing, lockdown is yet to be completely eased, so you’re unlikely to encounter crowds of people. In fact, now may be a good time to try to capture some emptier scenes, provided you can do so safely and in line with guidelines.
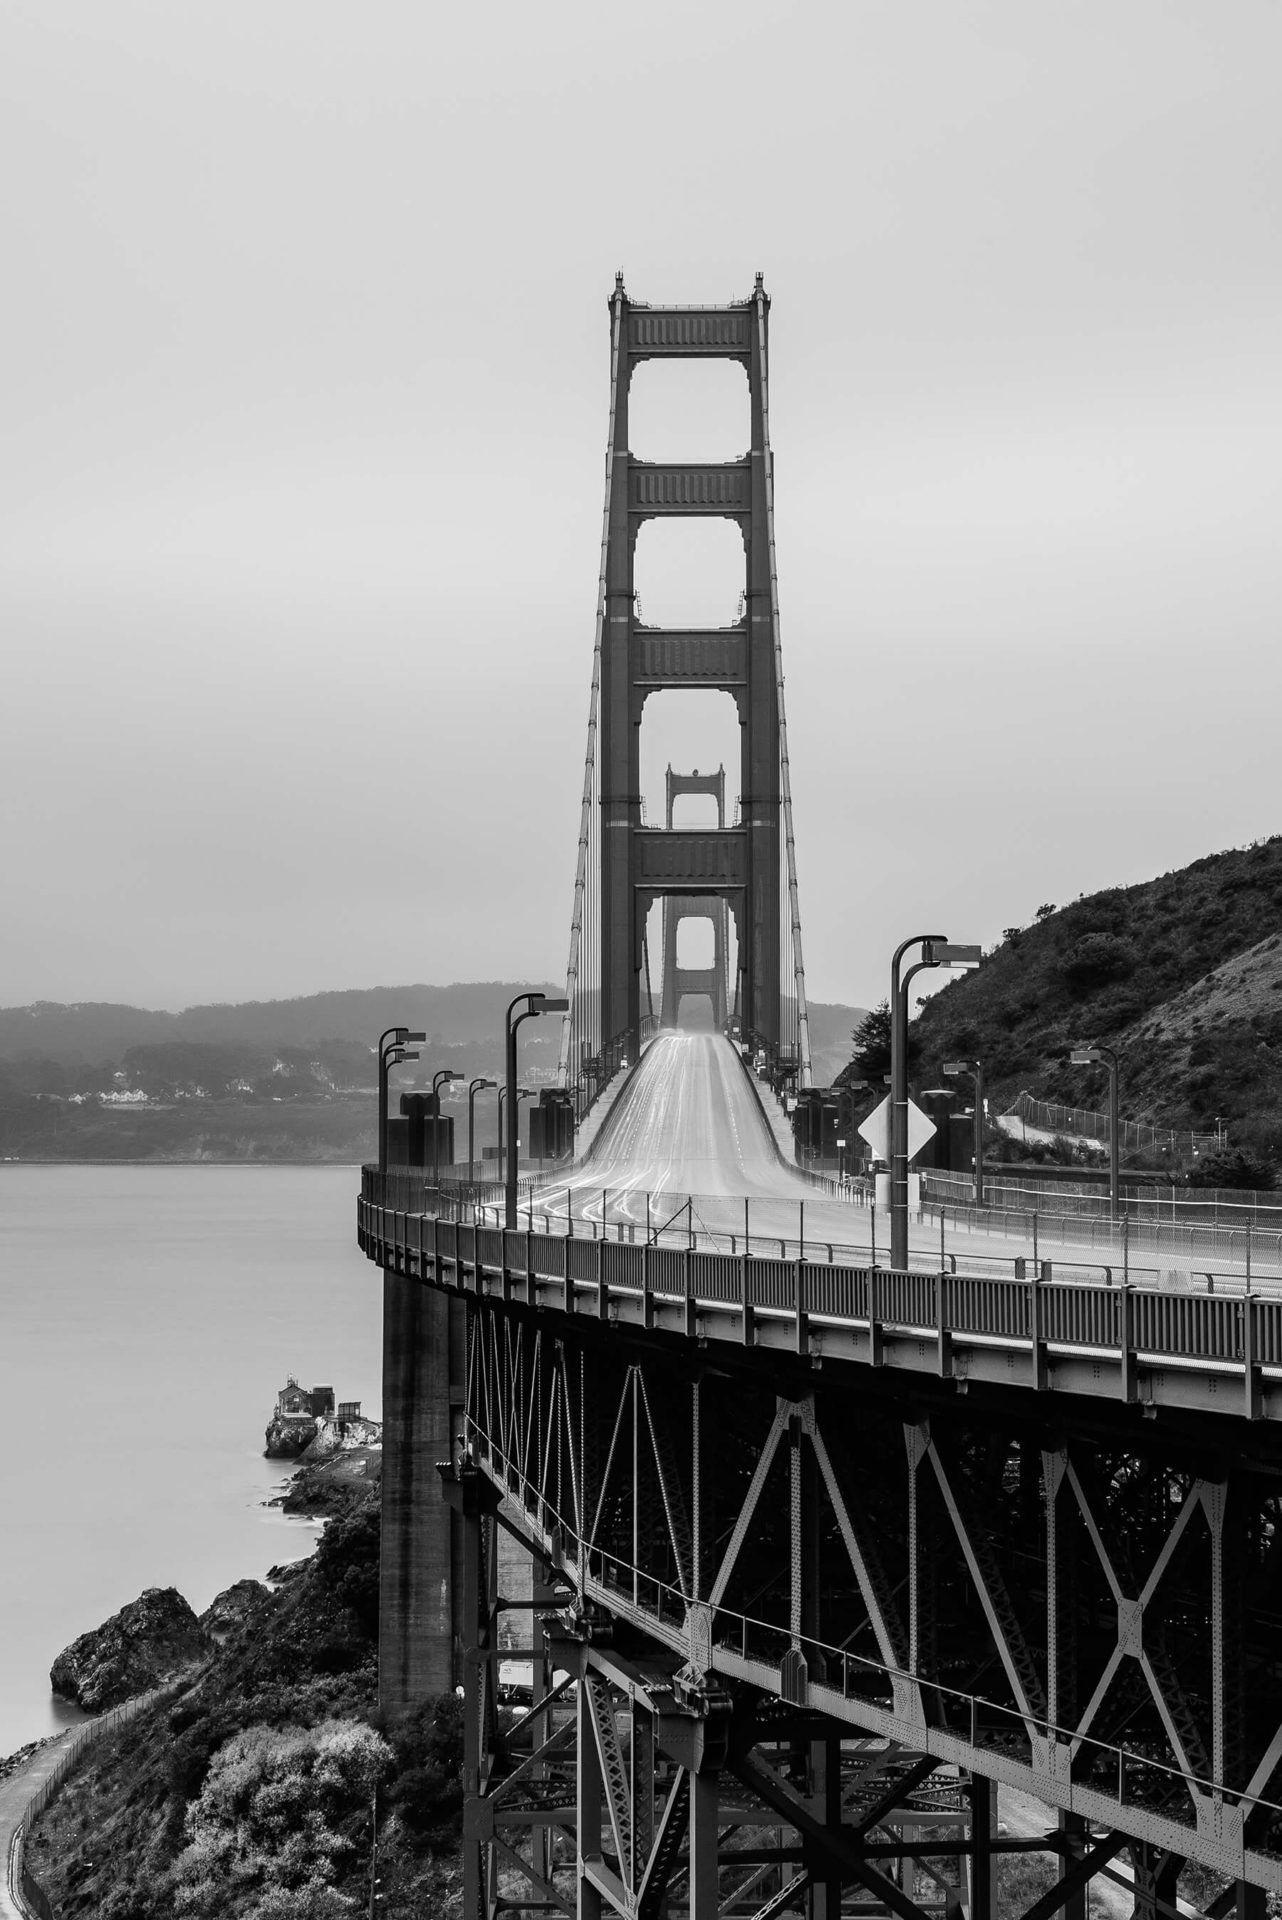
In ordinary life, the idea is appealing in many situations and we’re sure you’ve experienced your fair share. You’ve got a fantastic street scene composed, but the constant foot traffic moving by is really detracting from it. Maybe you’ve framed up on a scenic landscape, but the single country road has a steady flow of cars that you just don’t want to capture. Whatever the situation, the answer lies in long exposures.
The theory is fairly simple. If you were to use a shutter speed of 20sec, someone walking through your shot would cover a lot of ground in that time – they may even leave your frame. Any static object, however, would be captured exactly as it is for the full 20 seconds.
With relatively short long exposures of around 10sec or less, anything but a very fast-moving object won’t disappear entirely. Instead, you’ll encounter what’s known as ghosting, where you’ll capture a faint trail or outline of the object. Keep increasing that shutter speed, though, and you can make anything moving at a reasonable pace disappear almost entirely. In any case, ghosting can actually add a lot to a photo, so shouldn’t immediately be considered a failure.
Click the images to see a larger view
For longer exposures in any condition, especially daylight, you’ll most certainly require the use of an ND filter – likely a very strong one. They were covered in a fair amount of detail in issue 77’s long exposures feature, so we’d recommend giving it a read if NDs are something you’re hoping to get to grips with.
When it comes to shooting your photo, choose your desired shutter speed and set your camera to Time (T) or Bulb (B) mode accordingly, then use a low ISO and fairly narrow aperture to balance your exposure, taking into account the ND filter. You’ll need to use a tripod (and a very sturdy one at that) as exposure times increase. A remote shutter or your camera’s timer is also advisable to minimise camera shake.
It’s important to note that anything moving within your frame will ghost. While a car driving by may virtually disappear, a tree that’s moving on the spot will become a blurred mess, so try to avoid objects like this if you don’t want that to happen.

If you wish to keep things completely in-camera, that’s really all there is to it. You may not be able to make objects disappear entirely depending on conditions and the objects themselves, but the technique goes a long way, so give it a try and see what you can achieve.
If you are willing to do a bit of editing, you can take things even further with a few simple steps. By bracketing a number of identical shots – not considering the moving subjects – you can combine them in post for an even better chance at a completely uninterrupted frame. The idea here is that every part of the scene is empty in at least one of the photos.
There are a number of ways to edit. There’s the quick option of removing any variable objects automatically in Photoshop by clicking File > Scripts > Statistics… and setting Stack Mode to Median. To do this manually in any software with layers and masks, stack your photos then paint over people, revealing a blank section of the frame underneath.
You can read our recent layers and masks editing guide for more detail if you need it, or if more drastic means of removal are needed in small areas, read our guide outlining three ways to remove an object in Photoshop.
You can expect more Summer Festival content in the next two issues of the magazine, with multiple online features every single week! We hope you’ll follow along and get involved. If you want to share your photos or get in touch, you can find us on Instagram, Twitter and Facebook at the handle @photonewspn
Don’t forget to sign up to receive our newsletter below, and get notified about the new issue, exclusive offers and competitions.
Have you heard The Photography News Podcast? Tune in for news, techniques, advice and much more! Click here to listen for free.


