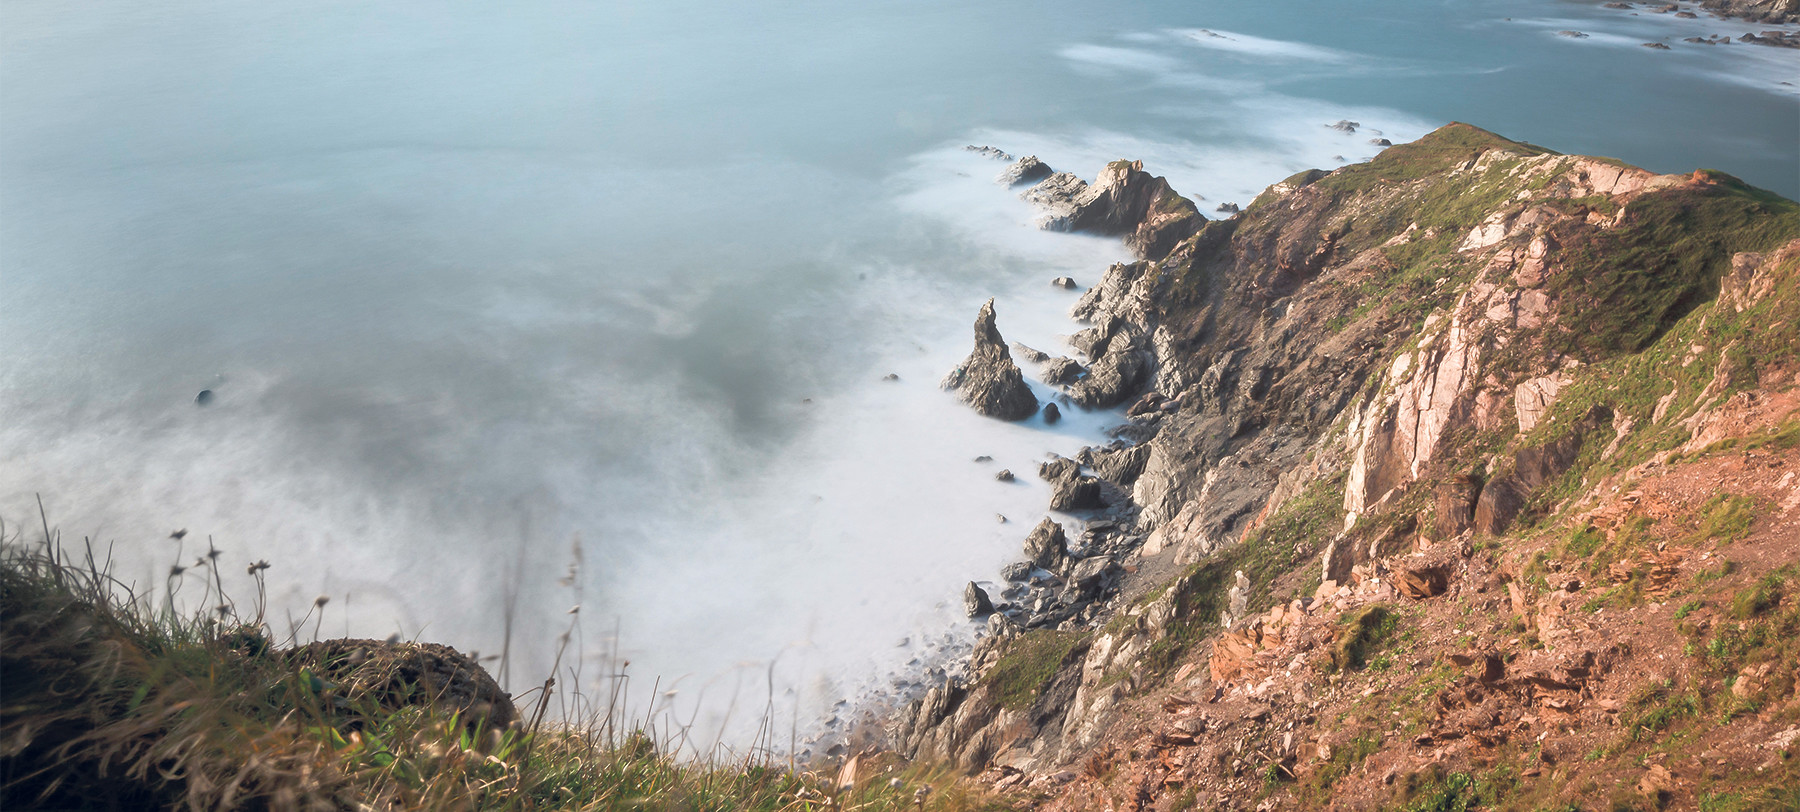
Six steps for perfect coastal photography
The UK has over seven thousand miles of coastline to enjoy with your camera. Find out how to make the most of the coast with these simple technique tips.
Read time: 8 minutes
Planning pays off
Almost all landscape photography is dependent on planning. There are lots of apps and websites out there to help you do it, such as PhotoPills and The Photographer’s Ephemeris, and these will help plot the position of the sun and moon, what time the golden and blue hours begin, what elevation and views you can expect, plus lots more. But with coastal photography, there’s another very important factor – the tide.
The rising and falling waterline changes the landscape hour by hour, meaning that at one time of day you might have a very different scene to another. When the tide is out you’re more likely to get interesting rock formations, and sea stacks will seem taller. A receding tide can also leave behind acres of wet sand, adding lots of reflections.
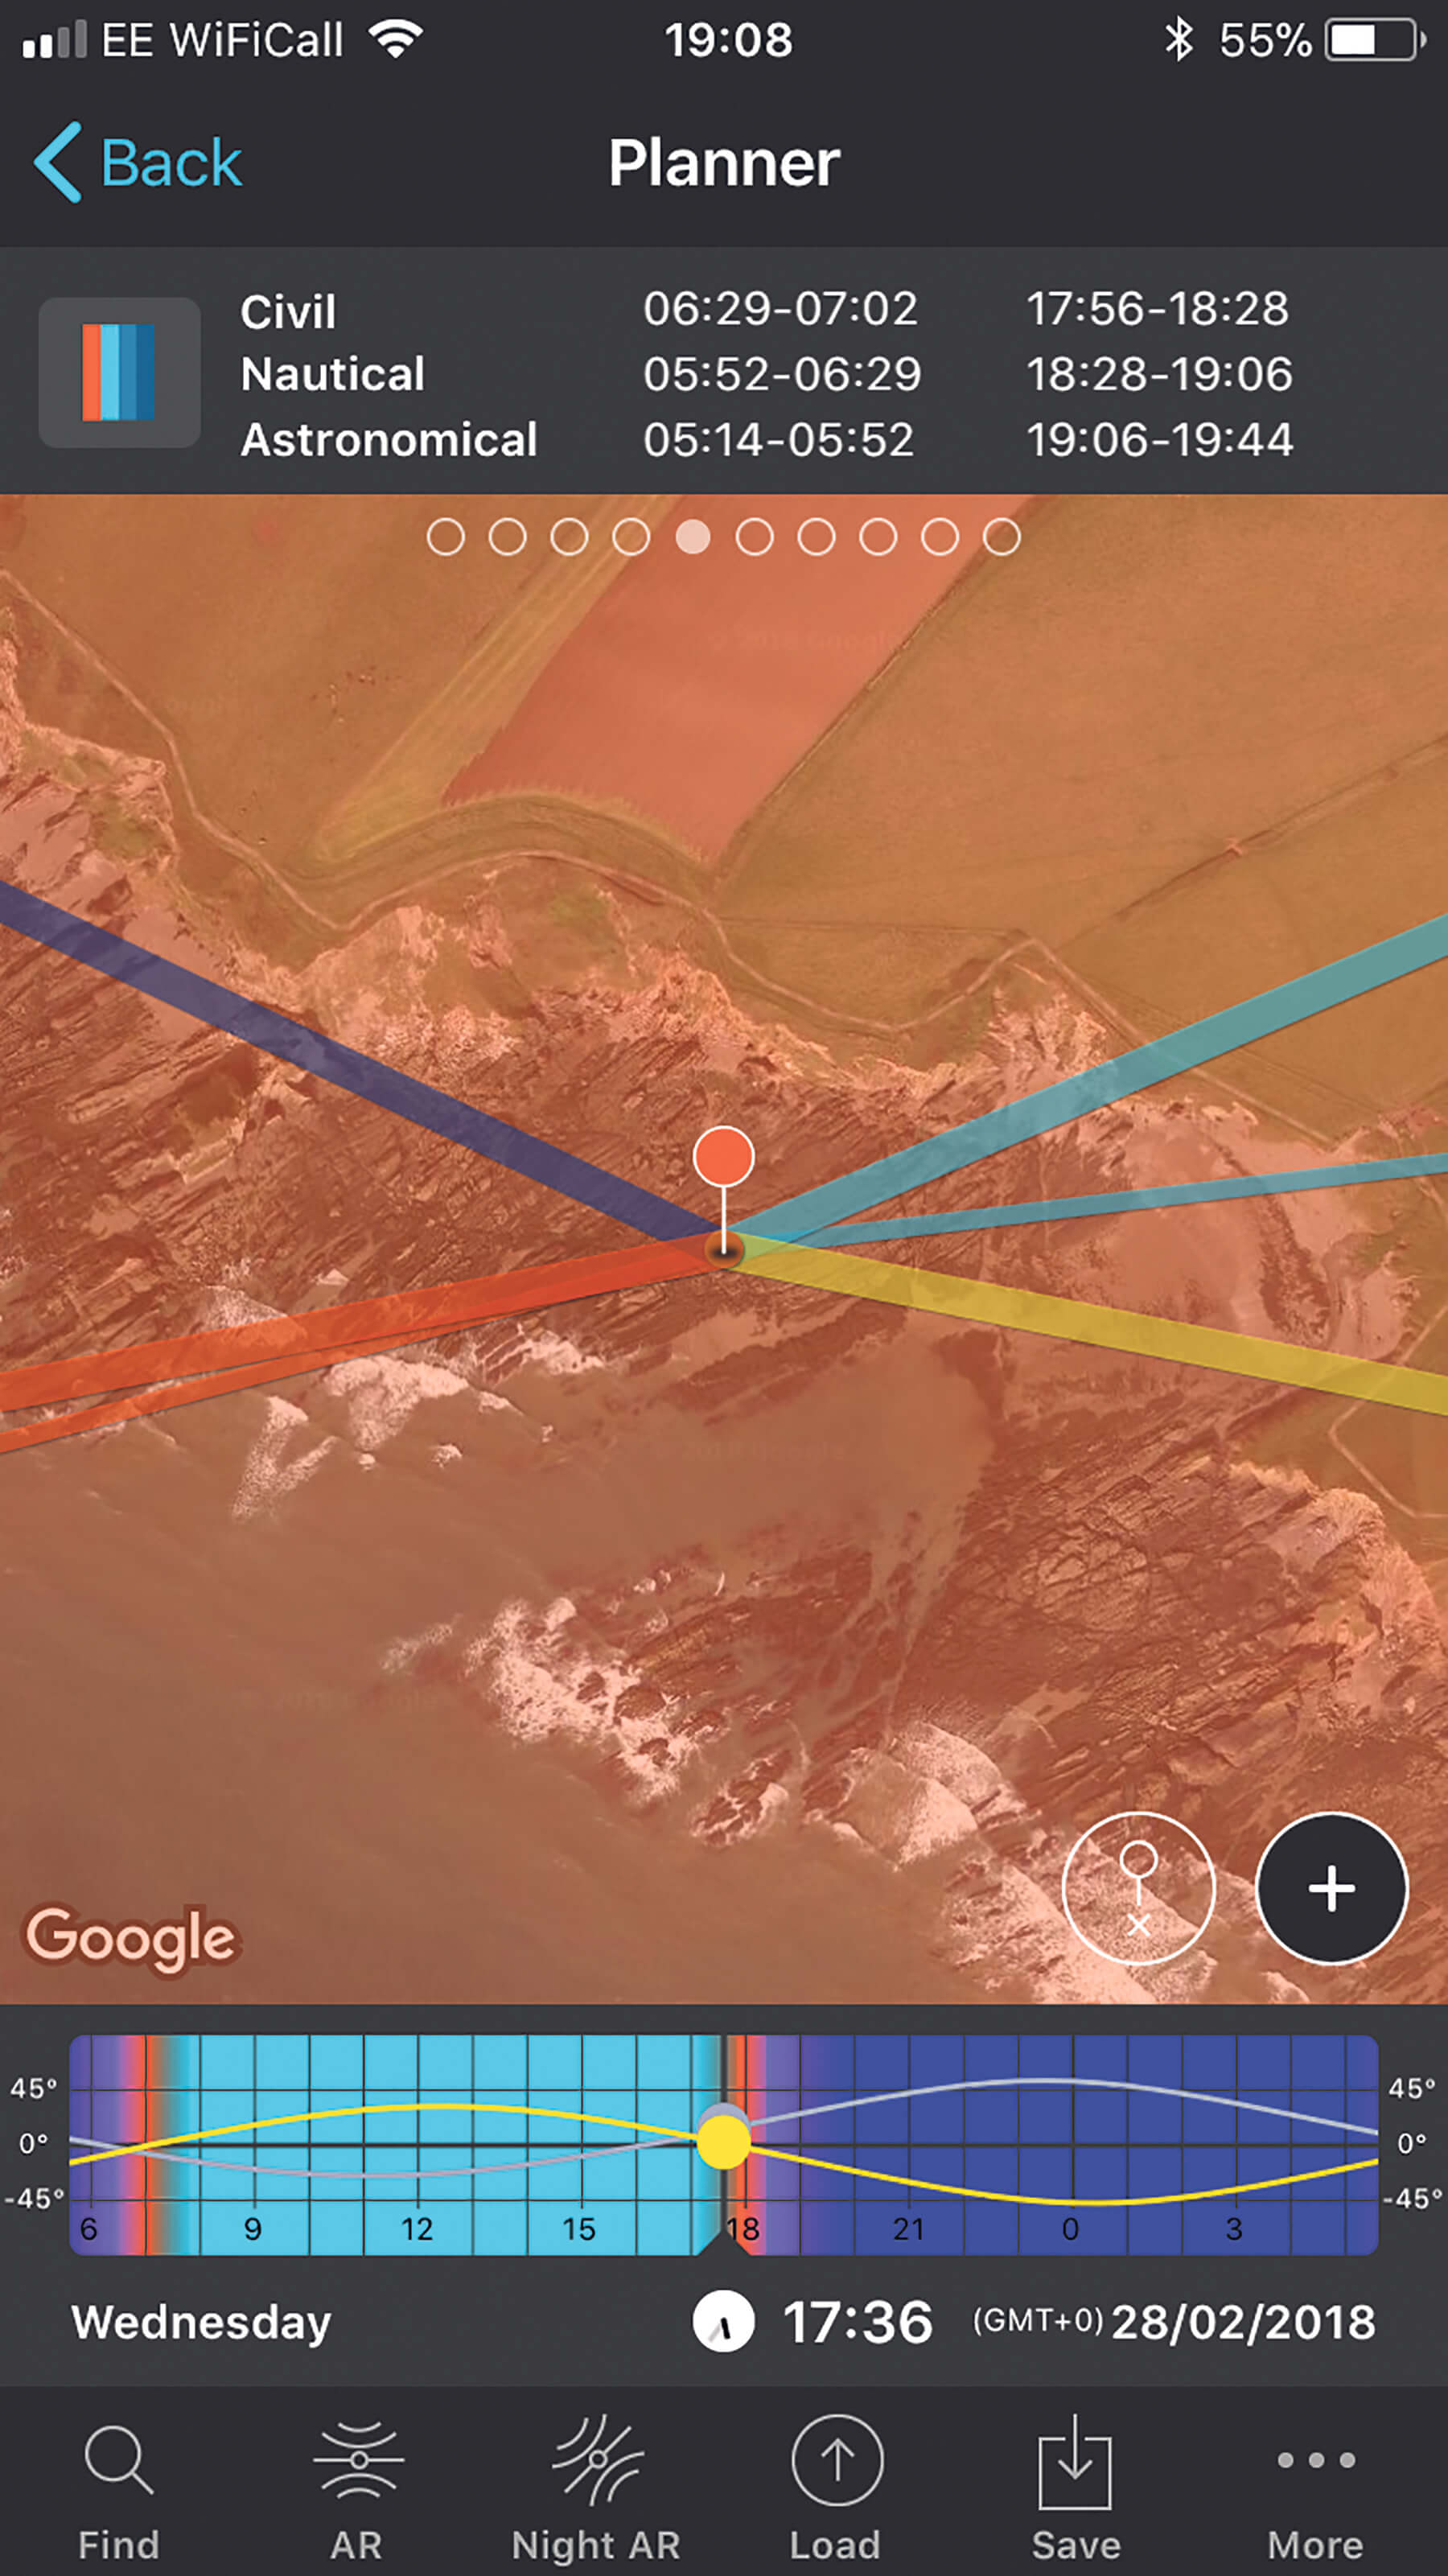
Image Apps are a great way to plan a shoot, and can be used on the go
Tide times and levels vary enormously from one part of the UK to another, so make sure you check them carefully before your seaside shoot, using a site like Tide Times as much for your own safety as for how photogenic they make the location.
If you’re lucky enough to be able to revisit a coastal spot often you’ll see the benefit in getting to know the tides and what they reveal there. With experience, you’ll be able to plot when the best water level and the best light coincide, and make a point of visiting then.
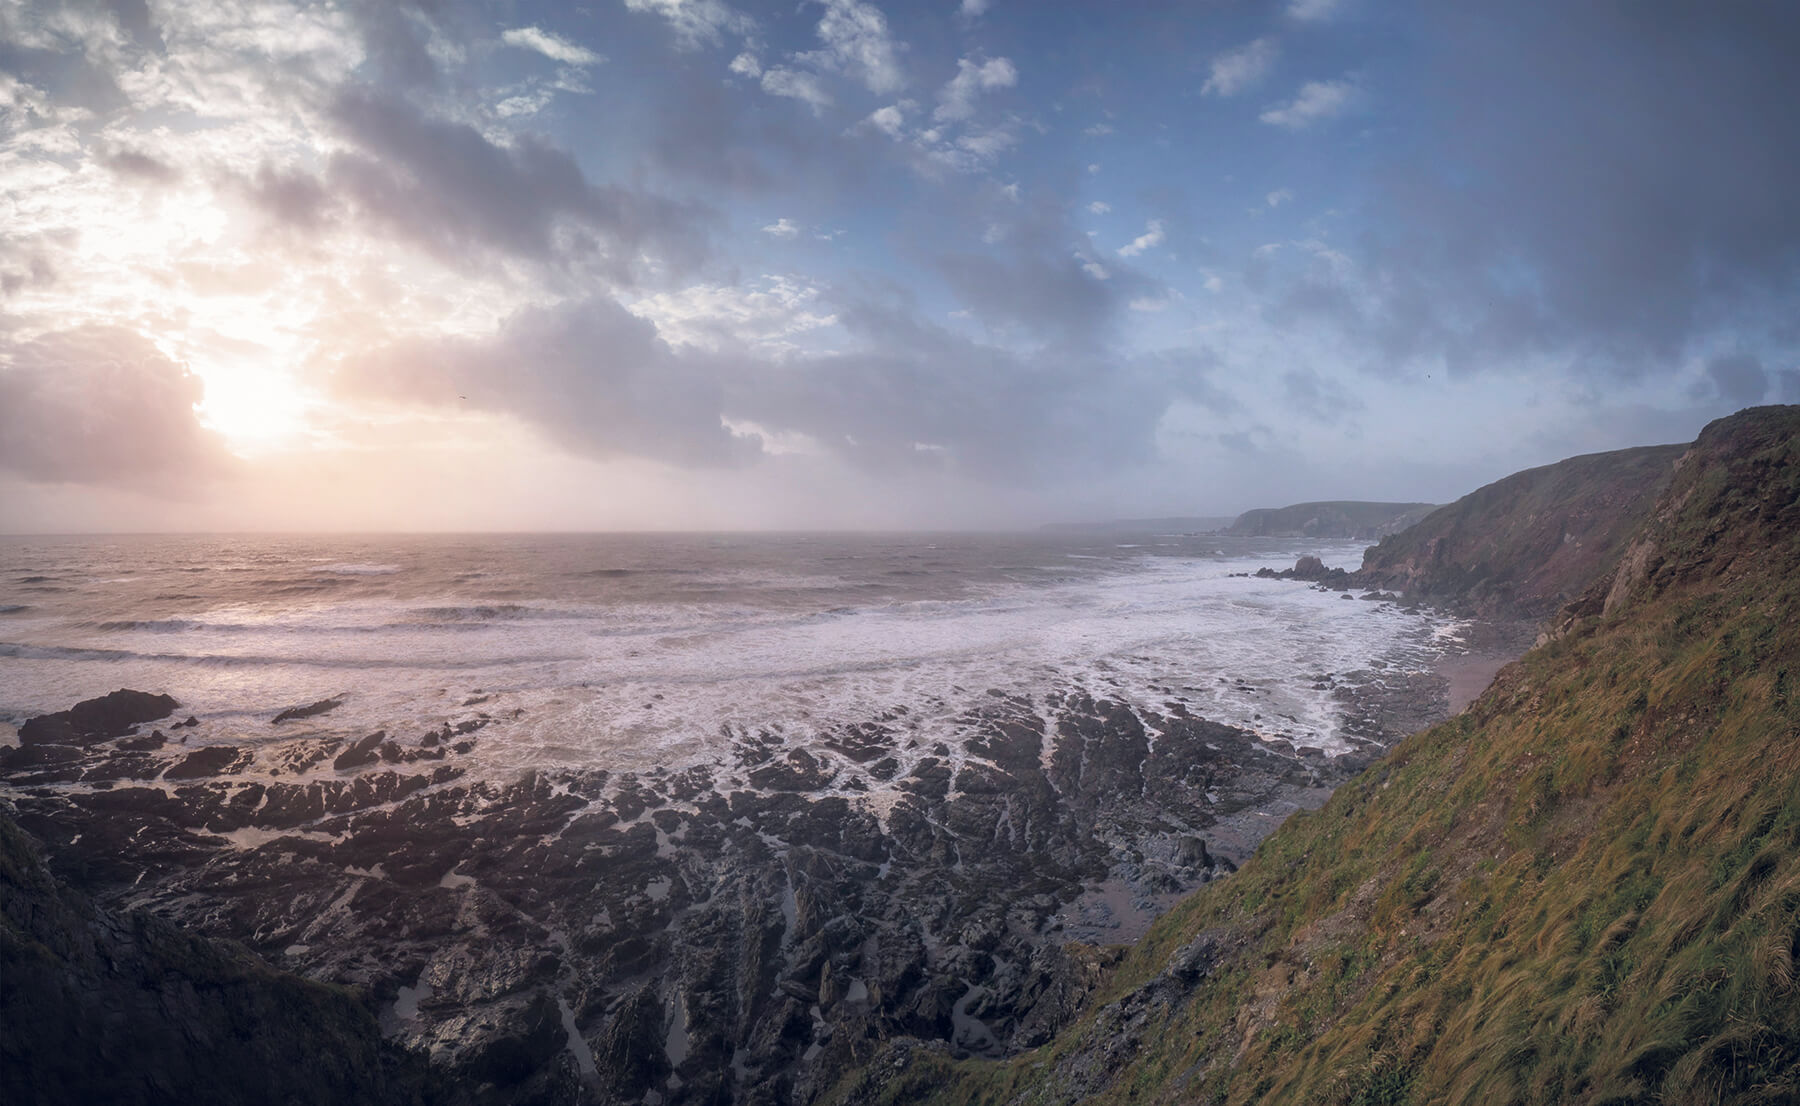
Image This low tide shot looks very different from the scene at high tide
Find some balance
Shooting at the seaside you’ll find there’s a lot of empty space about – water, sand and sky. This is part of the attraction, but also a problem for photographers. If you use the space incorrectly the picture can feel extremely unbalanced, with, for example, craggy cliffs running up one side and nothing on the other to counterbalance it.
Try to frame up so that there’s something balancing the composition; for instance, shooting from one side of a bay to the other should allow you to get some clifftop foreground into the mix, too. Or try to get low enough to the beach so that you pick out detail in rocks or sand to anchor the composition.
Ideally, you might find an island or a large rock out in the water to use as a subject, but you can also use the rising or setting sun. If you include it in the composition, it will create a focal point towards the top of the frame, drawing the eye and balancing the foreground. You’ll need to use graduated ND filters to counteract its brightness.
Click the images to see a larger view
Images The sheer amount of open space provided by the sea can lead to problems in composition, mainly a lack of balance in the image. Above, the picture on the left is dominated by detail on the right hand side of the frame; but in the picture on the right there’s a better balance between the foreground and the cliffs, and sun in the distance
Find seaside reflections
Wet sand might not be your camera’s friend, but the way it reflects light can certainly help your landscape images. This is especially true when faced with a lack of foreground interest.
Wet sand, rocks and pools of shallow standing water will glimmer, so long as you make sure to shoot at least partially towards the light. The sun doesn’t need to be low, as it is at dawn or dusk, in order to get reflections, either.
Most of the time, you’ll get the best reflections when the tide is going out, though on very flat beaches it can wetten as the water comes in, or stay that way all day. Position yourself close to the ground when composing, and tilt the camera until you see the reflections appear.
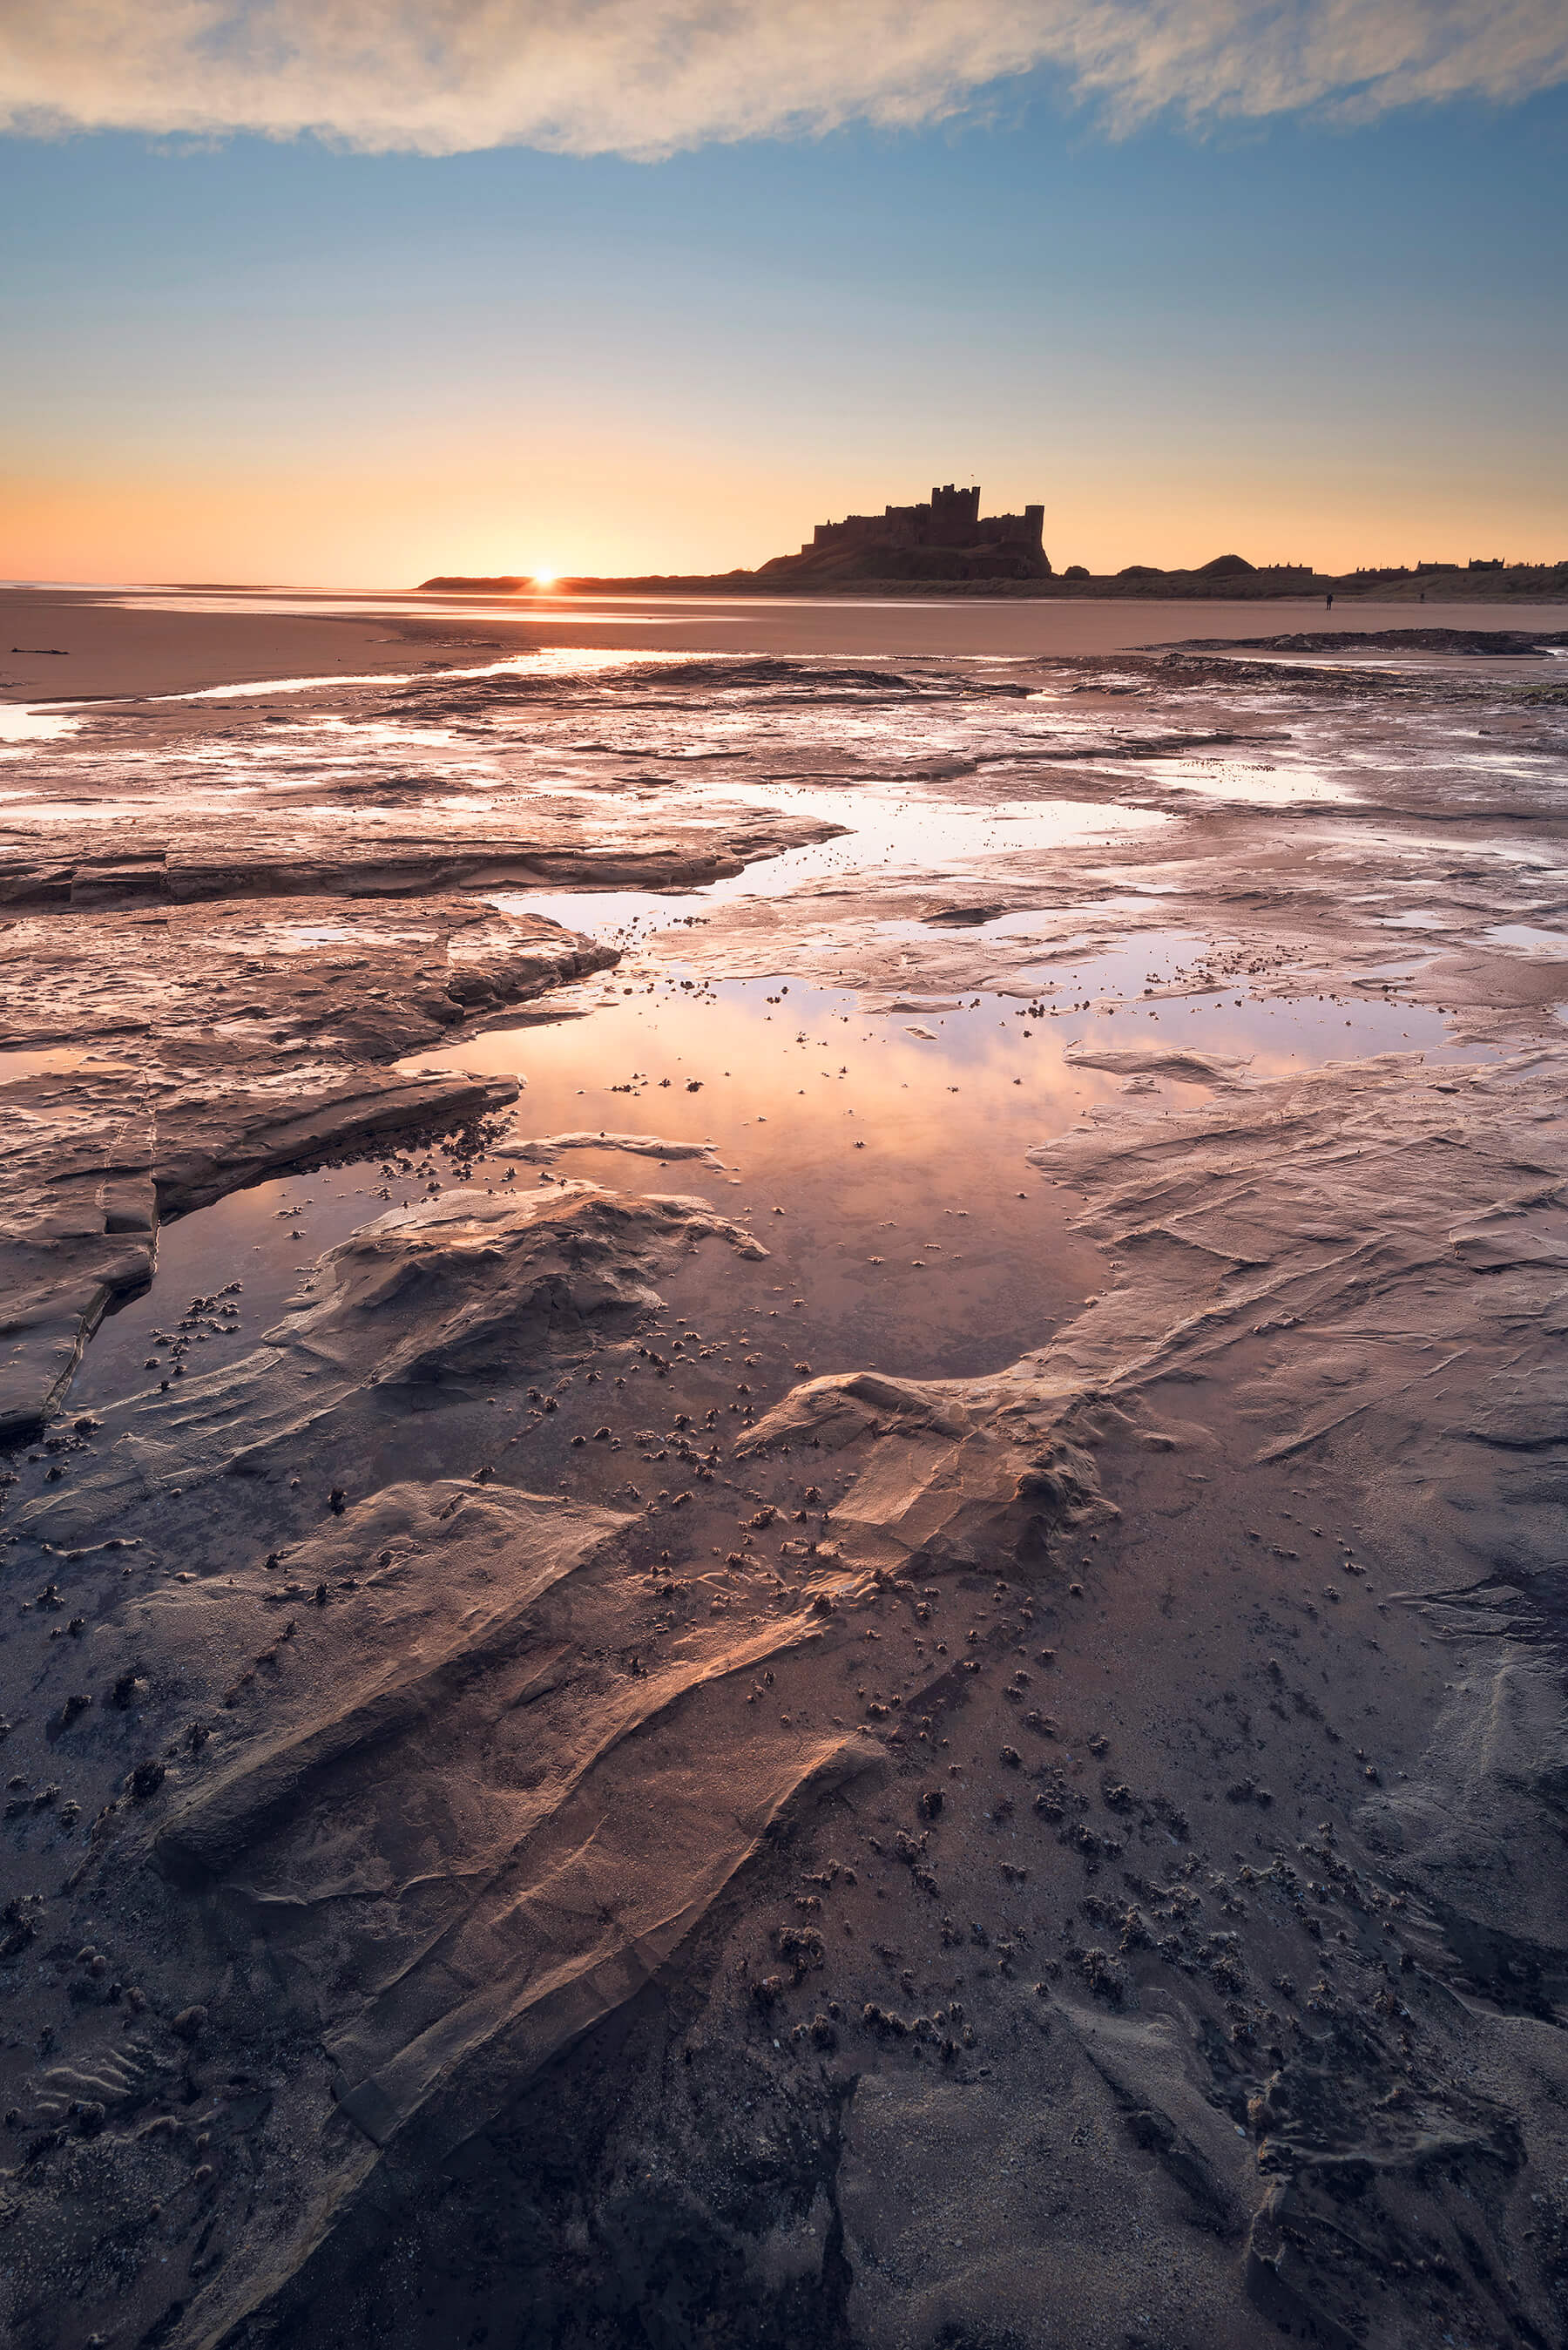
Image You may think that rutted wet sand is an uninspiring foreground, but position your camera low enough to pick up the contrast and reflections, and it will enliven any seaside scene
Look for simple compositions
Rather than just looking for traditional landscapes, try hunting out more abstract or simple compositions in your coastal photography.
A lone rock sticking out of the sea is perfect for this, especially when combined with a long exposure, which will seem to make it hang in a mist of water.
The most important thing with your coastal photography compositions, though, is to get your framing right. If you compose too wide, you’ll provide too much context and lose the simplicity. Instead, crop closely on the subject, making it the dominant element in the scene.
To help, try shooting with a telephoto zoom or prime; a 70-200mm or 70-300mm zoom gives lots of reach and versatility, but primes like an 85mm portrait lens, or a 105mm macro can give you enough magnification, too.
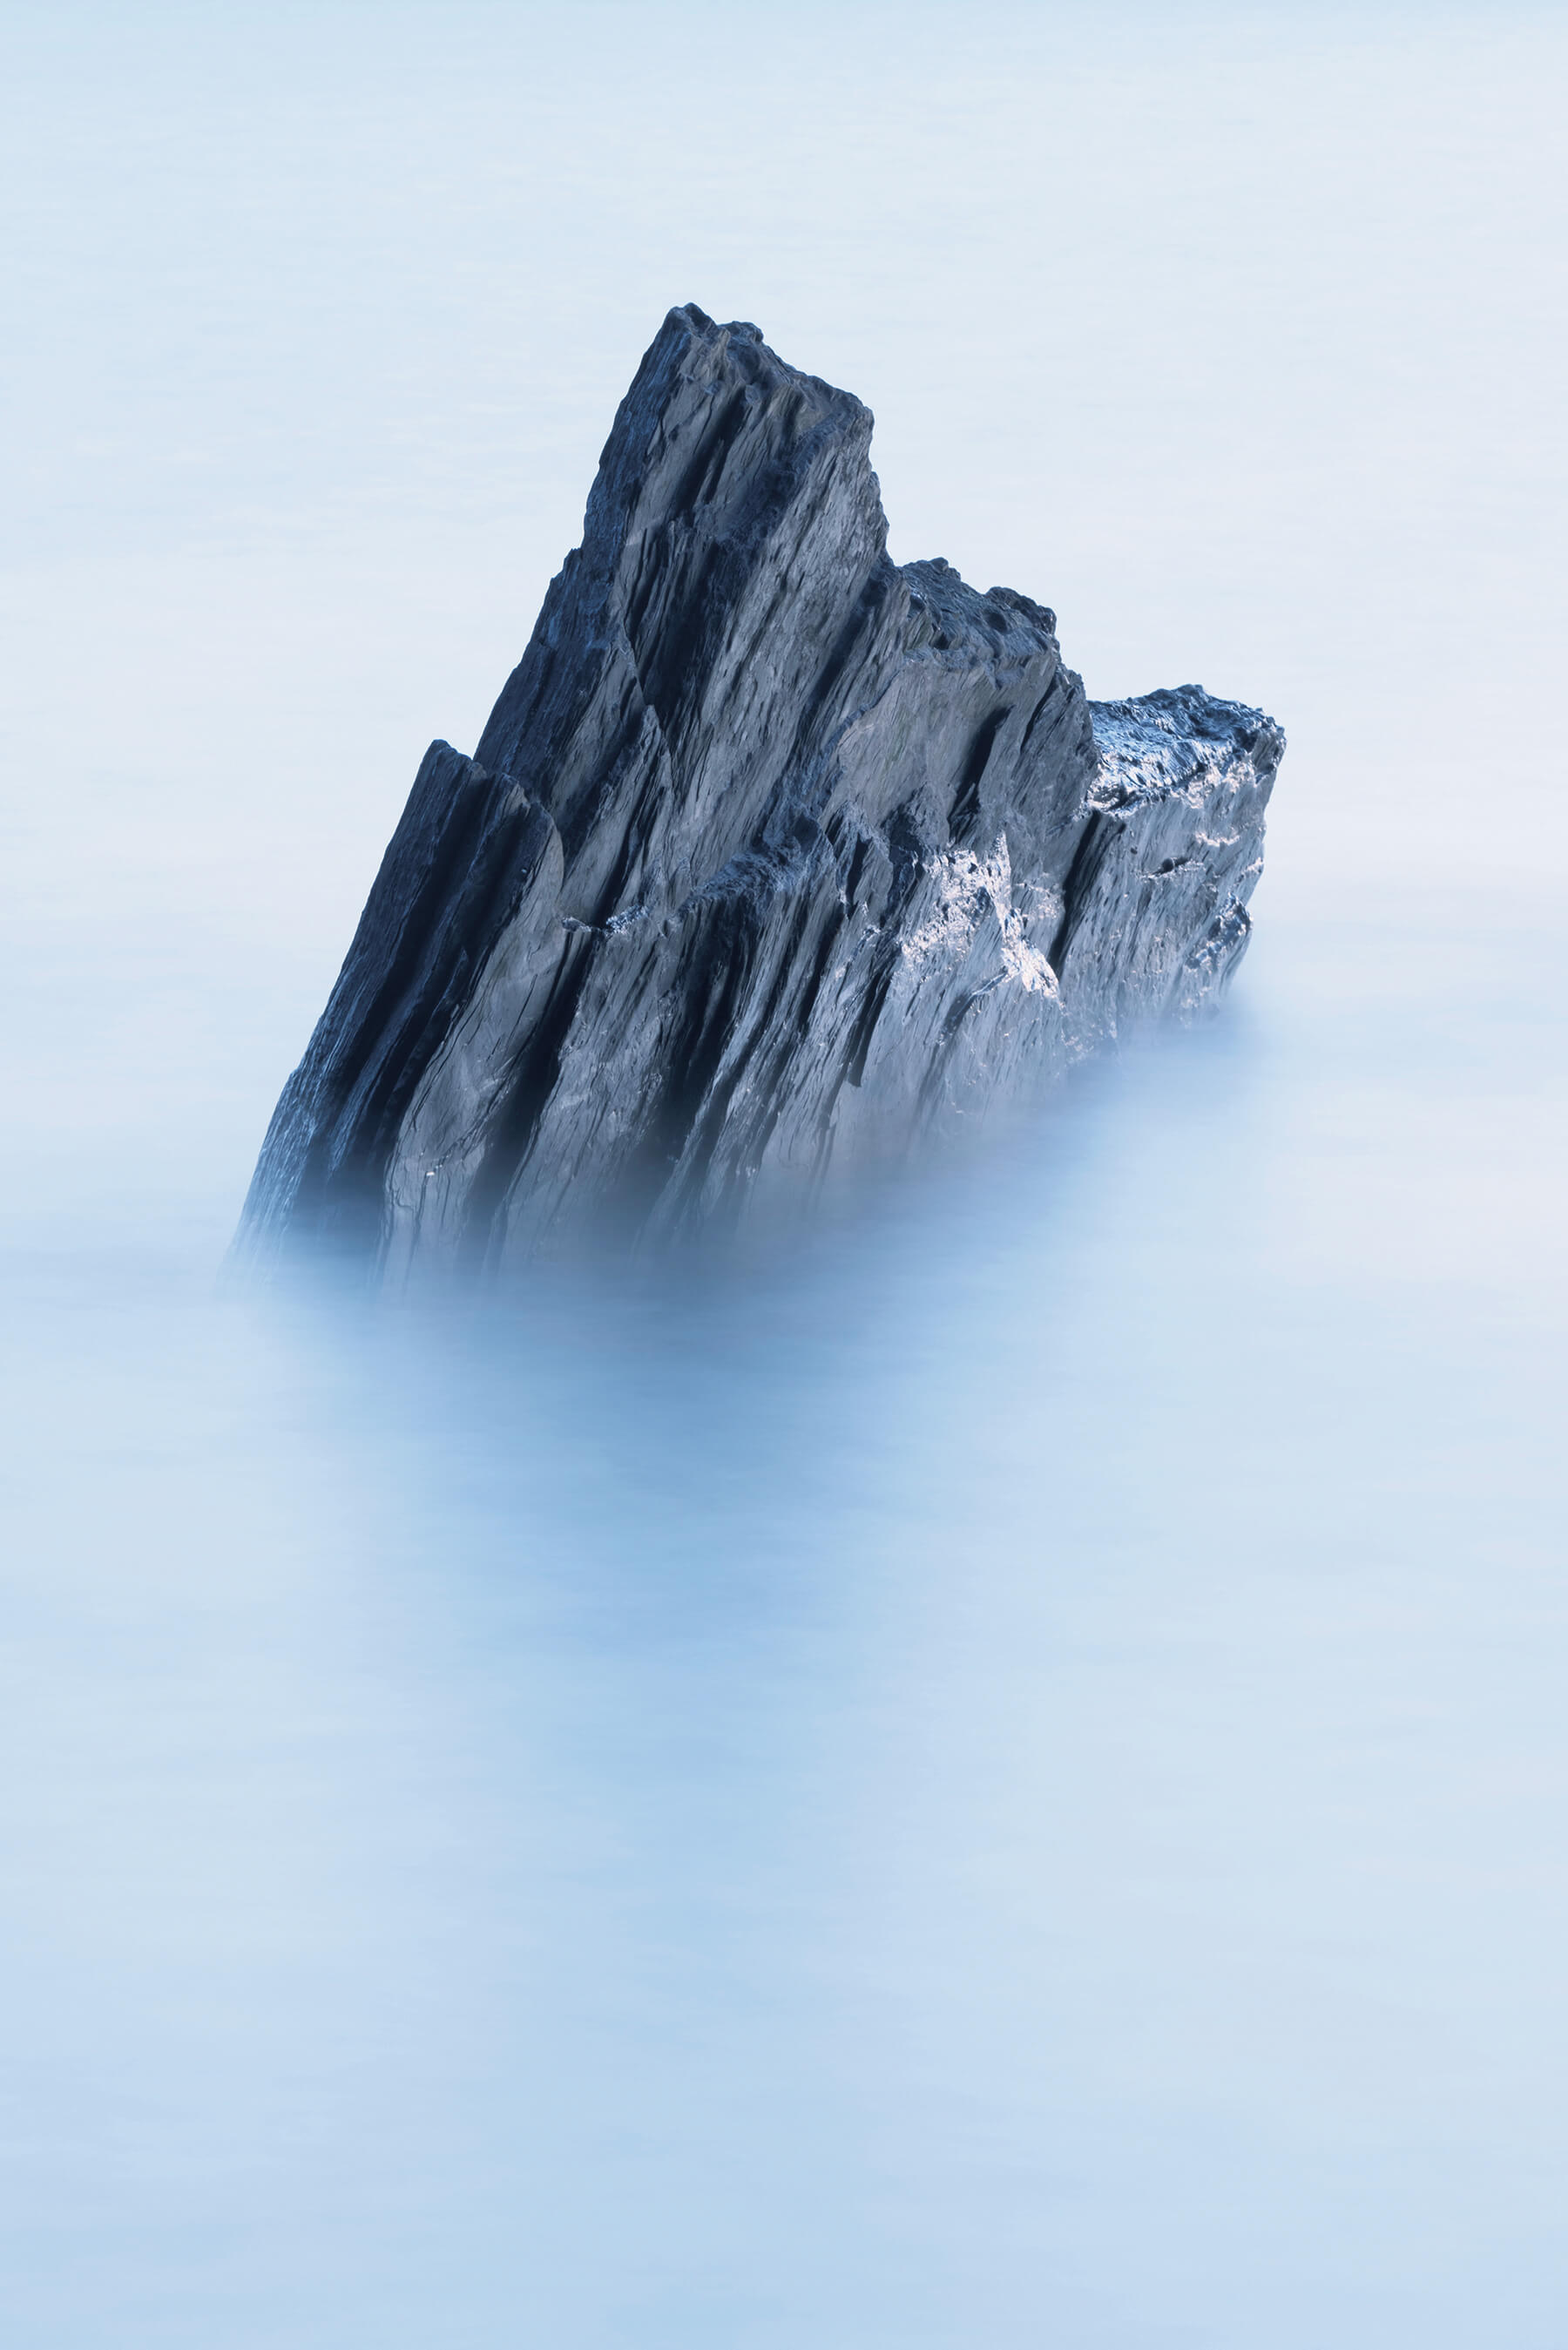
Image Lone rocks work well with long exposures
You don’t always need the sun
The coast is often a harsh environment and landscape photography can reflect that; it’s not always about warm light and twinkling shorelines. So, don’t give up if the conditions are bleak, instead embrace it and use them to tell the story of your location.
Dark and stormy days mean a lack of light, but that just makes it easier to shoot long exposures; these will add motion to heavy clouds giving storms a brooding purpose. If shooting in high winds, you may find it difficult to steady your tripod; to help weigh it down, attach your bag or something else heavy to the hook on the bottom of the centre column or at the collar.
And of course, make sure to keep a rain cover to hand in case you get caught in a squall.
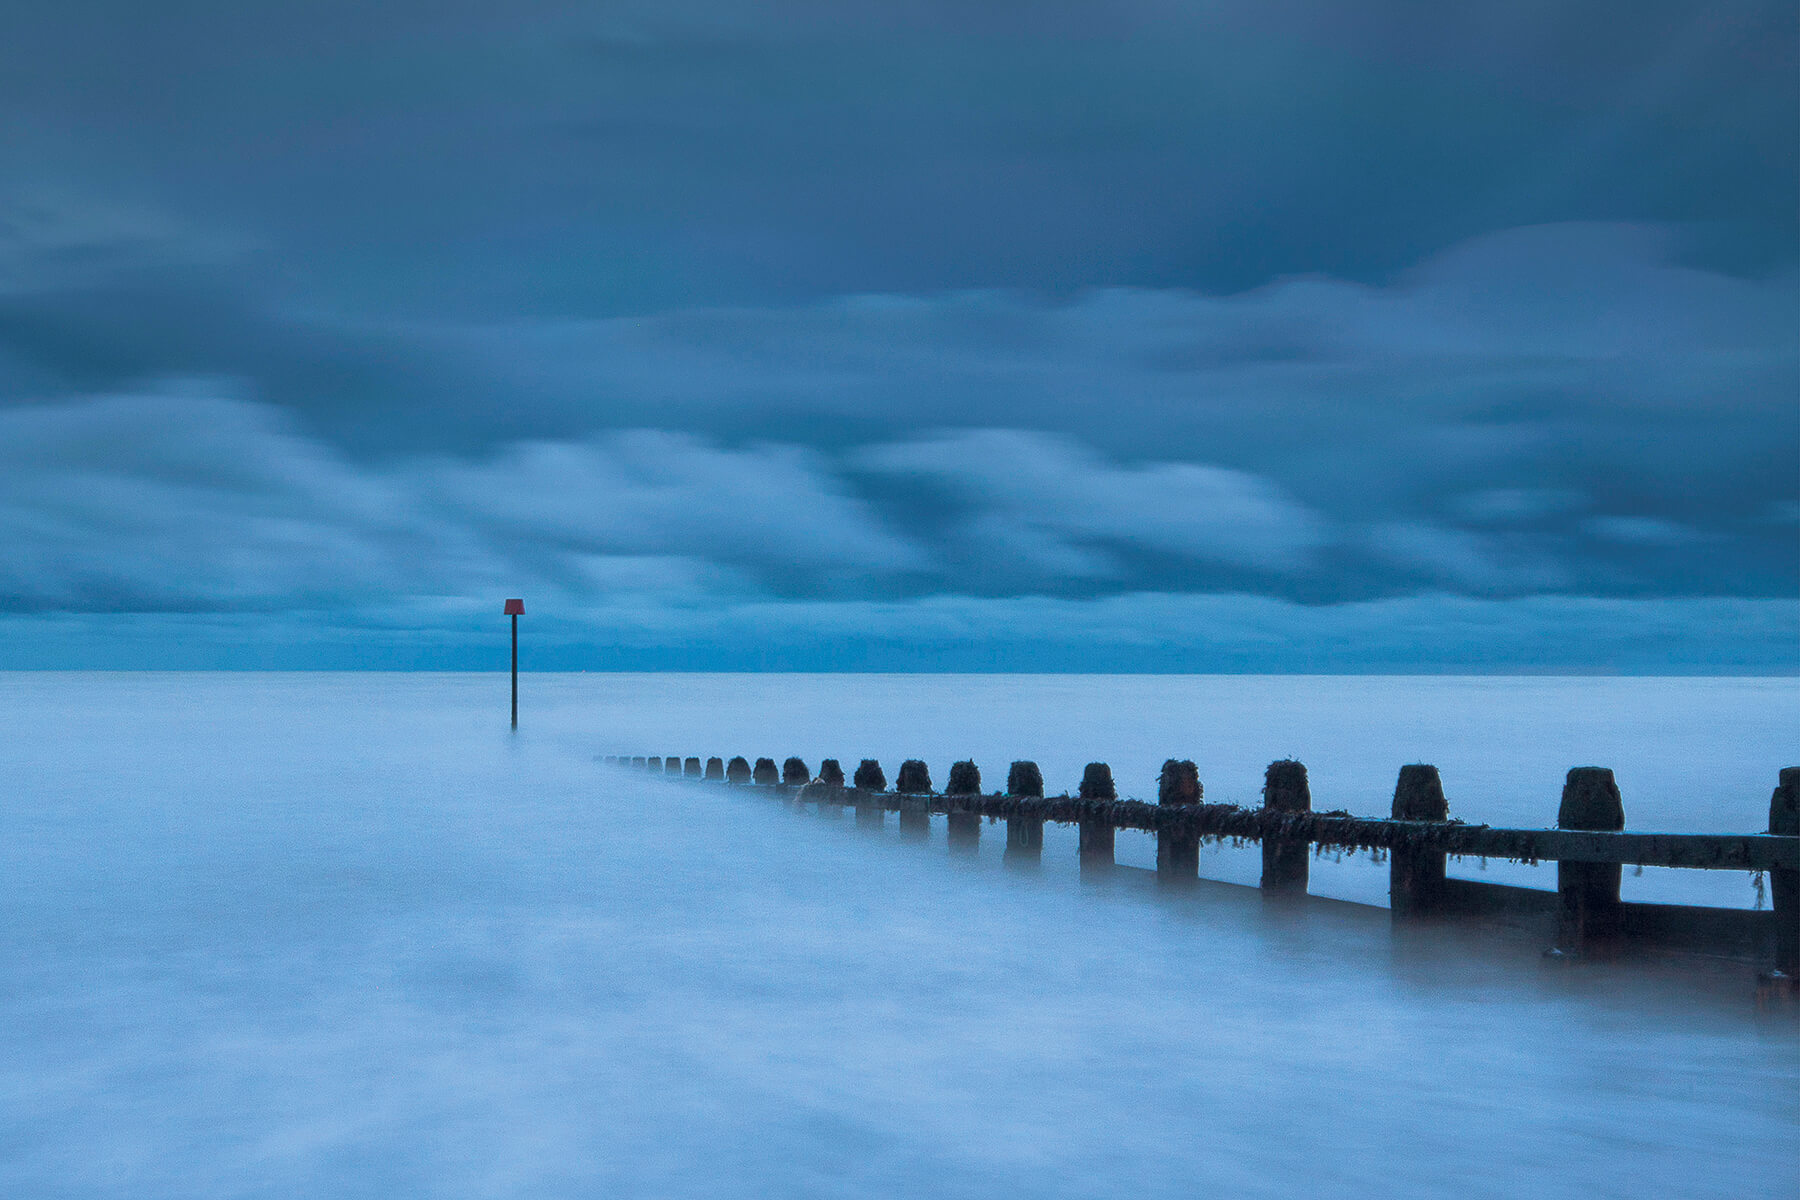
Image Shoot in dim and stormy conditions and you can be in for dramatic seas and skies. The gloom makes long exposures easier, too
Increase your distance
Landscapes don’t always need to be shot as wide-angles or panoramas and, like any other scenic subject, seaside views can benefit from a telephoto approach. The cropped view helps you pick out details and simplify what, at the seaside, can be a chaotic subject.
A telephoto approach also lets you more easily frame man-made subjects against the sea, showing their fragility against nature, and if you’re lucky enough to get to the coast during a celestial event like a full or new moon, or even an eclipse, a long-lens view will help you feature it more prominently in the composition, assuming you get it low enough in the sky.
If you’re using a large and heavy telephoto lens and it has a tripod collar, make sure you use that to mount it on your tripod head for extra stability. If you don’t, the set-up can become very front heavy, dragging the lens down, and any minor movements will blur the fine details you’re trying to capture, especially if you’re shooting at slower shutter speeds.
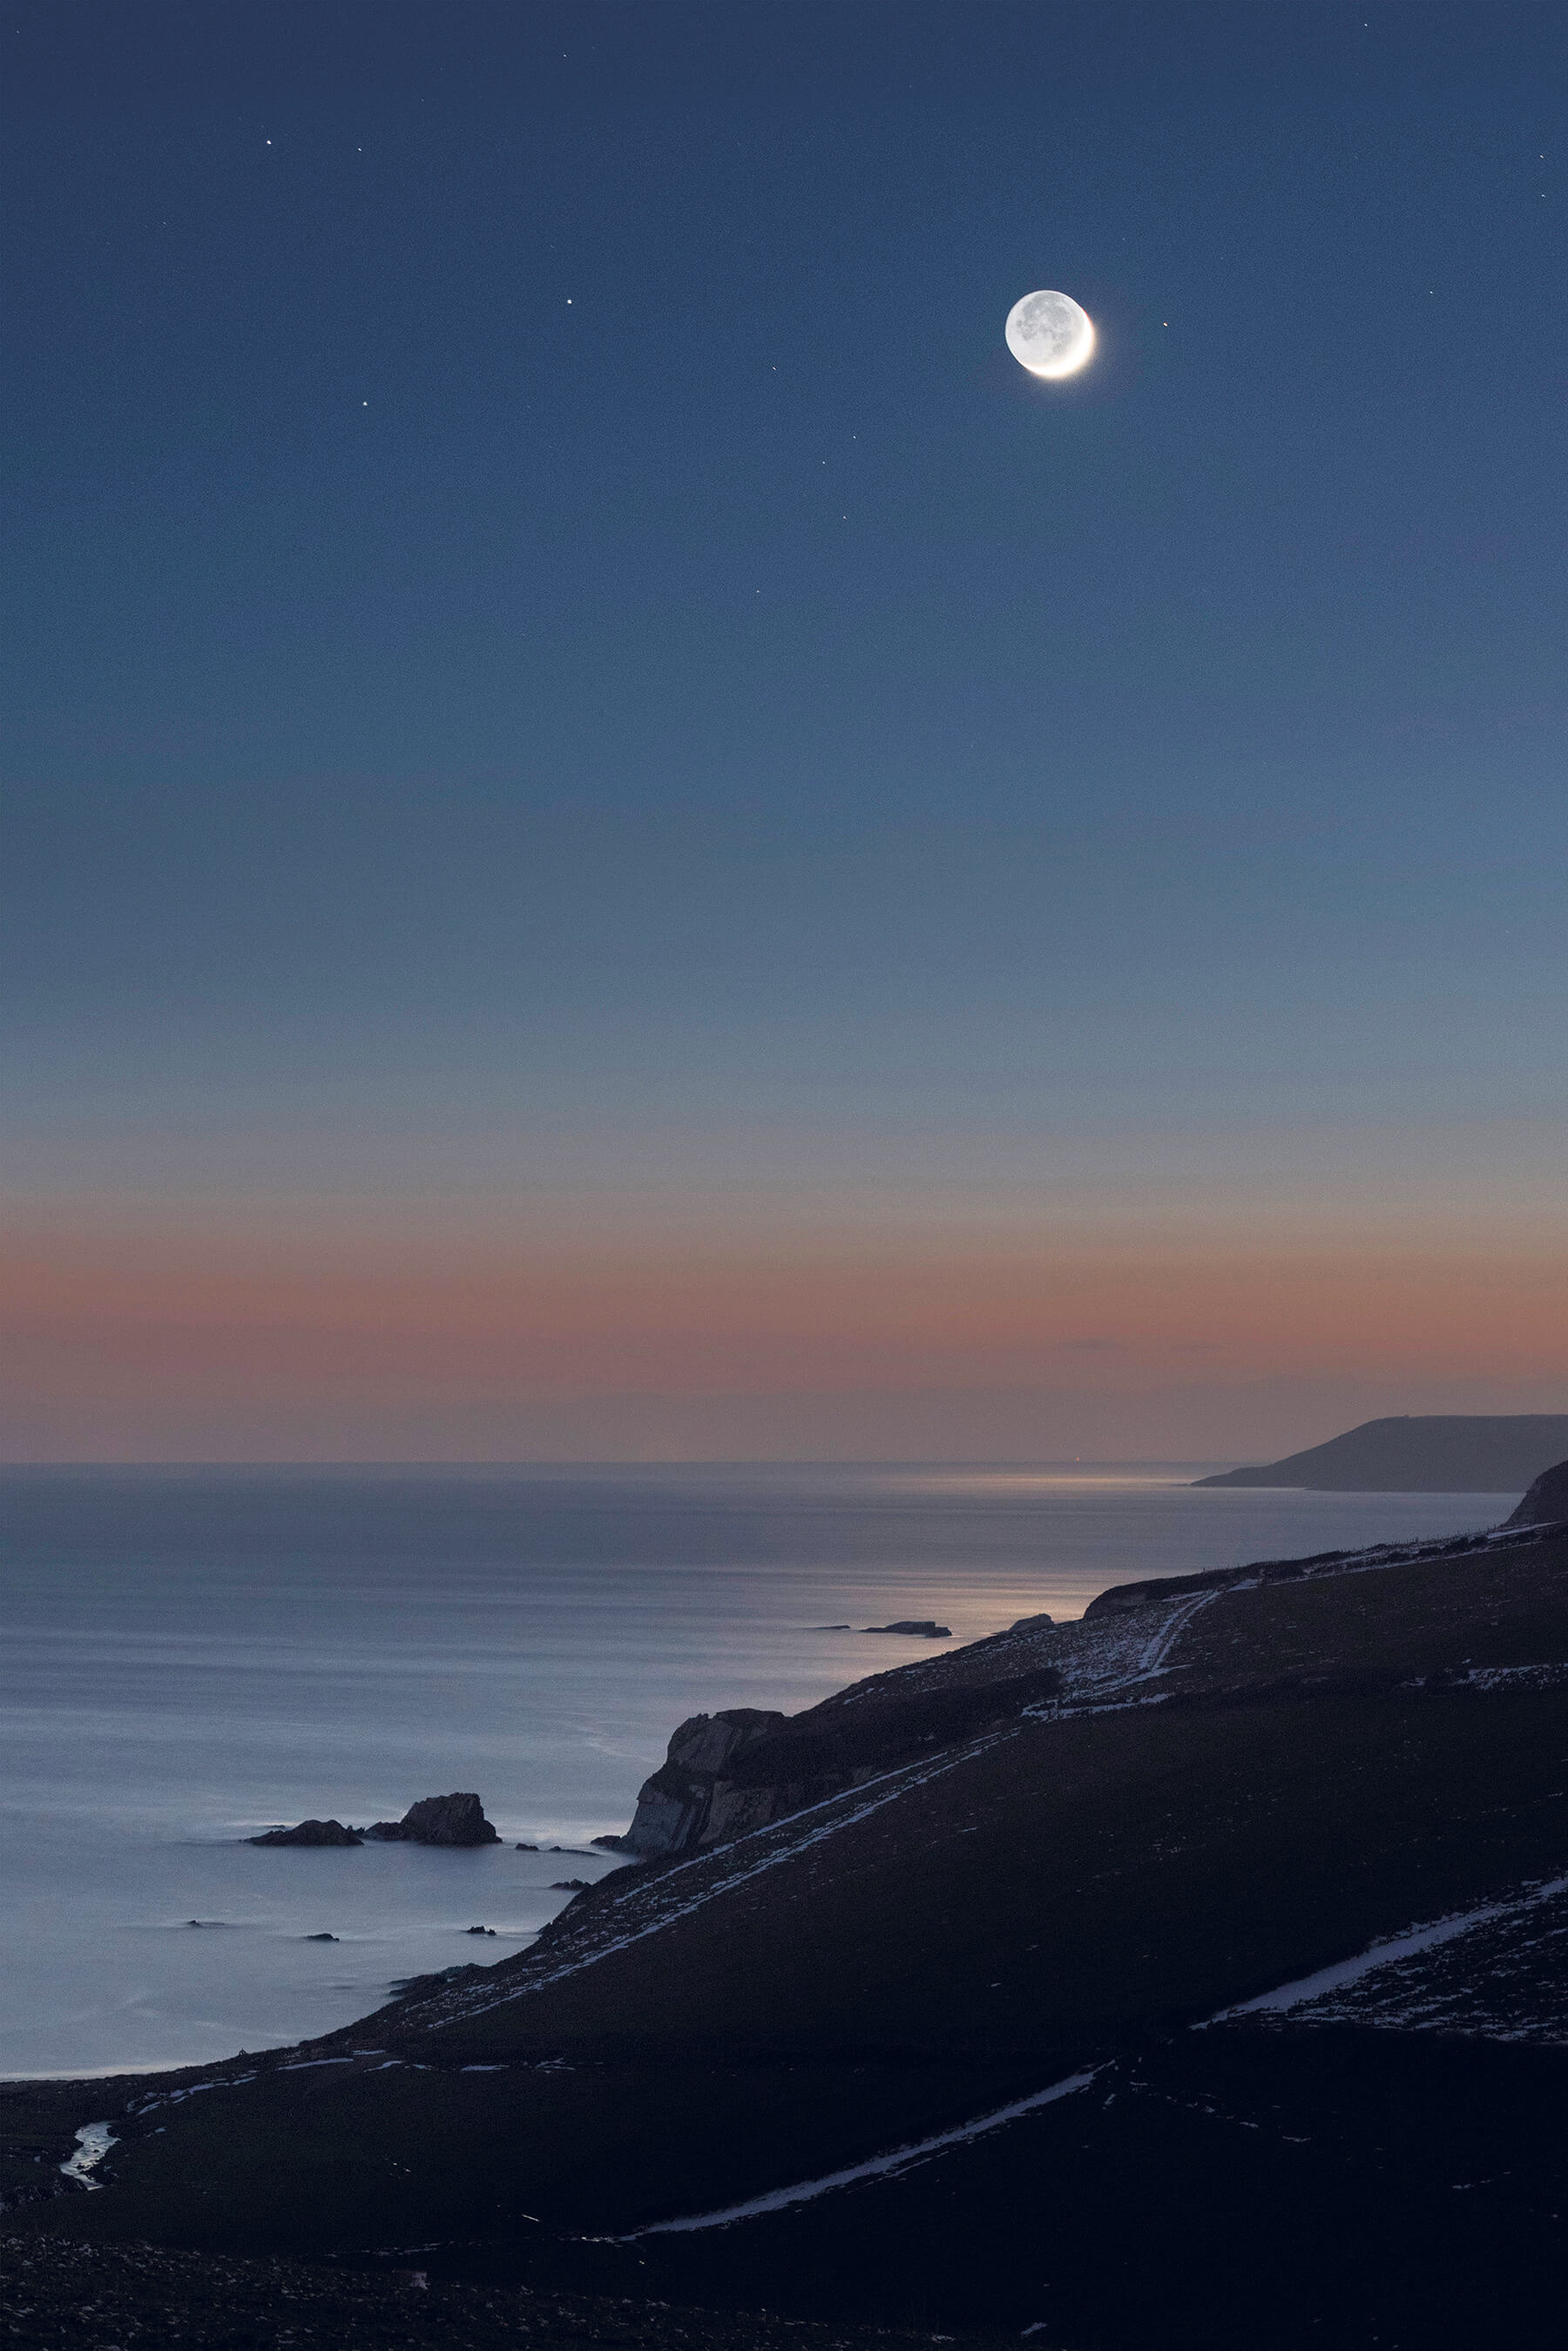
Image You don’t need be right next to the water for good seaside shots. Break out your telephoto lenses and shoot from further back for simpler scenes
Accessories for coastal photography
Regular landscape gear works just as well for coastal photography, though there are a few pointers you can follow when filling your bag. For instance, whether to take hard or soft graduated NDs? The former can be better suited to the unbroken horizon of the sea, although it depends on the amount of reflected light coming off the water; it’s best to pack both.
Regular ‘full’ NDs, such as 1-, 2- or 3-stop versions, are vital if you want proper control over the movement of the water, but if your desire is to blur moving water in full daylight, or create exposures of many minutes, you’ll also need to pack a much stronger 10-stop ND. In that case, a cable release is also a good idea.
As for your choice of tripod, stability can be compromised at the coast due to wet rocks and sinking sands; if your model has the option of spiked feet, install those and drive them into the sand. If you’re working on slippery rocks, regular rubber feet can be fine. When done, wash the sand off with seawater, but also hose down the tripod when you get home.
Finally, if you have an all-weather cover, make sure to pack it in case you’re caught in sea spray or sudden storms.
Are you an avid fan of coastal photography? Maybe we’ve inspired you to give it a try. In either case, tag us in your coast photos on social media using the handle @PhotonewsPN!
For more great photography tips, take a look through our Inspiration section. Don’t forget to sign up to receive our newsletter below, to get notified of the new issue, exclusive offers and competitions.


