The fundamentals of studio lighting
Posted on Dec 9, 2019
For many photographers, studio lighting can seem daunting and expensive, but you don’t need much kit, and you don’t even need a studio. Lighting indoors is an invaluable skill to learn and develop, so don’t wait any longer.
Read time: 7 minutes
Don’t be fooled, studio lighting isn’t just for highly advanced photographers with a dedicated shooting space and a ton of gear – it’s a very necessary skill for any photographer that plans on shooting indoors. Even for outdoor photographers, artificial light can be a great tool sometimes; but we’ll cover that in our next feature.
Even indoors, photographing in natural light can produce some outstanding results: but what happens when that light isn’t perfect? Or when it isn’t there at all? That’s where some artificial lighting comes in. The benefits of studio lighting go far beyond just convenience, though. You’ve got almost limitless control, and it can make for some very impressive photos indeed.
Using basic studio lighting may be easier than you think, there are just some key considerations to keep in mind. You can never really know everything there is to know about anything in photography, but for knowledge’s sake, we’re going to go beyond just basics here. Don’t be put off, though – you certainly don’t need all this kit to get into indoor lighting and take some great pictures.
Studio lighting kit
First and foremost, you’re going to need a light. You can make whatever light source is already available look better by using your exposure settings and white-balance wisely, or by using a bare bulb with a homemade modifier (we’ll get onto those shortly), but this throws up far more limitations than a dedicated photography light.
When it comes to actual photography lights, you’ve got many options. At the basic end, there’s a speedlight, which you’ve probably seen before. It attaches to your camera’s hotshoe and some can be used off camera. It can produce great results and is an ideal starting place when it comes to lighting indoors.
Next you have a strobe, which is much like a speedlight but typically much brighter and with a faster recycle time. It’s a step up from a speedlight, and as such, more expensive.
The third option is continuous lighting, and there are a number of possibilities when it comes to this, too. Where a flash emits a burst of light, a continuous light is constant. It could be a lamp with a bulb and reflector, it could be an LED panel, and it can come in all shapes, sizes, powers and colours.
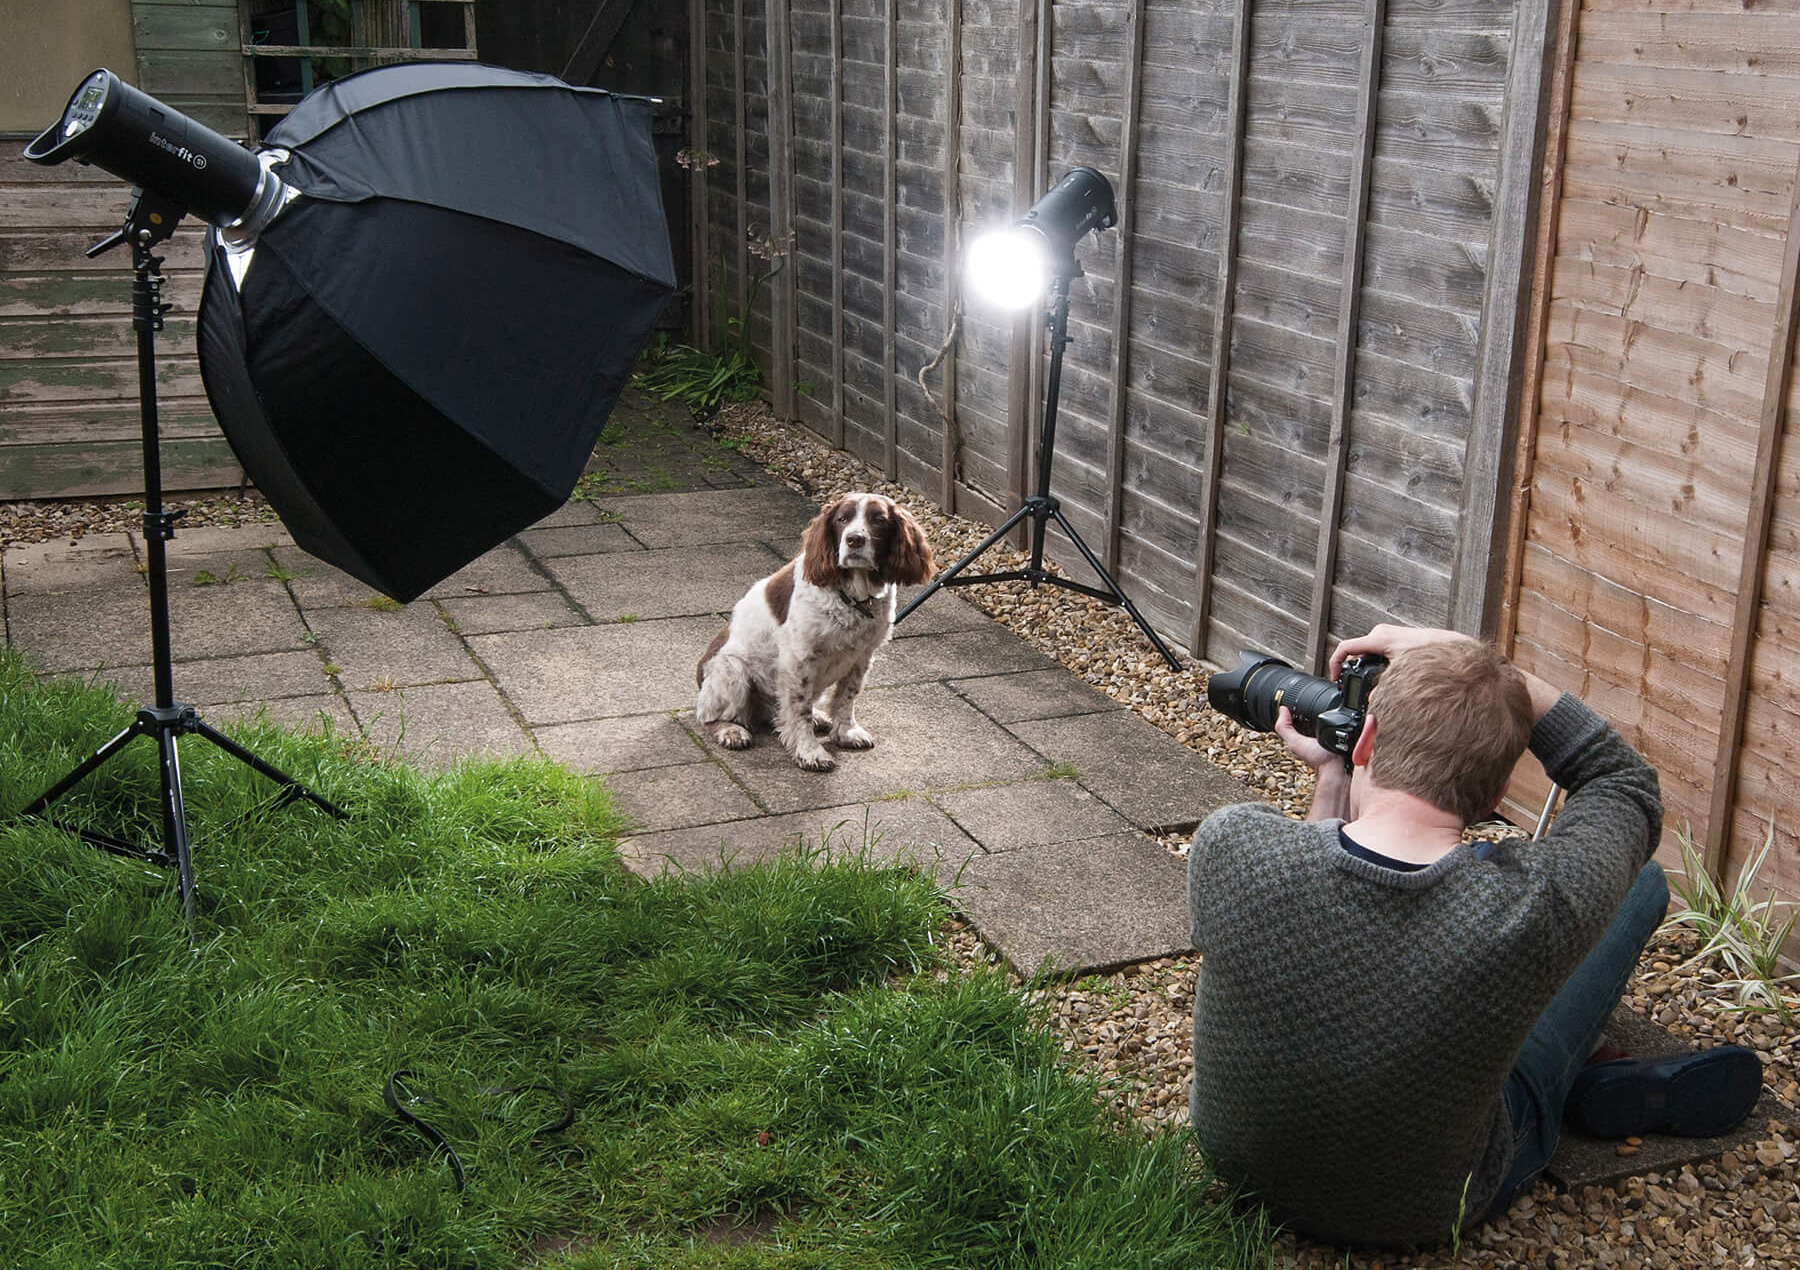
Image Here’s Photography News’s Kingsley using a pair of Interfit S1 monolight strobes to capture a portrait of his dog

Image We used this Elinchrom D-Lite RX One continuous light when shooting the photos for our portrait lighting guide
Click the images to see a larger view
Images In these photographs, the look of the flash and continuous lighting is much the same – subjects aside, of course. They function very differently, though. Continuous lighting couldn’t have been used to produce this black background outdoors, and finding perfect placement for the portrait patterns with a flash would have required many test shots
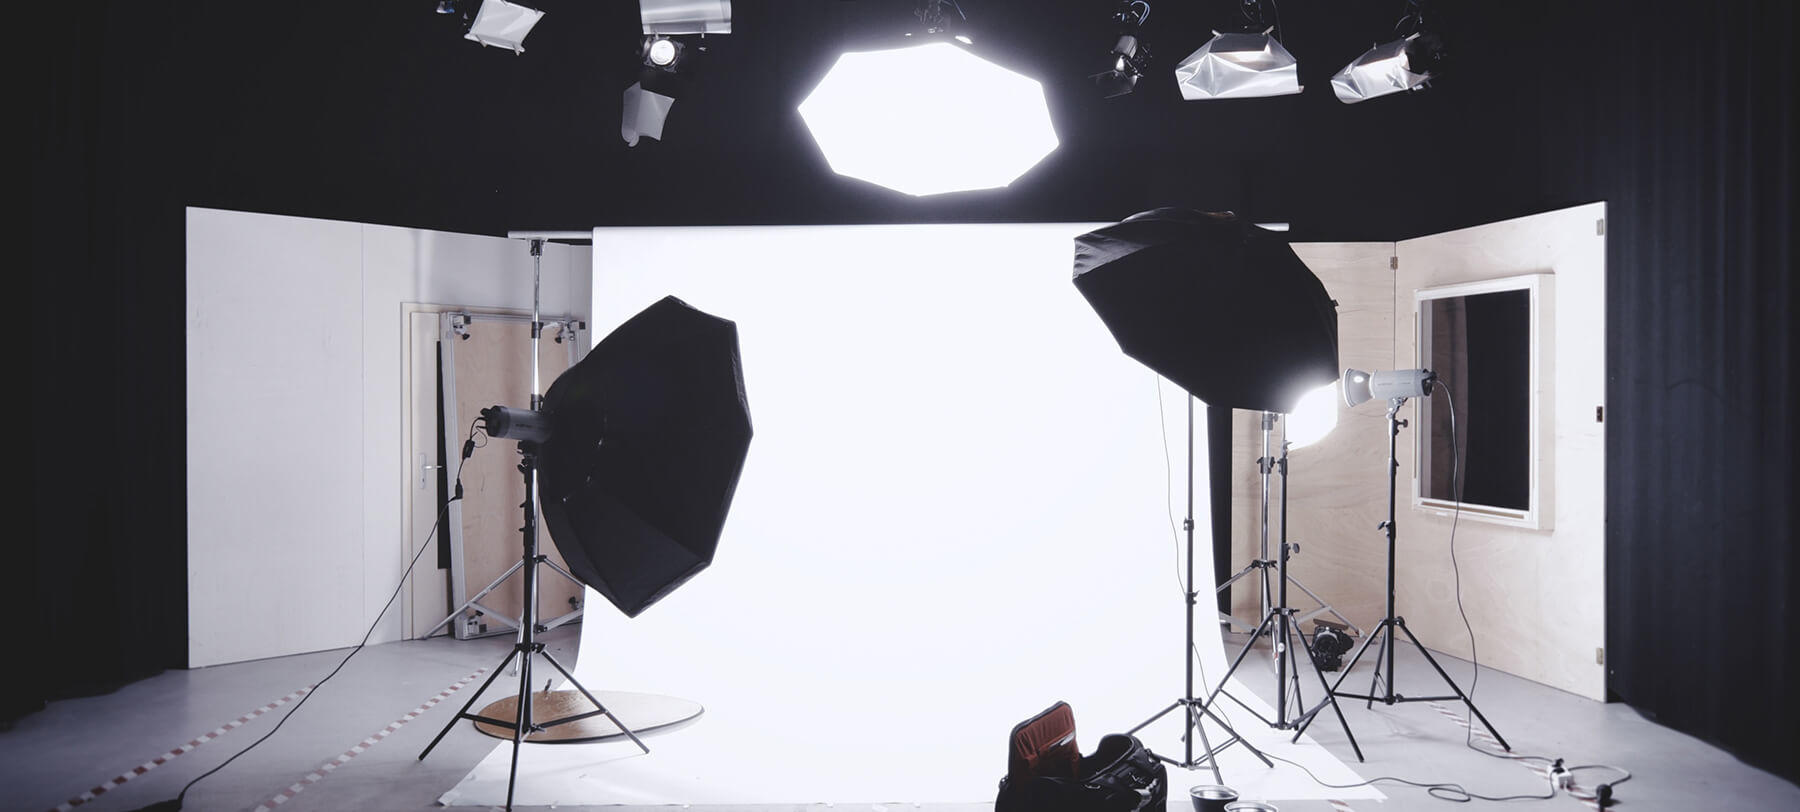
When you have your light, modifiers allow for greater levels of control. Modifiers such as grids, snoots and barn doors give a more focused beam of light, whereas diffusers, softboxes and umbrellas make light softer. Rounding out the more common accessories, there are gels to add colour and reflectors which bounce light.
Many of these modifiers are cheaper than you may think, and you can even go for a DIY approach for some. In either case, they’re a good investment for any photographer looking to take their studio lighting and indoor photography to the next level.
Click the images to see a larger view
Images In these two images, we can see three things. On the far left, a typical reflective umbrella, which spreads and diffuses light when a flash is fired into it, and to its right, a reflective umbrella used as a beauty dish for light that’s still diffused, but more direct. In the second image, we can see a pair of softboxes, used to create very diffused, soft light
How to light your photos
When it comes to using your light, there are more options than could ever be covered in a single article. Still, it’s certainly of benefit to know the fundamentals.
In studio photography, every light has a purpose. The main (and perhaps only) light you’re using to light your subject is known as the key light. A secondary light, known as a fill light, can be used to light and lessen the shadows caused by your key light. After that, you can use any number of additional lights, like background lights, ambient lights or hair lights. These all do exactly what the names suggest, and all of them add an extra dynamic to your photo.
To be clear, these aren’t specifically designed lights – any light can be used as a fill light, for example. These names refer to the function of the light, not the light itself.
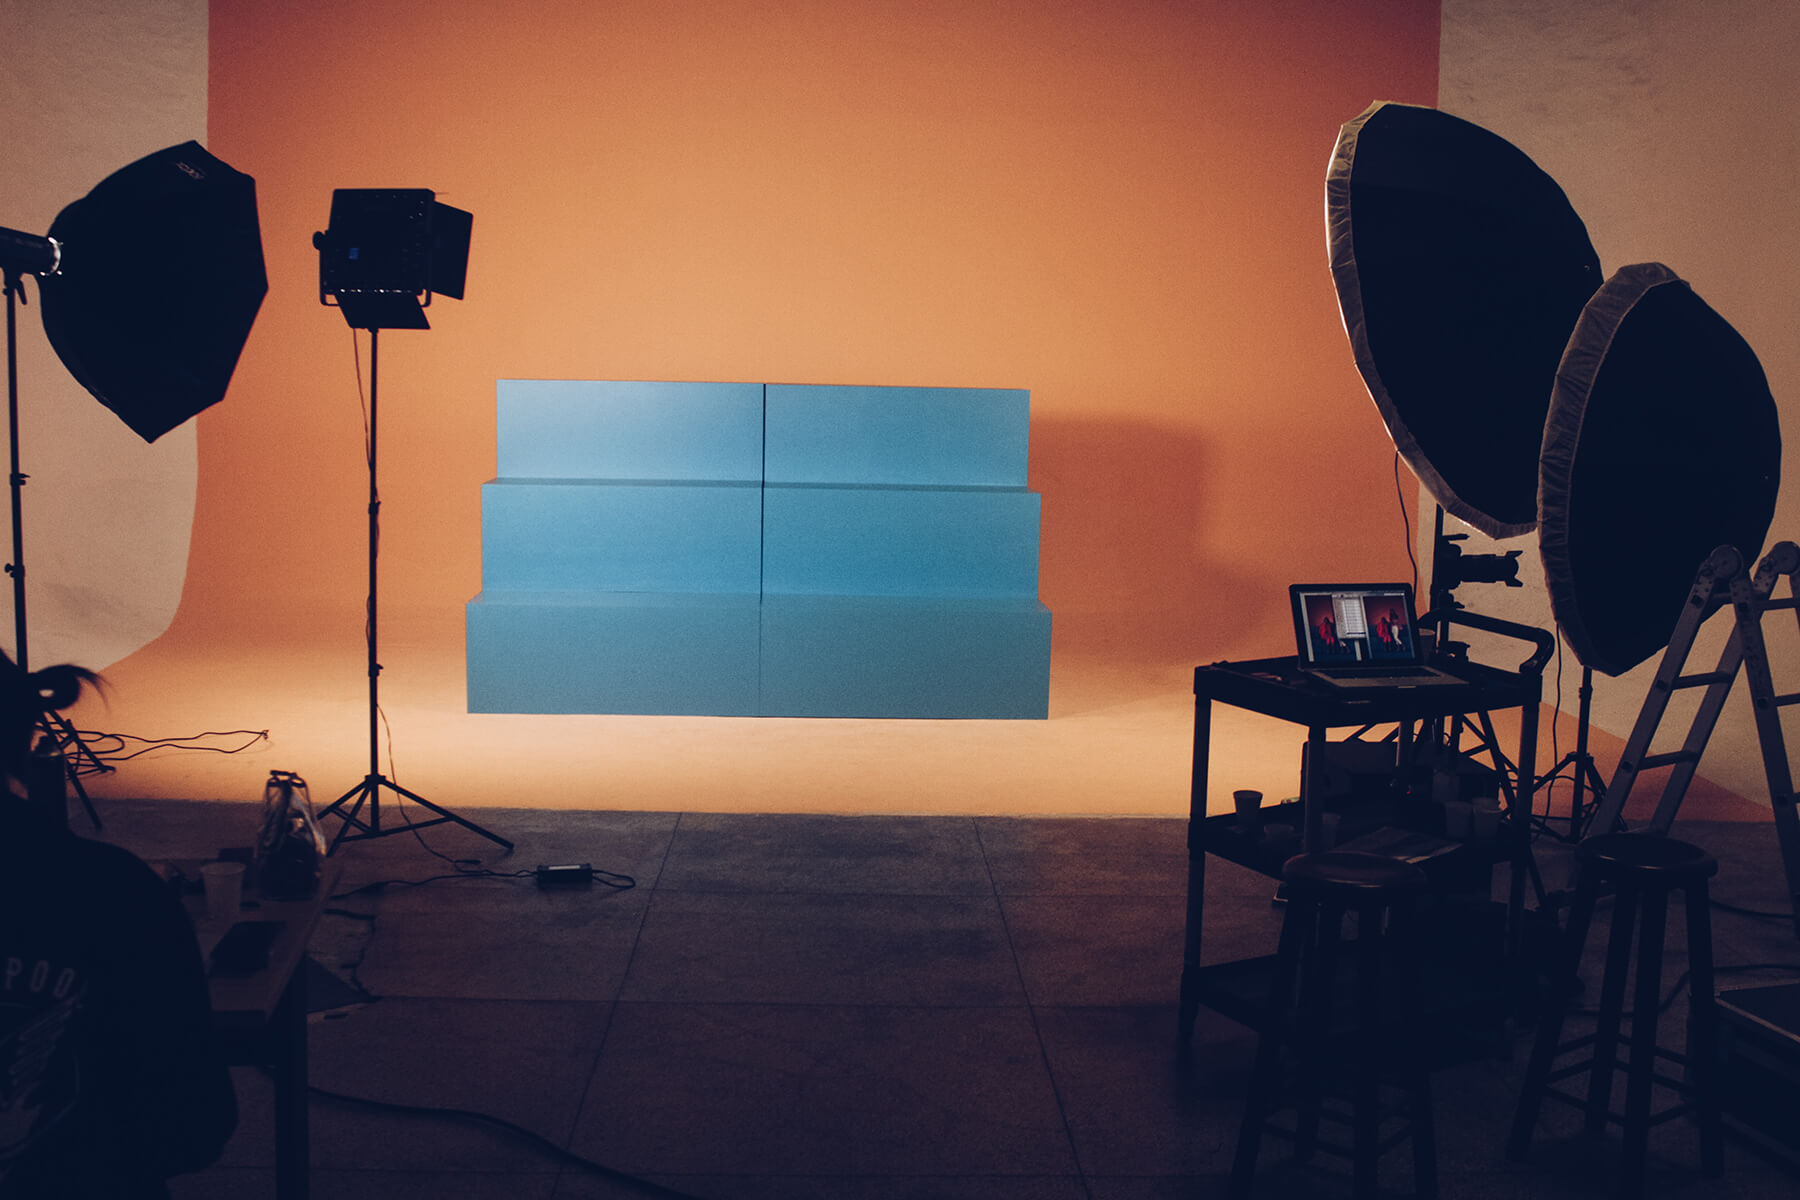
Image Here we can see the key light, centre left, producing a fairly direct beam thanks to its barn doors. On the right, we can see diffused fill lights, and on the far left, some ambient light done using a reflective umbrella
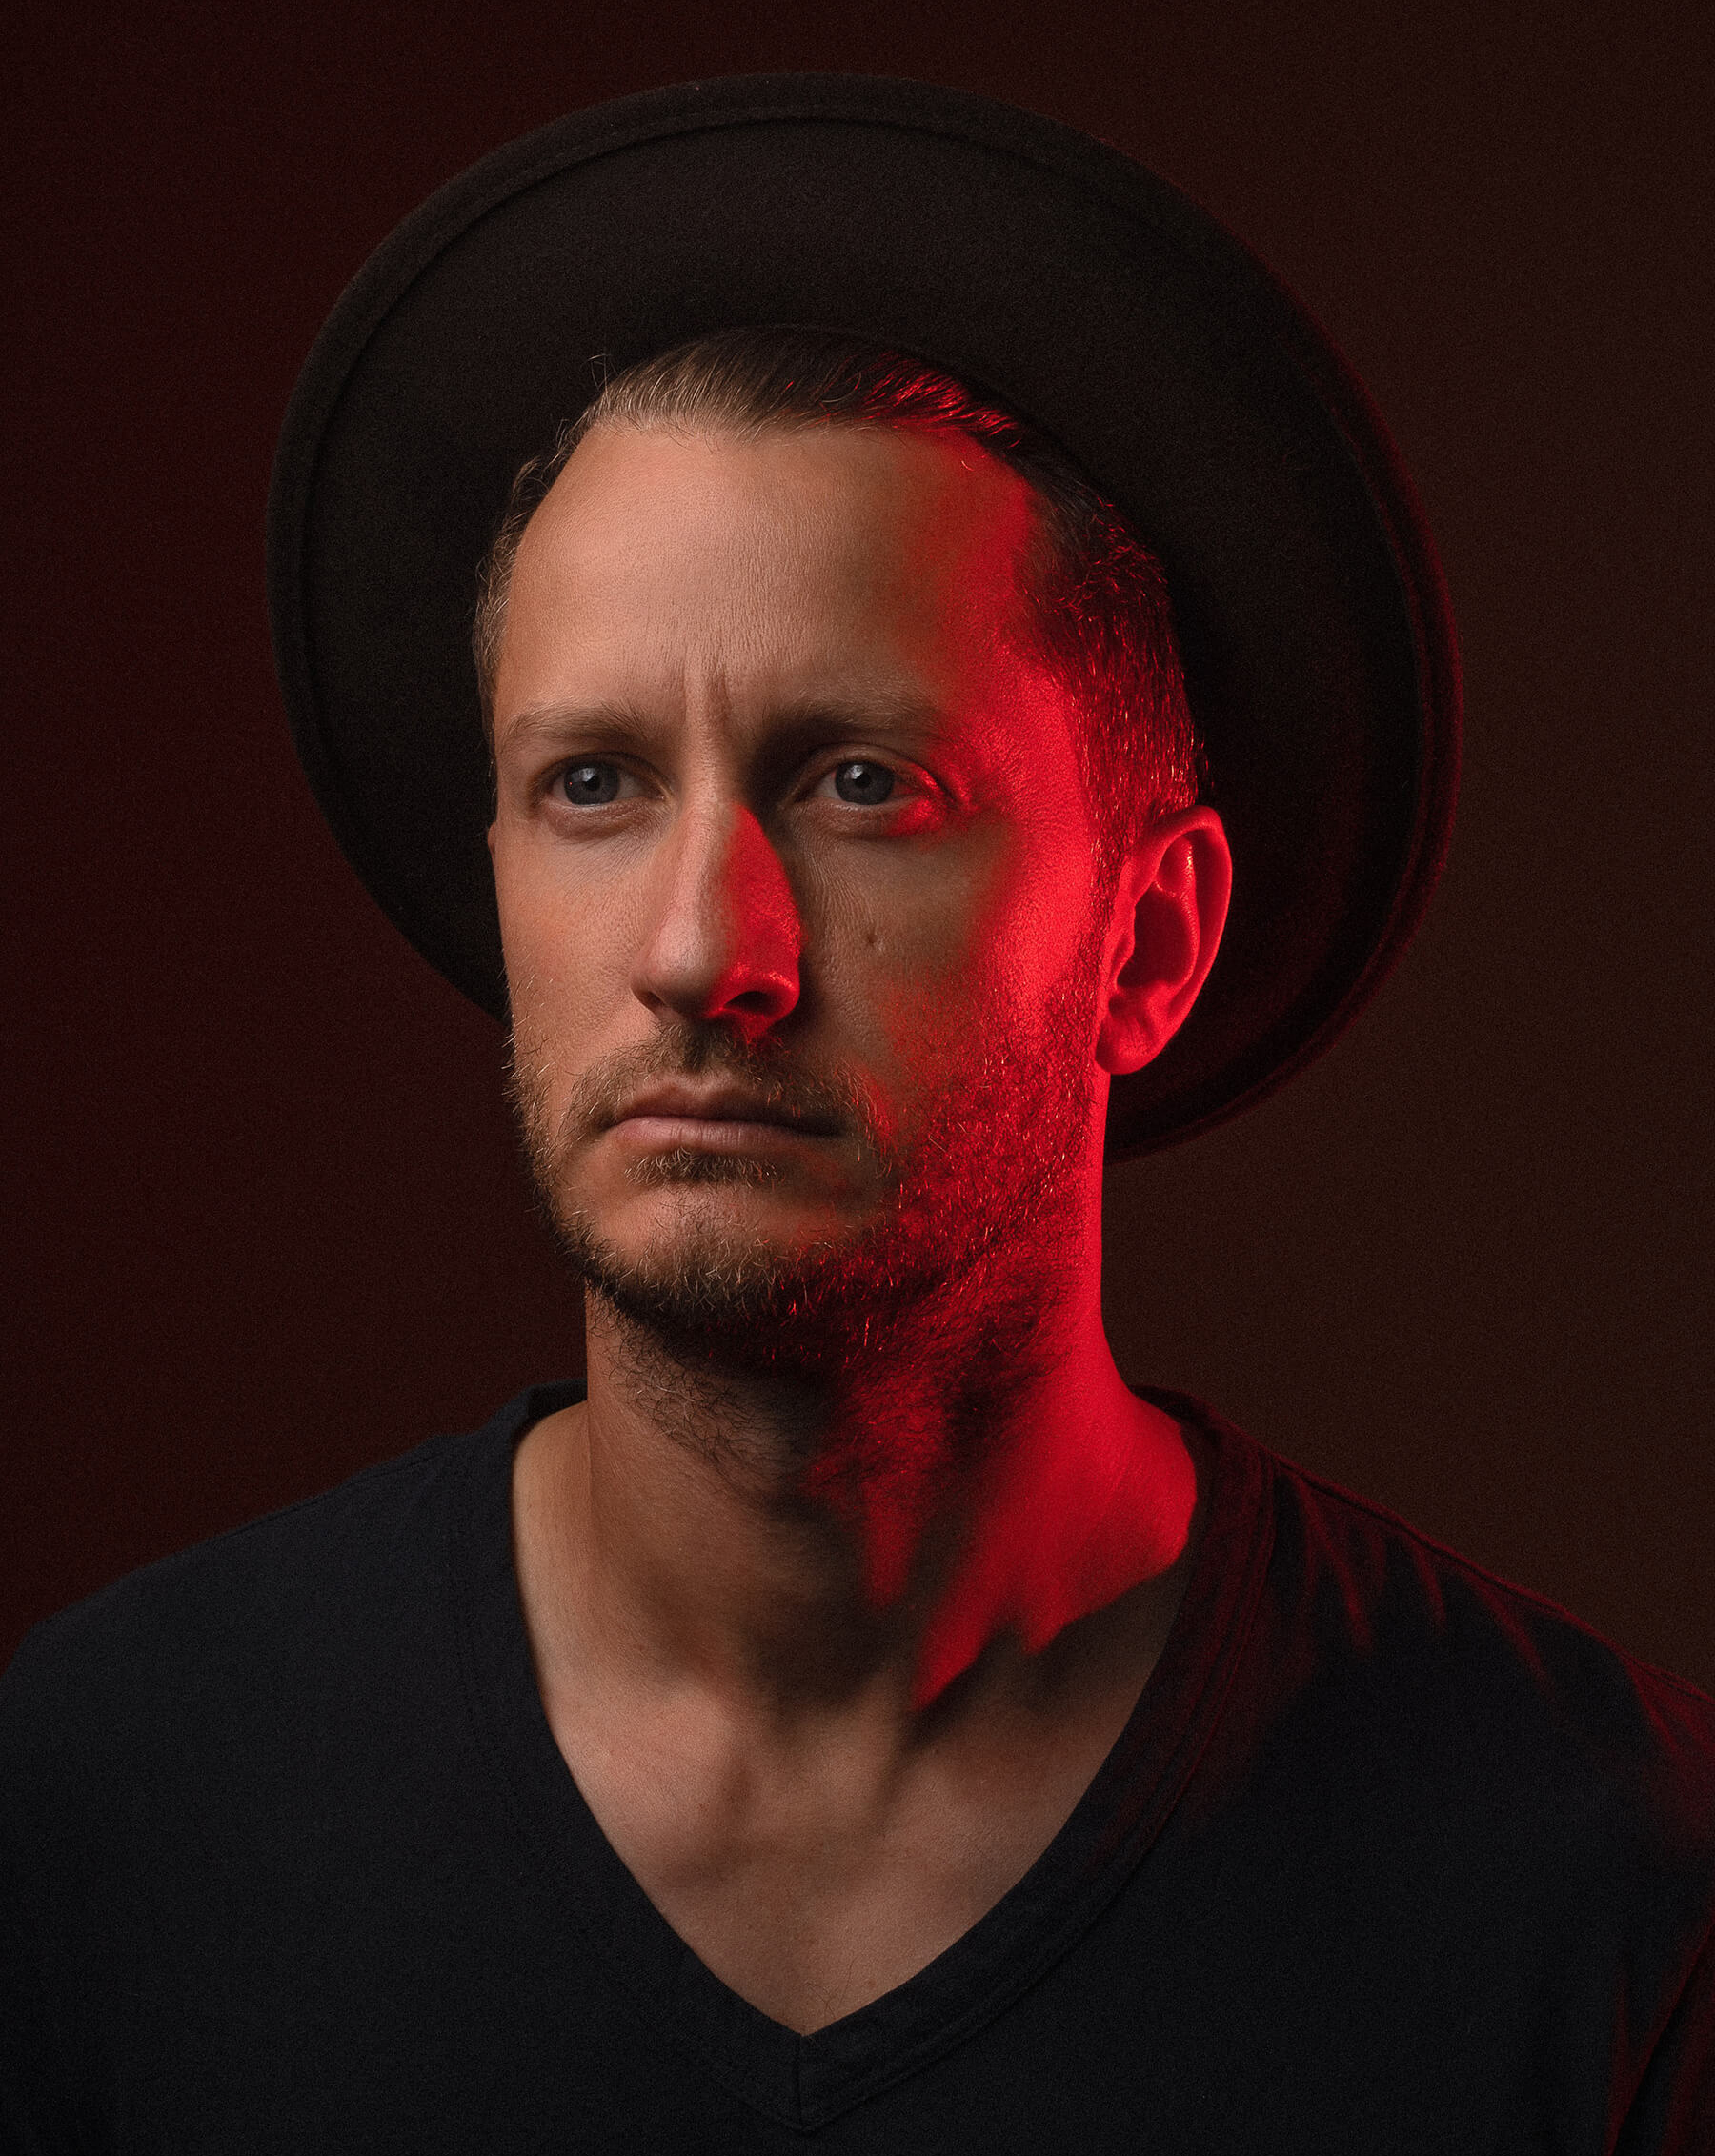
Image In this portrait, the key light lights the majority of the subject’s face, while the fill light is clearly visible in red
The second thing that needs to be considered is how you’re using your light to light your subject. In other words, how you’re making your subject look. Your lighting style, or pattern, is determined primarily by your key light, and there are many to choose from.
We covered the main patterns in some depth in our essential portrait lighting styles guide, so be sure to give that a read to gain a deeper understanding of what each pattern does and when you might use it. As an overview, though, you can see the styles below. There are almost endless variations of these styles, as determined by number of lights, modifiers and the different qualities of the light. Consider how they make the subject look, and how they make you feel as a viewer.
Click the images to see a larger view
It’s clear there can be a lot to consider when it comes to studio lighting, but as we said at the start, don’t let that put you off. You can keep things very simple, and it can open up many new possibilities.
As with everything in photography, more often than not your intention should dictate your action. It’s fun and very useful to experiment, but one of the main benefits of artificial light is that it allows you to accurately capture your scene exactly as you envisioned it.
Of course, you’re limited by your equipment, but keep your vision in mind along with the knowledge you’ve just picked up and you can’t go wrong.
If you want to show off your indoor lighting skills, tag us in your photos on social media using the handle @PhotonewsPN
Have you become a Photography News member yet? Sign up and read the online issue, free, every month. Don’t forget to tick to receive our newsletter to get notified of the new issue, exclusive offers and competitions.

