Understanding focus stacking
Posted on Apr 29, 2020 • 6 minute read
Focus stacking can be used for all sorts of genres – here’s what it is and how to do it from beginning to end.
Many consider focus stacking to be a technique reserved for macro and close-up photography, and while it does have a huge application there, that’s not its only use. In fact, the technique can be used to improve landscapes, street scenes, product shots and virtually anything else.
Sometimes, the option of using a narrower aperture offering a greater depth-of-field is possible, but not always, and there are drawbacks here in any instance.
When shooting moving subjects, a high shutter speed is required, meaning more light is needed and you’ll likely have no choice but to use a fast aperture. With still subjects, a very narrow aperture may not produce a sharp image – at least not one as sharp as your lens is capable of. You can test your lens using our free A2 and A3 downloadable lens test charts to find out where your lens performs best. Then there are techniques like hyperfocal distance, but again, this won’t produce the sharpest results possible.
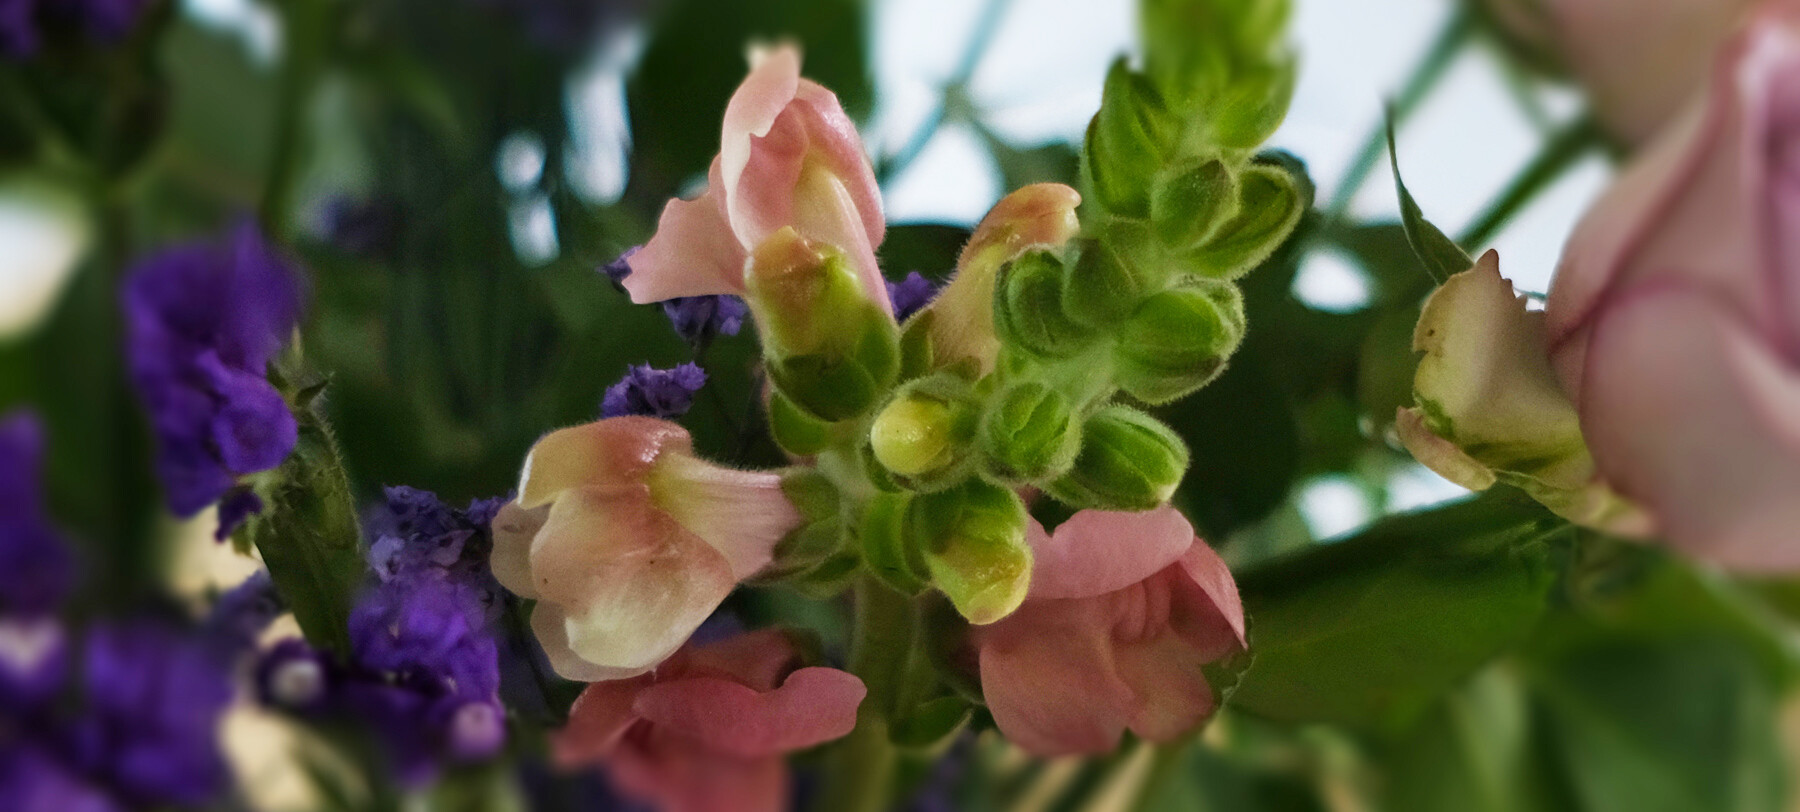
There’s also choice to consider, and that’s one of the most significant benefits of focus stacking. That’s to say it allows you to choose exactly which section of your photograph is in focus, not leaving it to be determined by the constraints of any single aperture.
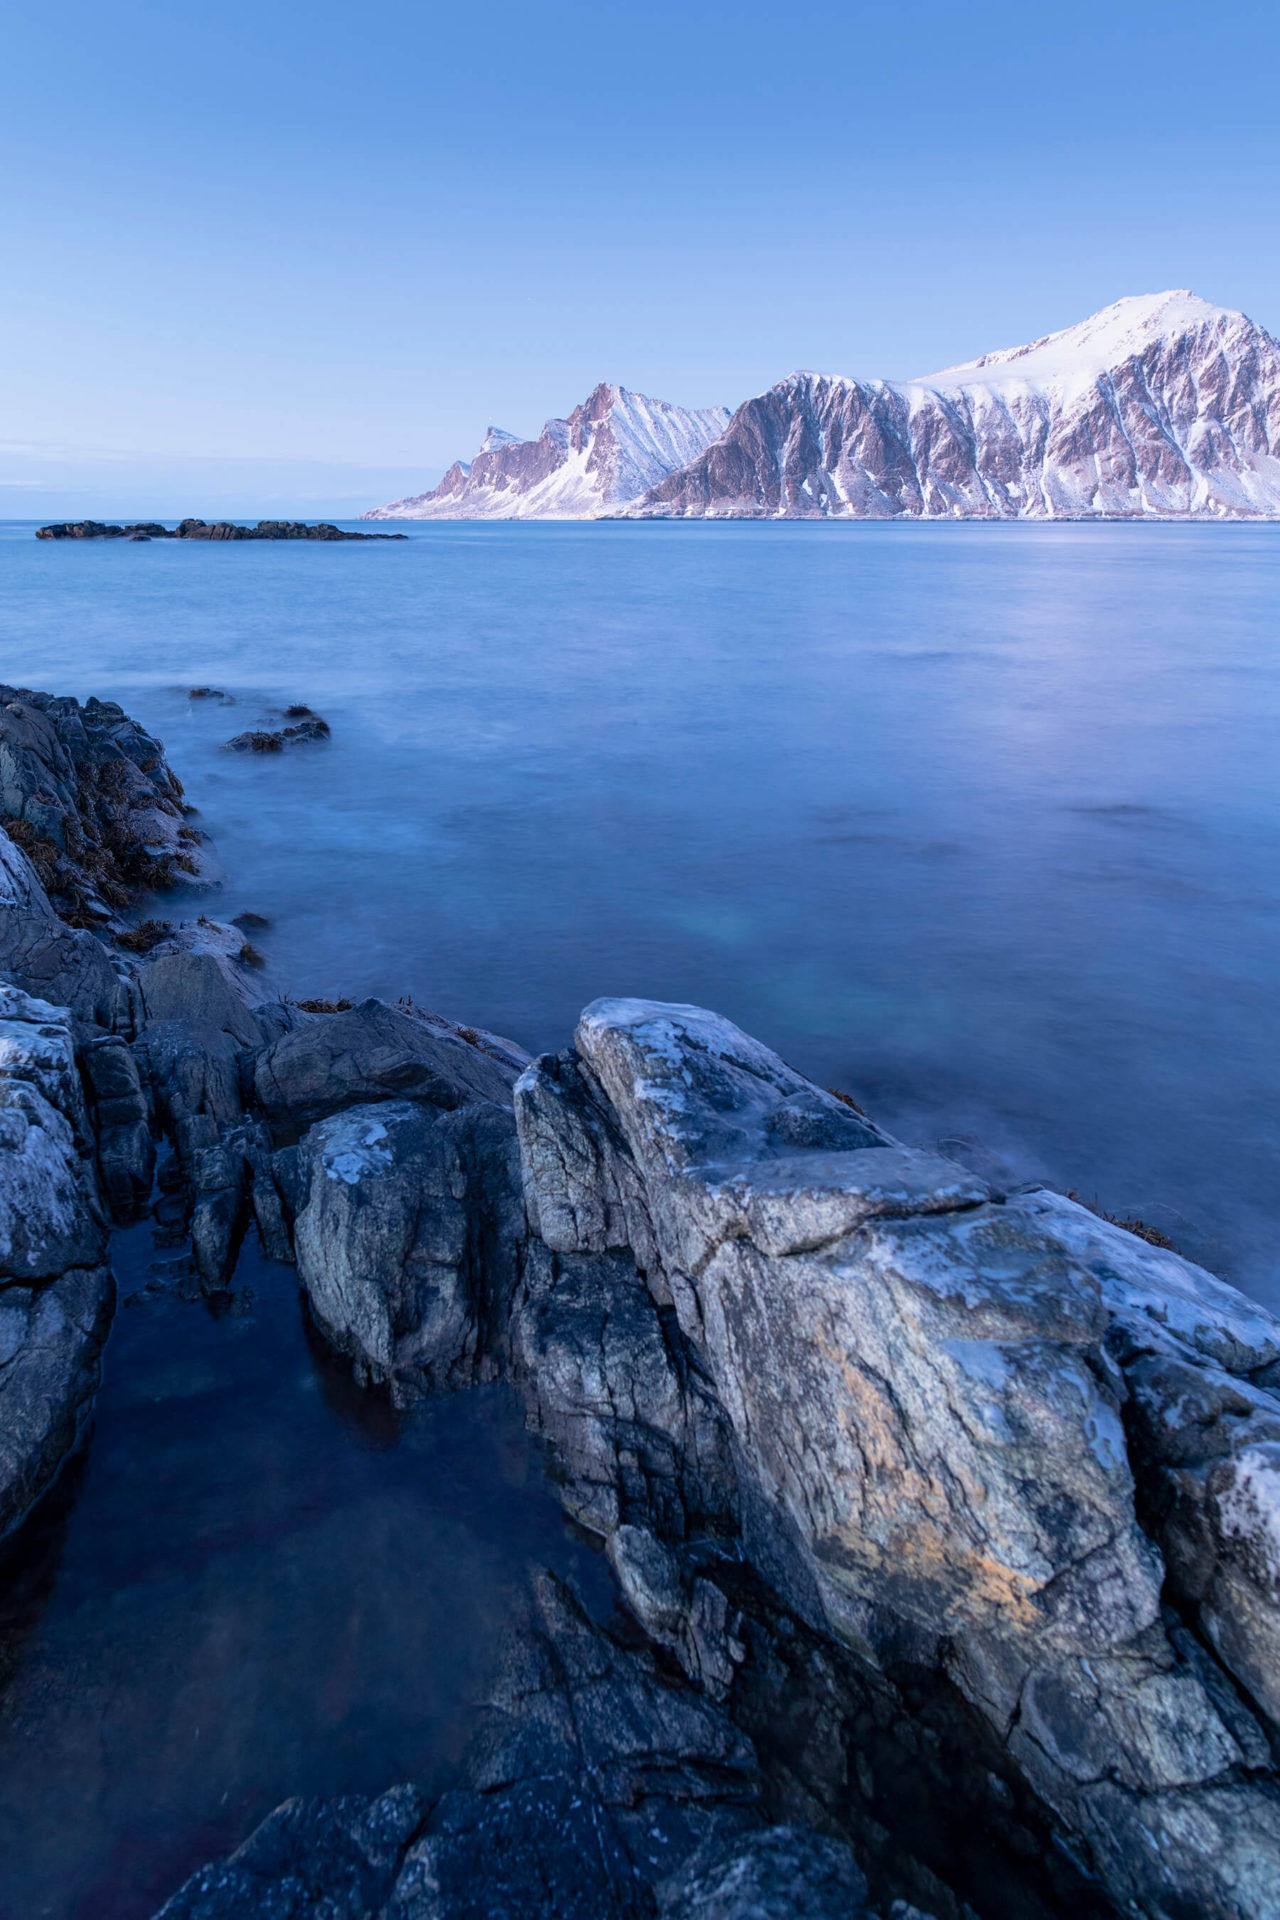
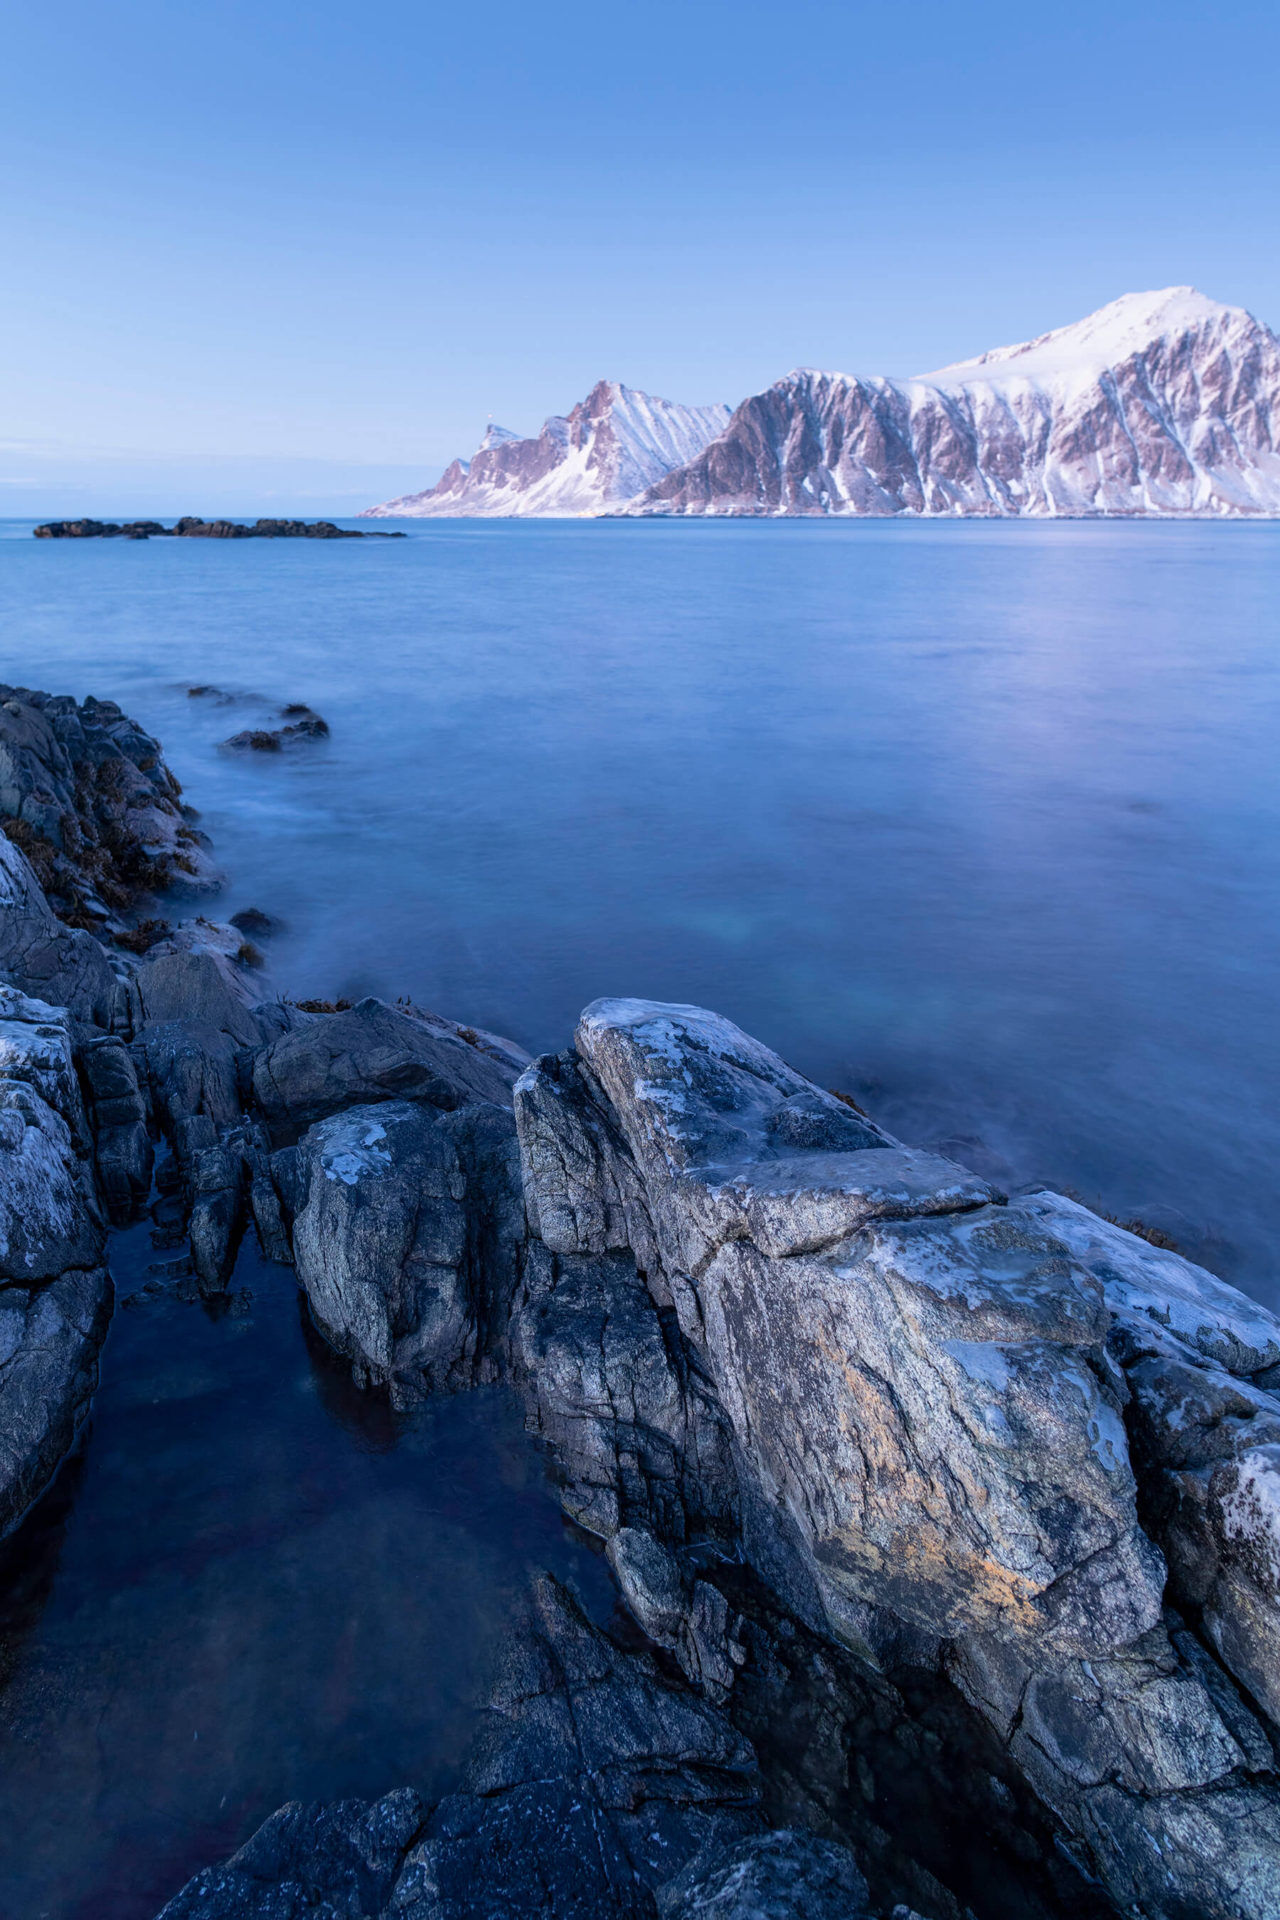
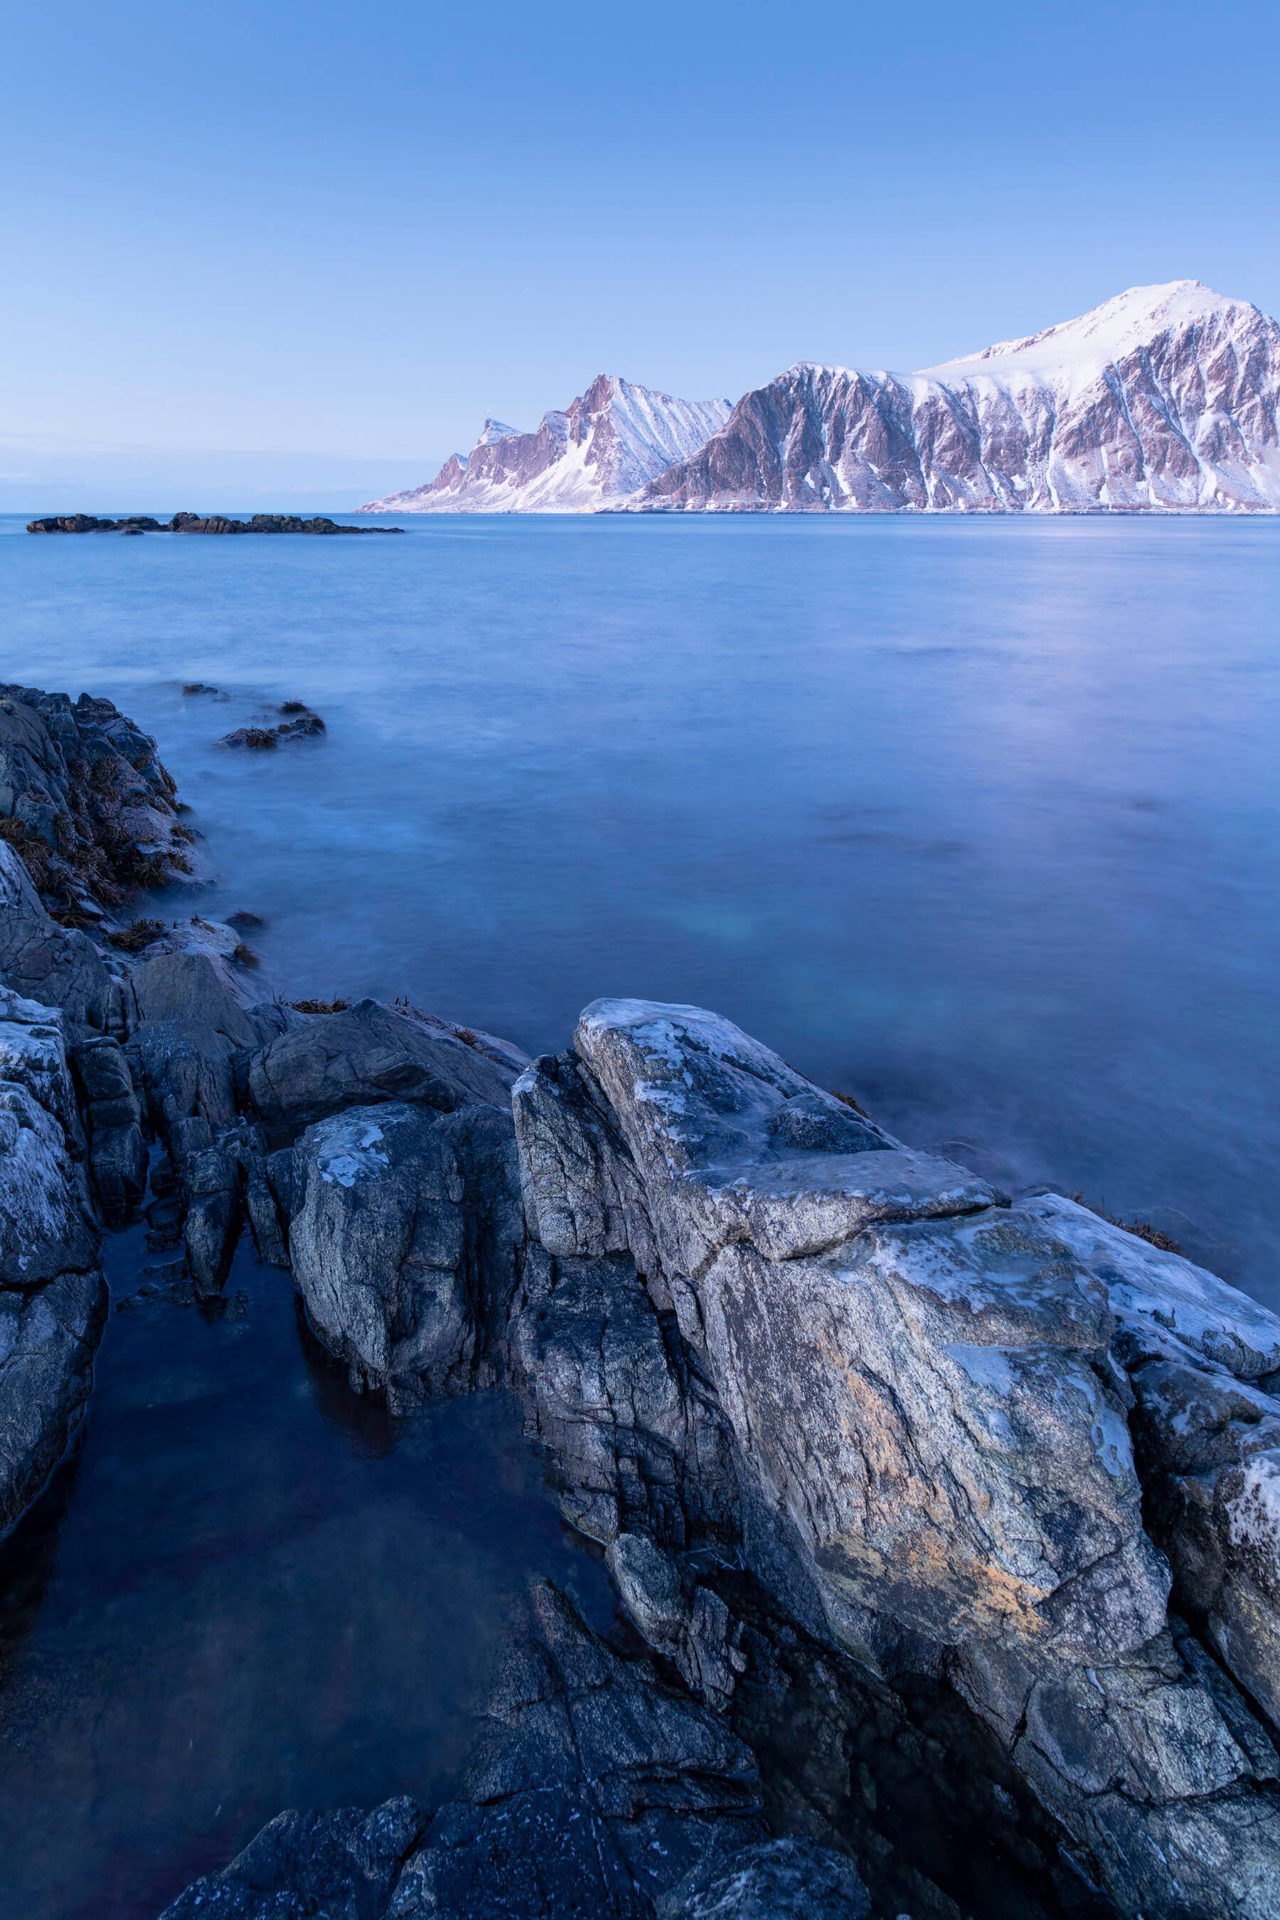
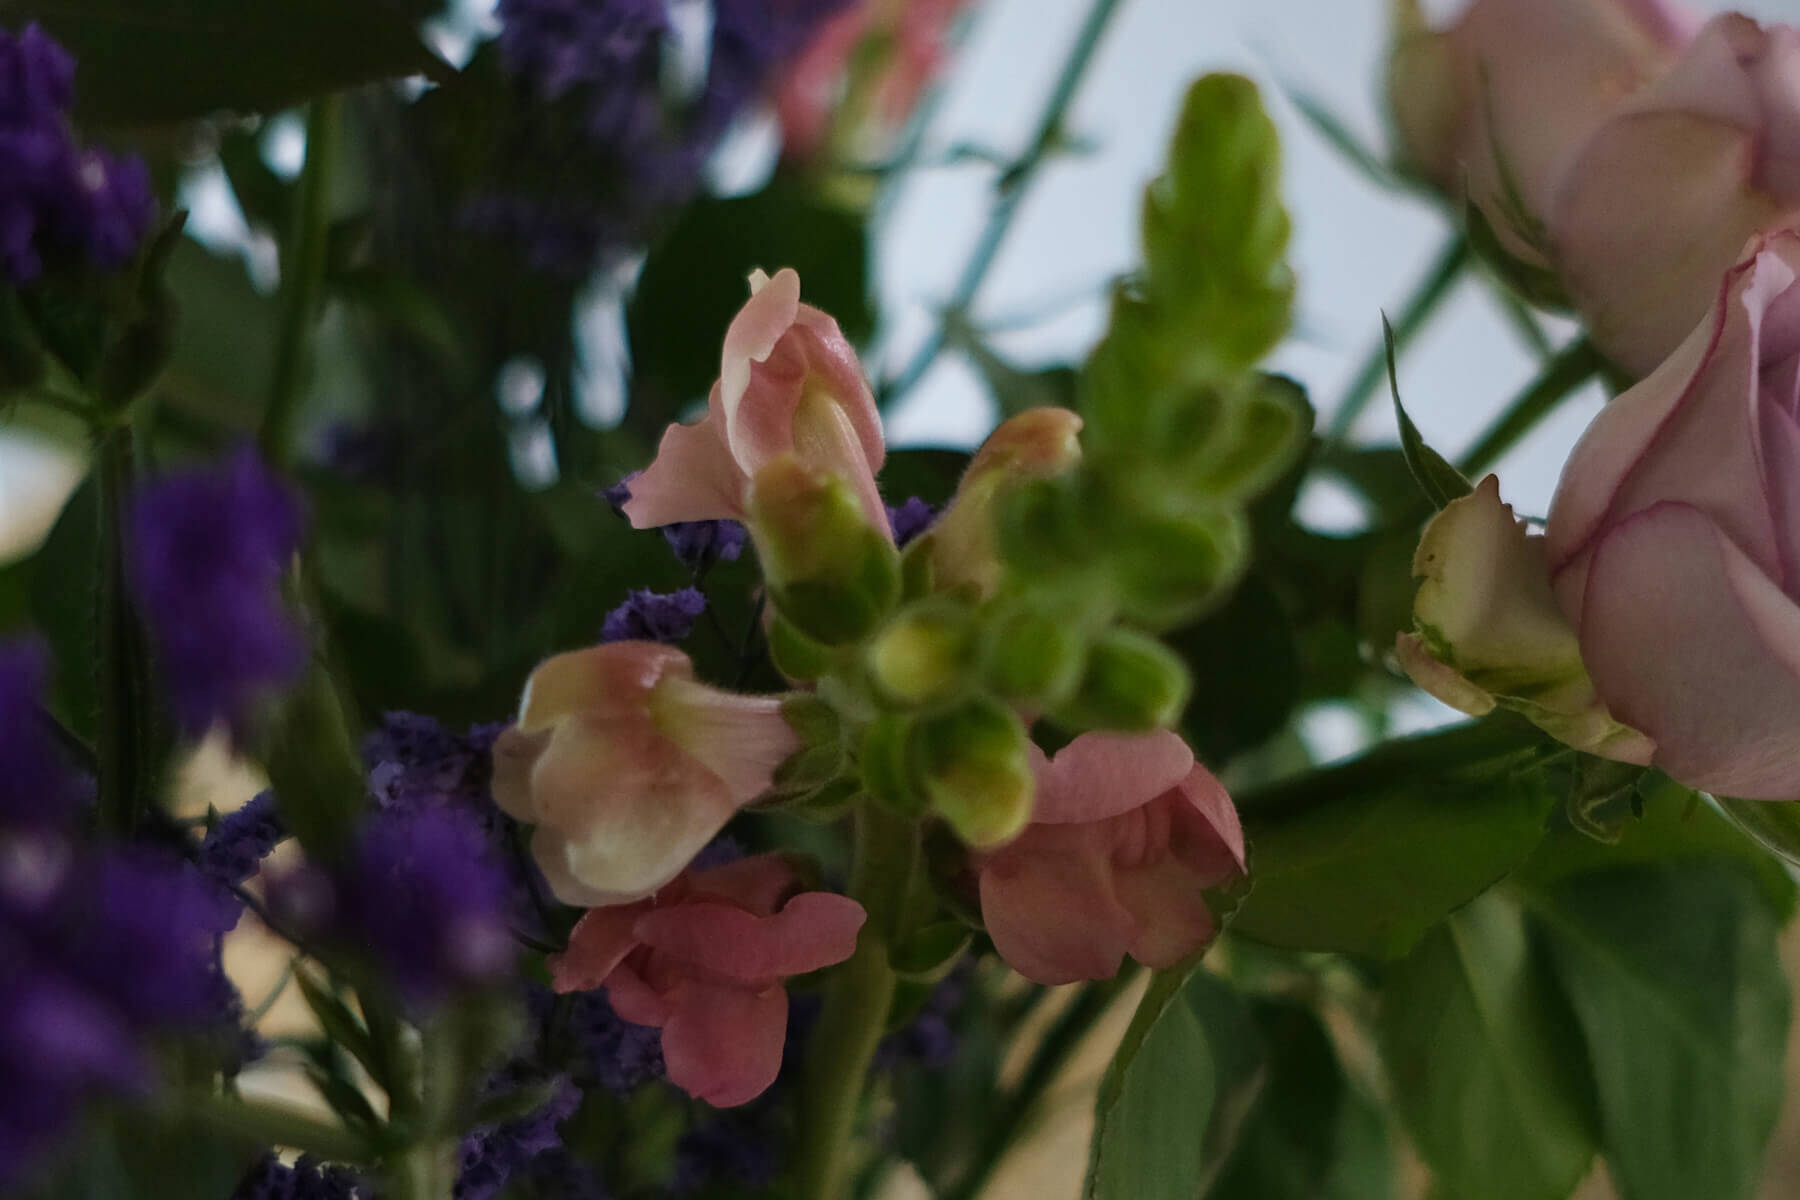
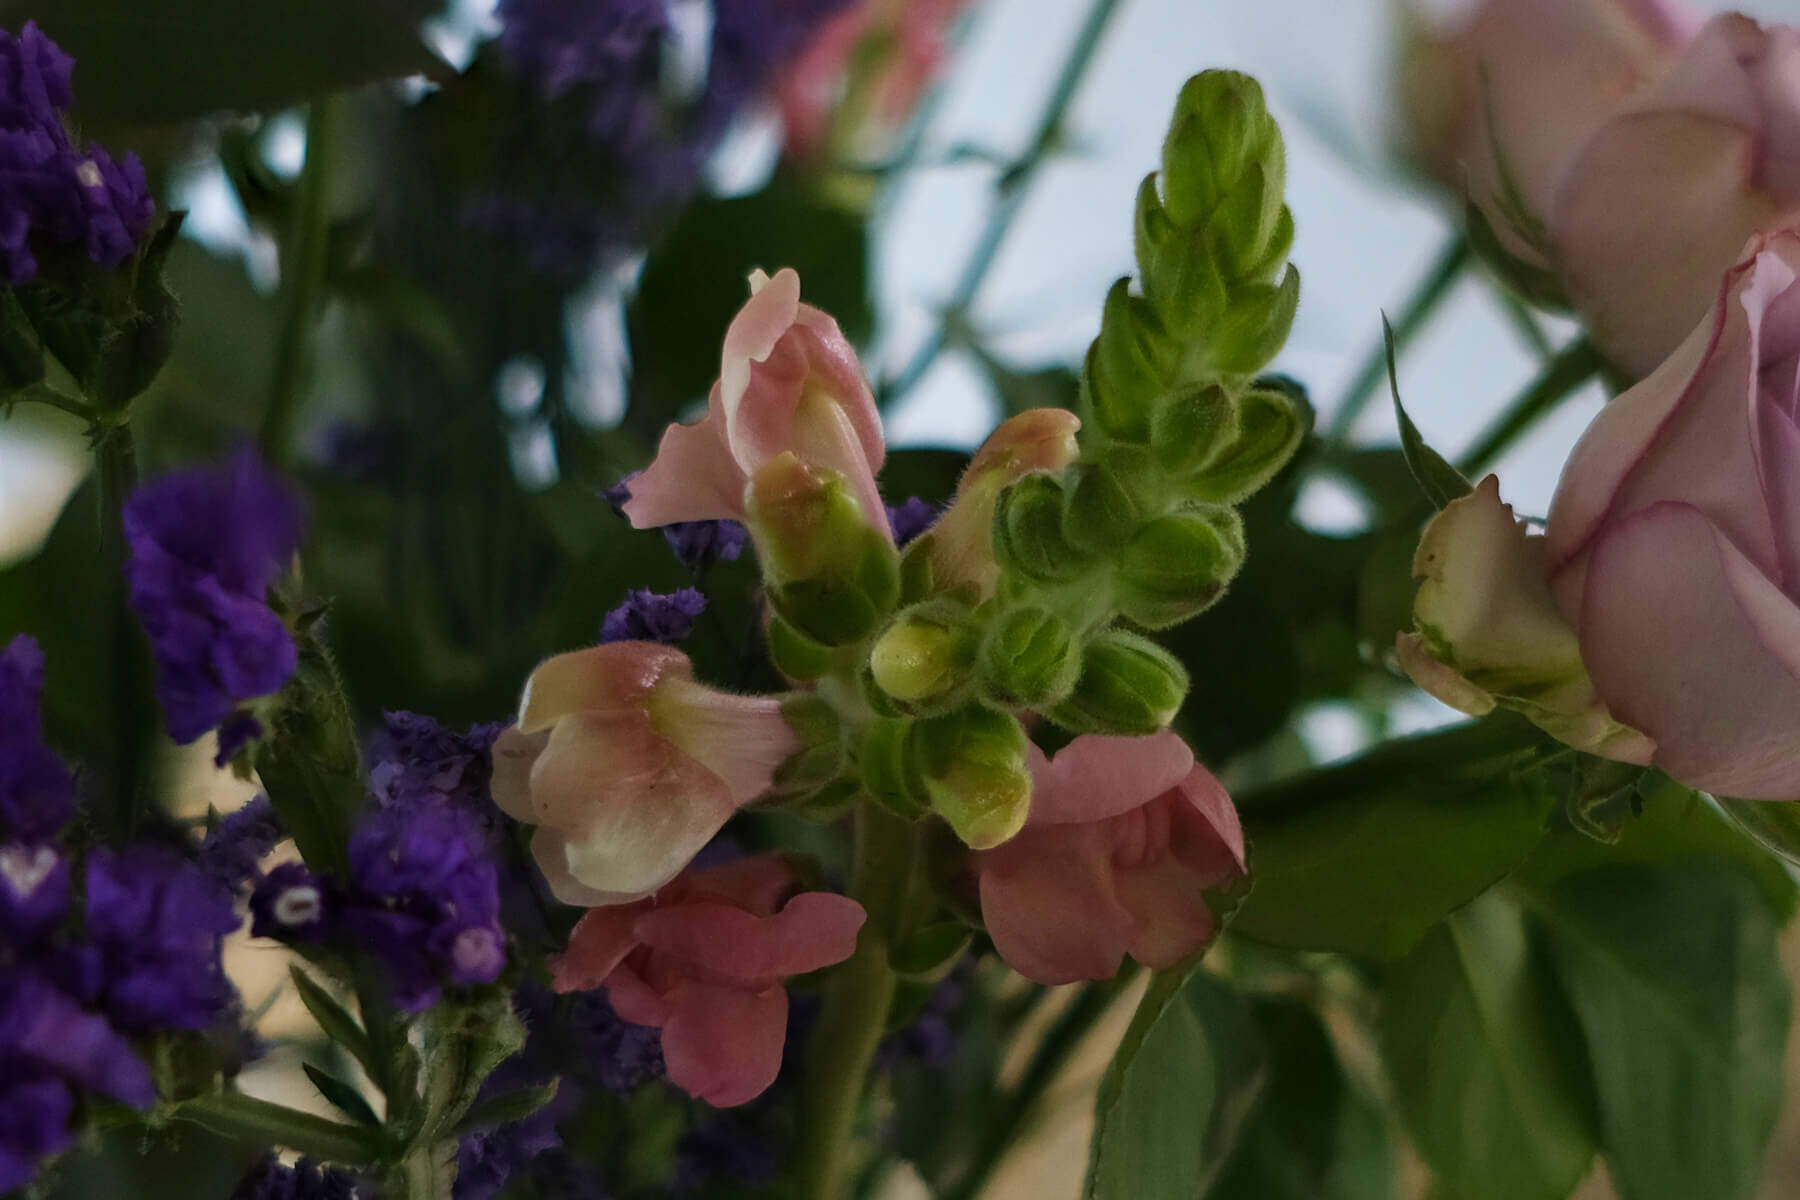
Click the images to see a larger view
How to shoot focus stack photos
There are two common ways of getting the photos you need for focus stacking – using a tripod and shooting handheld. As you’ll likely assume, the best option usually depends on what’s viable with your subject. We’ll cover both.
If you’re able to use a tripod, set up appropriately so your shot is framed, select your desired or required aperture and adjust the rest of your settings accordingly. Manually focus on your closest foreground object or place your AF point there, then take your first shot. Trying to keep your camera completely still, focus on the next section of your scene or subject and take another photo. Repeat as many times as desired.
The number of shots you’ll need to take depends on the size of your scene or subject, your depth-of-field and your desired area of focus post-stack. If you’re shooting a landscape at f/11, you may only need a handful of photos; if you’re photographing something small using a long lens at f/4, you may need 20 shots or more to get the whole thing sharp, front to back.
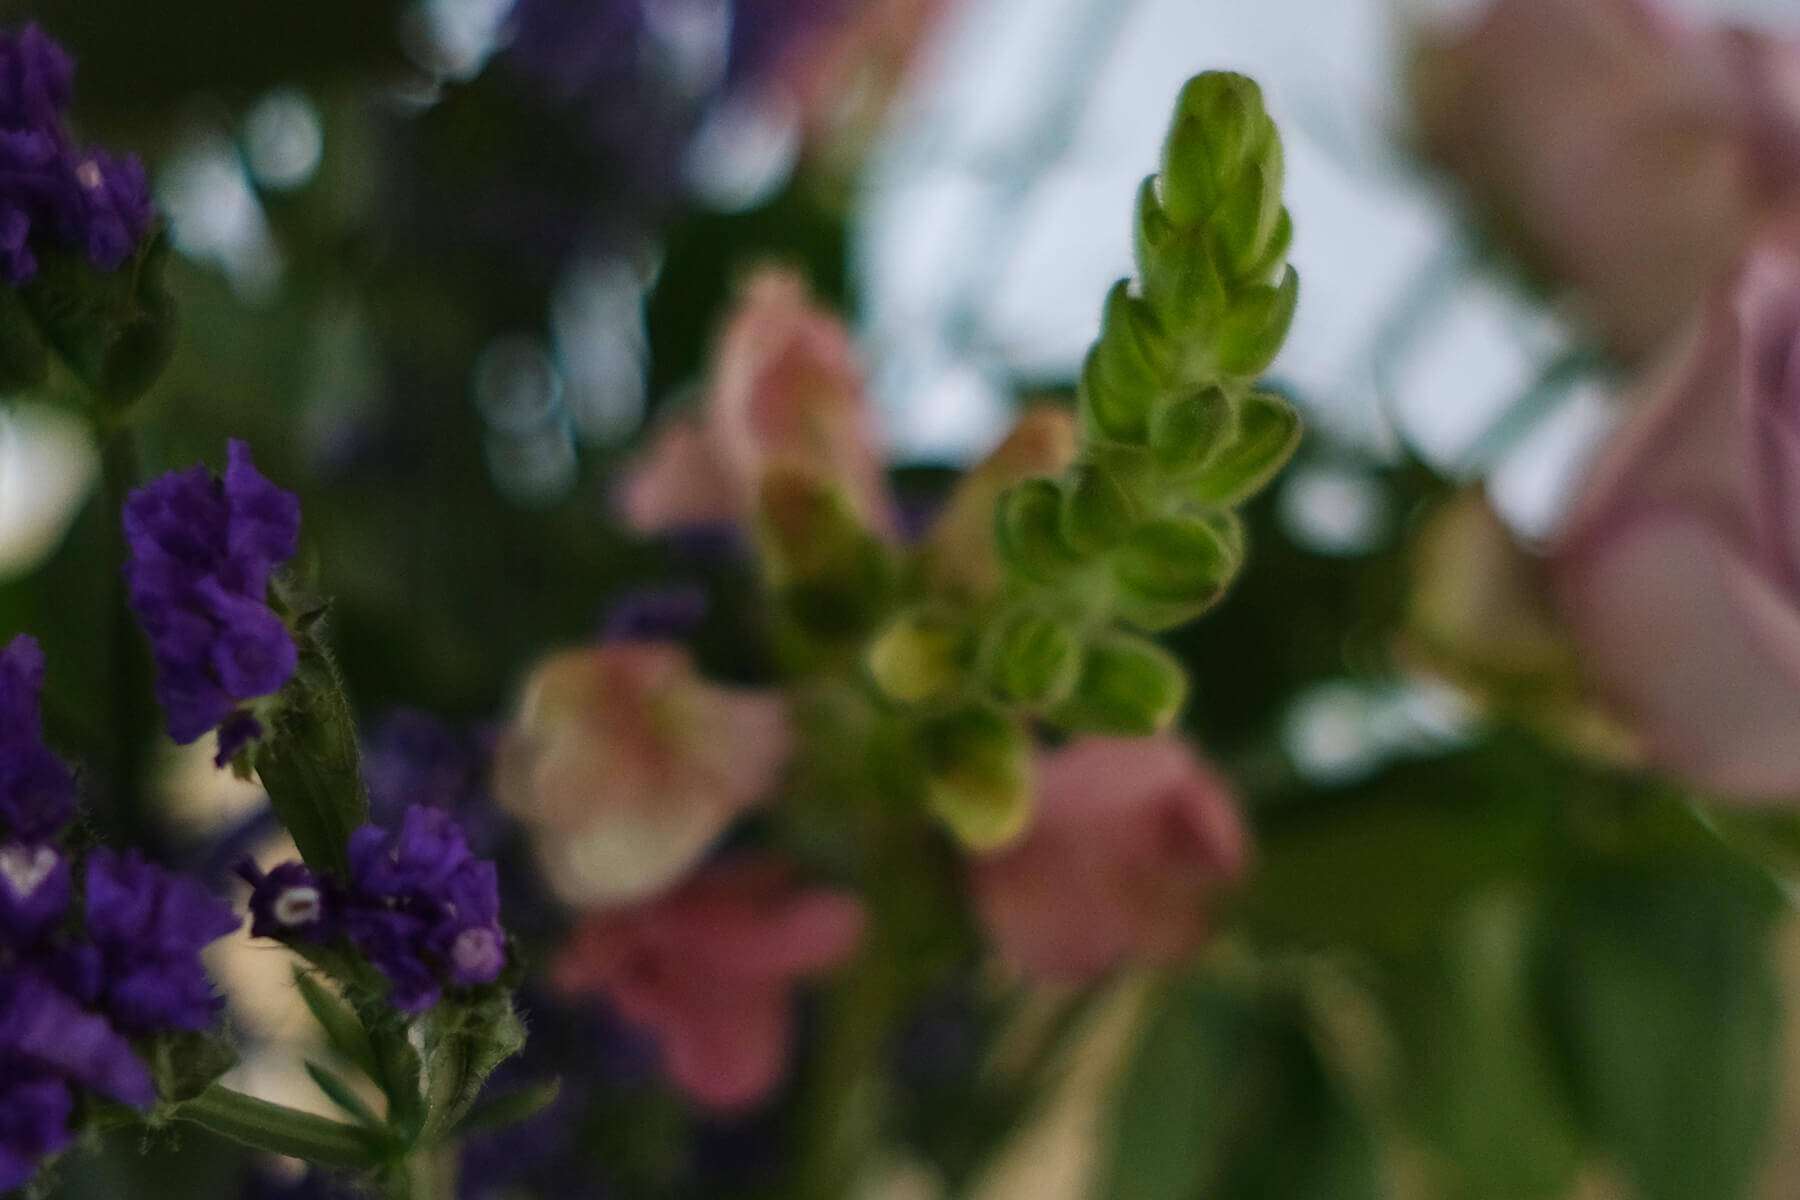
Click the images to see a larger view
When shooting handheld, which is usually reserved for very small subjects and very fast apertures, the process is slightly different. With your settings dialled in, set manual focus to an appropriate distance and don’t change it. Instead, physically move the camera closer to or further away from your subject as you take a burst of shots.
Keeping your front hand still and using it as a makeshift rail can help maintain a steady shot here, and of course, moving any great distance will make aligning your shots all but impossible in post.
Focus stacking in the edit
When you’ve managed to get a good series of photos, you’ll need to stack them to get a finished result. There’s dedicated software for focus stacking, some of which is free, but we can’t vouch for those ourselves not having tried them. The alternative is a broader editing software with the necessary capabilities. The specific commands below may be unique to Photoshop, but the steps will be the same in your preferred software, provided it’s capable of the task.
First, you need to open your images correctly. The most efficient way to do this in Photoshop is File > Scripts > Load Files into Stack…, ensuring Attempt to Automatically Align Source Images is selected. In aligning the images, Photoshop will likely have removed the outside edge of some of your images, so you may wish to crop your stack slightly to remedy this. Alternatively, with your images open as layers and selected, click Edit > Auto-Align Layers and select the Auto option.
Next, once again ensuring all of your layers are selected, click Edit > Auto-Blend Layers > Stack Images and ensure Seamless Tones and Colours is selected. Once the process has finished, you should have a very satisfactory image, so you can end the process here if you’re happy with the results.
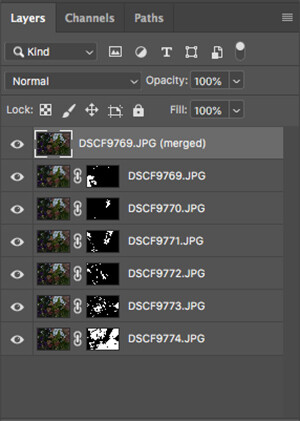
You’ll also notice that following the stacking process, there are masks attached to each of your layers, and really, this is all focus stacking is. If you’re looking to make some additional small adjustments to your image, or just gain greater insight into the process, these masks are worth exploring. We’d advise exporting a copy of your stacked image as is, first, though.
We’ve covered layers and masks extensively in a previous editing guide, so we won’t go into great detail here, but you can use them in this instance to refine your focus stack, or even try focus stacking completely manually. Naturally, this is easier with larger scenes and fewer layers, but you can paint in and reveal even fine details with a small, hard brush.
Will you be giving focus stacking a try? We’d love to see your results, large or small! Tag us in your photos on Instagram, Twitter or Facebook using the handle @photonewspn
Don’t forget to sign up to receive our newsletter below, and get notified about the new issue, exclusive offers and competitions.
Have you heard The Photography News Podcast? Tune in for news, techniques, advice and much more! Click here to listen for free.

